Related Posts Plugin for WordPress, Blogger...
Showing posts with label roof. Show all posts

Monday, September 7, 2015

Removing The Granny Flat - Up And Away!

Anyone that has followed my blog for the last year will know that we are at the stage now when we're ready to subdivide our block and as part of our subdivision plans we cleared out and emptied our Granny Flat that we've been using for storage for 6 years so that it is now finally ready to be removed from the backyard.

Since then we've been waiting for the crane truck and truck removalist to be free on a day that we could be home to supervise the removal ..... we thought an hour would be enough to get it in and out but turns out it was a lot more involved than that and took the entire day - over 7 hours from start to finish!

Wait until you see the photos it really was surreal to see the granny flat being lifted off the supports and into the sky, over the house, and down the side to be placed on the removalist truck and taken away. 


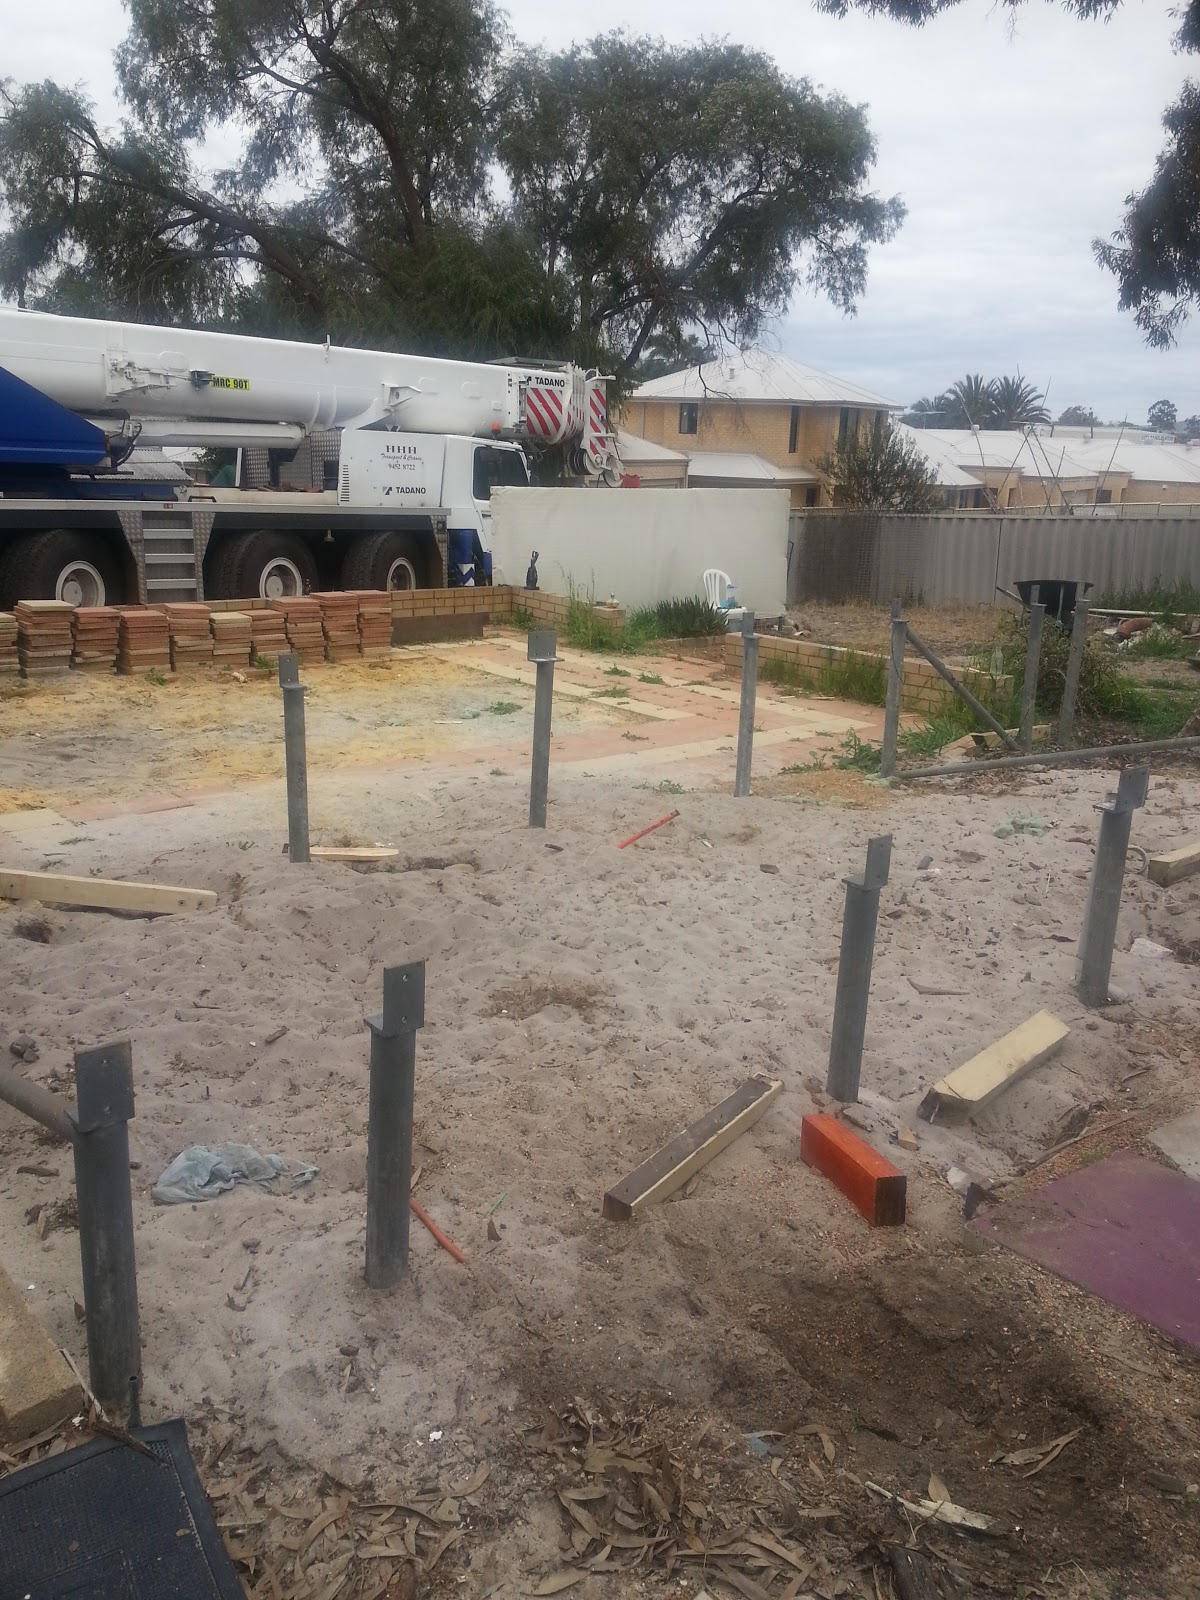
The first obstacle was to get the crane truck down the side of the house into the backyard, across the sandy driveway - we had a bobcat come in a few weeks ago to flatten the sand and get it ready for the truck - but the sand was still too soft and boggy and the truck kept getting bogged and we had to keep getting it out!

If we had of known the sand was too soft we could've laid down some road base and we wouldn't have had all the problems we did ..... hindsight is a wonderful thing!


The crane truck can get itself out of being bogged by extending the outriggers, putting planks of wood underneath them and moving the truck over. The front and back wheels can be lifted off the ground at different times too. 

It was really awesome to see something this big get itself out of a tricky situation!


Once the crane truck was moved over enough to get it balanced the crane came into action - the crane was massive, it carried a bar across to the top of the granny flat, the guys secured straps around it, and then lifted if off the supports.

It took a few goes before it was ready to be lifted - they had to keep adjusting the straps and securing wood chucks so it didn't cut into the walls and frame of the granny flat, as you can see there was some damage to the side but it wasn't too bad.

The granny flat weighed 5.5 tonne and the crane was 50 tonnes.


They lifted the granny flat up and over our house and down the side of the house where the transporter truck was waiting.

It was swinging near our new roof, eaves and gutters ..... and on the other side the neighbors house ..... with just centimetres to spare on either side it was a very tense time!


To add to all the excitement the granny flat got stuck on the neighbors fence, luckily they weren't home at the time because Mr P had to get out the hammer and hack away at the fence to free the truck and granny flat to get it out!

The fence has to be replaced anyway but you should've seen the look on their face when they came home to it! Mr P has fixed it up for them temporarily until the new fence is installed.


It was pretty touch and go there for a while until they could secure the granny flat to the back of the truck.

Then as the transporter truck was driving out it got bogged - with the granny flat on the back! 

So then we had to wait for a big truck to come and pull it out.


We had 2 pilot vehicles with their oversized signs and lights flashing at the ends of our street directing the traffic. Once the transporter truck and granny flat was pulled out they moved really quickly with 2 pilot vehicles to get it on the road and off to the truck depot.

It was so bittersweet seeing the granny flat loaded up and going past the house .... I actually waved goodbye to it!


But it wasn't over yet ... now we had to get the crane truck out of the backyard! Luckily it can get itself out of tricky situations with it's outriggers but it still took another hour or so to get out.

All the guys left just in time as over sized trucks can't be on the road late afternoon ..... they had just enough time get back to the truck depot!


This was such a huge milestone for our subdivision plans and a momentous occasion in the Jarrah Jungle renovations to see our plans come to life after 6 years of talking about it! 

Now for a final goodbye granny flat - you were awesome to us for storage and saved us while we renovated our bathroom, toilet and laundry. 

You will be missed but I'm sure you'll make another family happy now! 


Sharing with link party:

 photo F0F68C01A59FABD46732FC15E1D8816D_zpsc6047f2f.png

For exclusive extras and daily updates ... follow Jarrah Jungle on Facebook, Instagram and Twitter


[All images my own]


Pin It Now!

Thursday, July 24, 2014

Laundry Renovation: How To Lift A Sagging Ceiling

Over the weekend we gave our sagging laundry plasterboard ceiling a DIY lift with some metal plaster washers - that are also known as ceiling buttons.

This is our third attempt at lifting our ceilings and these washers were a quick fix and much cheaper than our initial DIY ceiling lift with bandings that we did in the Living Room or the option of replacing the entire ceiling like we did in the Kitchen.


Most Australian homes built in the 1960s used bandings made from fibreglass rovings and plaster to hold the sheets of plasterboard ceiling onto the timber beams above in the roof space. Over time these bandings get covered in dust and dirt and break free thus resulting in the ceiling cracking, sagging and worse case scenario ceilings can give way and fall in causing one hell of a mess and a much bigger expense to fix!

For our Living Room a few years ago when we were new to the renovating game we attempted a DIY ceiling lift by attaching new bandings which we made from a bag of fibreglass rovings and plaster. We also had to hold the ceiling up with some timber supports we made, until they dried.

It was 2 days of hot and sweaty work to do the bandings in the roof space and the Living Room was out of bounds for about 5 days all up while it dried. Plus we spent about $100 on materials. It worked OK, the bandings held on but we found the supports were a bit forceful and needed to find a gentler solution to fixing our ceilings.

Our DIY Living Room ceiling lift
The old bandings in the roof which had come loose

For the Kitchen and Dining Room we had to go the whole hog and replace the entire ceiling which cost us $1500 and was done by our roof carpenter and Mr P.

There was no way around not getting a new ceiling for this room because of the changes we made when renovating, like knocking out the brick pantry which left a lot of holes to be patched and it was better for us to just get a new ceiling installed in here.

Our roof carpenter installing the new ceiling and cornices
As for the Laundry ceiling we decided to use these metal plaster washers which we found after many many many hours of research online. We bought them from Kilian Hardware in Philadelphia and got a bag of 500 washers for $40US delivered to us in Australia. You can find the washers here.

Of course we don't need anywhere near that many washers so have been happily handing them out to our neighbors, friends and family to fix their sagging ceilings with.


Kilian Hardware Co looks like a picture perfect old fashioned hardware store straight from a movie!

The washers are made for drywall but work just as well on plasterboard as we have discovered. They really are awesome little pieces of metal!

Here's how we lifted our sagging ceiling with the washers ....

Firstly, you need to find the roof beam so you have something to screw the washers into. We used a stud finder but didn't really like it because it kept on picking up the electric volts instead of the studs (and said stud finder has been returned to the place of purchase because it was more frustrating than useful!). Mark out your beams so you know where to drill into.


The other option of course is to just guess and drill holes which means you might end up with a few more holes to patch in the ceiling but at least you'll find the beams! Just take extra care of electrics and other things you may be drilling into!


Because the washers are counter sunk and the plasterboard isn't very flexible, you need to make a groove around where the washer will go so the plasterboard doesn't crack. It also helps the washer sit nice and flush. We made grooves in the plasterboard with a Stanly knife.


Then we were ready to drill in a screw and the washer. We put each washer about half a metre apart from each other. Because the washers are large they help to spread the load. They really do keep the ceiling in place, secure them well, and stop the sagging.


Next is to cover the washers with plaster so that nobody knows they are there. Because they are perforated this helps the plaster to stick and cover them as well. Once the plaster is dry, it can be sanded back and then painted. Job done!


Using these washers was such a quick fix and much cheaper than our initial DIY ceiling lift with bandings or the option of replacing the entire ceiling.

This is not a sponsored post I just want to share this great product so other Aussie sagging ceilings can get a cheap face lift if they need too!

Linking up with:
The Dedicated House - Make It Pretty Monday
Savvy Southern Style - Wow Us Wednesdays
Home Coming - The DIYers

 photo F0F68C01A59FABD46732FC15E1D8816D_zpsc6047f2f.png

For exclusive extras and daily updates ... follow Jarrah Jungle on Facebook and Instagram


[All images my own - Other than image 5 Kilian Hardware]

Pin It Now!

Wednesday, June 18, 2014

We're Still Painting ...... The House Exterior

Do you remember when we accidentally painted our house exterior limestone and it looked like we were trying to turn it into the Incredible Hulk's house in an awful shade of lime green?
 
Here's a little reminder below!

We painted over the limestone paint as quickly as we could before the neighbors could tease us. But we didn't get around to finishing the rest of the painting to protect the render from the weather, which we have discovered can stain when it gets wet and once damp can start to crack.
 
The Jarrah Jungle ..... turning into the Hulk House!

It's been 2 years since that DIY disaster and we have finally got around to getting the paint brushes out again to finish painting the house exterior.
 
Firstly, we re-did our window frames and trim which we had painted white but now that we have settled on our exterior colour palette we wanted to match our window frames to the roof colour. So thanks to Dulux who gave me some Dulux Colorbond Monument paint (the closest colour to our charcoal roof) the window frames got a makeover and now match the roof colour.

Window frames - See the BEFORE and AFTER here

Now we need to get some Colorbond Classic Cream paint on the rendered walls and finish this project once and for all.
 
Mr P and I make a pretty good painting team - Mr P is a perfectionist Virgo who carefully cuts in with a paint brush while I'm an impatient Taurus who follow ups behind with a paint roller almost rolling right on top of him while he's still trying to finish. You know what they say opposites attract and that's why we're such a great team! :-)


We had the undercoat paint tinted in the same colour as the top coat - Colorbond Classic Cream. I thought that was a pretty clever idea because it's already given us good coverage having the same colour underneath in the undercoat as what the top coat colour will be.
 
The rendered walls are really porous and soak up the paint like a sponge, so an undercoat will save you a lot of time, effort and money because you won't need to use as much top coat paint. That's something we discovered when we painted the render in the garage and didn't use an undercoat and we had to do 3 top coats of paint which was about 23 litres to get good coverage. We won't be making that mistake again!


We also painted the white metre box and the silver gas box that are attached to the house. We figured instead of them standing out in different colours, why not make them blend into the walls and paint them the same colour.
 
I'd like to add our house numbers or something decorative to the metre box near the front door. I'm always thinking of the finishing touches and how to decorate the front entrance so it's a welcoming sight, that's the fun of renovating for me - the decorating afterwards!


Ok Lexi we get it we're boring you ..... we're almost done, then it's play time, promise!


Once the undercoat was painted on, the following weekend we got the brush and roller out again and did a top coat of Colorbond Classic Cream paint.

That's it, that's all it has needed with the undercoat and top coat giving really good coverage because they were both tinted in the same colour.

It's looking really good out the front here I'm happy with the exterior colour choices we've made.


Now that the front of the house is painted and all the render it protected that's another job ticked off this year's never ending To Do List. Can't believe it took us 2 years to do, oh well better late than never!

The next painting job out here is to add trim to the eaves all around the house and then paint the trim and eaves white. The eaves are the underside of the roof, which is cement sheeting from when we had new eaves installed as part of our roof restoration and garage extension about 2 years ago, but we haven't yet painted!
 
What jobs have you left unfinished and procrastinated with around the house?


 photo F0F68C01A59FABD46732FC15E1D8816D_zpsc6047f2f.png

For exclusive extras and daily updates ... follow Jarrah Jungle on Facebook and Instagram


[All images my own]

Pin It Now!