Related Posts Plugin for WordPress, Blogger...
Showing posts with label yellow. Show all posts

Monday, February 16, 2015

Engagement Party Planning

Soon after Mr P slipped a ring on my finger while on our cruise holiday last year I was looking forward to sharing in the celebrations with our friends and family .... including our furbaby Lexi of course!

I just love how it feels to be bringing all our friends and family together to celebrate before the big day - the wedding!


Mr P proposed while we were on holidays (with my parents!) and my Mum and I sat on the beach in New Caledonia coming up with all different ideas for the Engagement Party ..... River cruise, WINE River cruise, Function at a vineyard, Cocktails at a groovy bar, BBQ at the park, Party on my parents farm, so many ways to celebrate!

But the one that feels right to me was a party with cocktail food, lots of drinks, at a venue where I could go to town on the decorations and turn it into a pretty setting with all the styling and party planning ideas that I love!


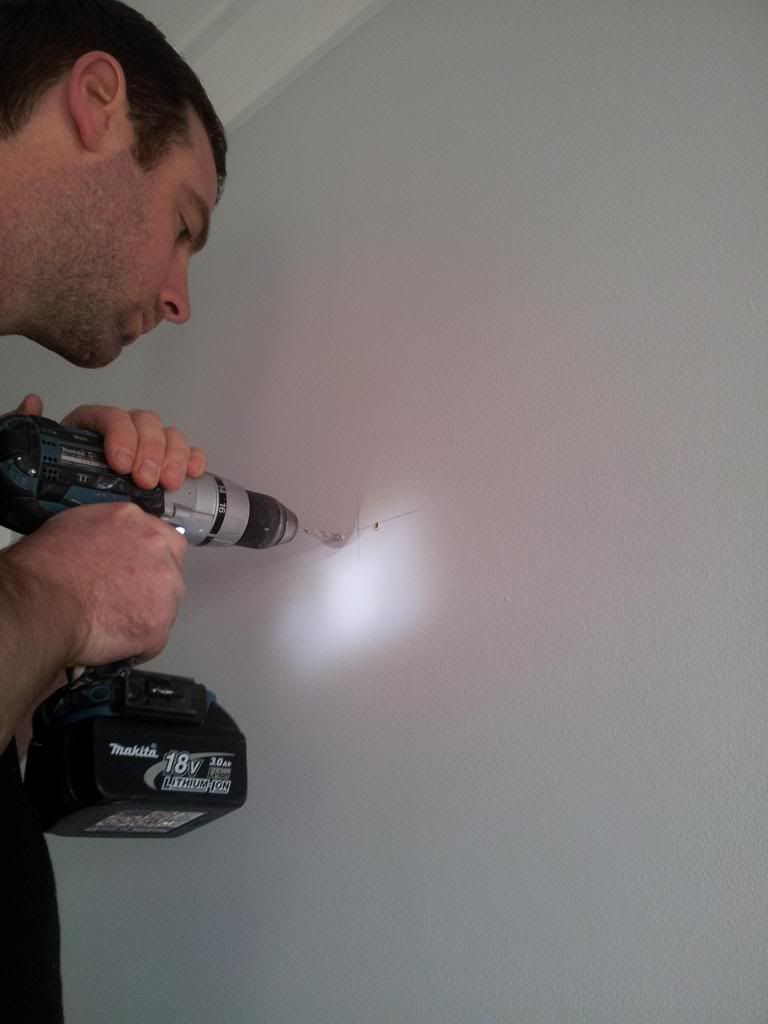
I wanted to host the party at our Jarrah Jungle home but it's just not big enough to hold 100+ friends and family.

So we found a venue to hire with a stunning view overlooking the Swan River.

The best part is it's all completely BYO so we can do all our own food and drinks to keep the cost down.


My parents have been amazing and are providing most of the food - delicious home made platters of finger food including pinwheel sandwiches, mini meatballs, chirozo and roasted capsicum bites, sausage rolls, spinach and fetta triangles, mini quiches and antipasto platters.

Mum's been baking and freezing the food for a few weeks now getting all the dishes ready. The guests will definitely not go home hungry!

Friends and family have offered to bake something sweet for the dessert table which is going to look so pretty having cake stands with a variety of desserts displayed.

It's been such a lifesaver having others help out with the food and having one less thing to worry about means I can focus on the rest of the party.


The bar will be well stocked with beer, wine, bubbly and a special cocktail for cocktail hour - our Limoncello and Prosecco Cocktails.

We have friends helping to serve behind the bar on the night to keep the drinks flowing and the party going!


I'm also going to set up a drinks table for soft drinks and a tea and coffee station for everyone to help themselves.


As for the decorations for the venue my inspiration came from these beautiful decorators kits that I won from The Kit Source a fabulous online company who sell party kits across Australia.

I picked out 2 kits in the blue/yellow/white theme after seeing the little heart shaped balloons I was smitten!

I've tried to stick to this colour theme throughout the party but have added a bit of mint green and florals to the mix as well, but it all works well together (I hope!) as a vintage romance theme.


I am going to town on the decorations and finally getting to work on all the DIY projects I've been pinning - the aim is to turn a simple venue into something really special and personalise it for Mr P and I. 

I've been DIYing pretty bunting flags, making paper chains, two massive paper lantern chandeliers, balloon garlands, straw flags and making blackboard signs and designing, printing and framing signs for around the venue.


I have friends and family collecting empty jars for me to re-use as vases and candle holders.

I've made a stack of them already decorating them with pretty ribbons, twine and vintage lace. They are going to look great on all the tables and outside I'm going to place them on the steps leading everyone up to the venue entrance.


For the gift table I am going to make gift bags for everyone like these popcorn ones, I'll be sharing these in a separate blog post on using the Avery celebrations range of products - I've used Avery to create my engagement party invitations too.

I have DIYed a birdcage card holder and I'm going to DIY a message in a bottle in lieu of a guest book, but I'm still working on finishing that project.


We have friends and family offering to help in all sorts of ways and it's been half the fun involving everyone.

I can't wait to see how it all comes together I am in my absolute element when party planning and think this is going to be the biggest and best one yet!

What do you think of my engagement party plans so far? 


 photo F0F68C01A59FABD46732FC15E1D8816D_zpsc6047f2f.png

For exclusive extras and daily updates ... follow Jarrah Jungle on Facebook and Instagram


[Images - First and Last my own - 
All other images via Pinterest 2, 3, 4, 5, 6, 7, 8, 9, 10, 11, 12, 13, 14, 15, 16, 17]

Pin It Now!

Thursday, July 3, 2014

Recipe: Chicken Mulligatawny Soup

I had never even heard of this Indian Chicken Mulligatawny Soup before but after trying it for lunch at my local soup bar I just had to try to recreate the dish at home ... It had chicken, lentils, vegetables and crunchy apple in a spicy coconut milk broth with toppings like fresh coriander and sprouts and served with a side of rice. It was like a meal in itself so fragrant and tasty.

So in between painting the front of the house the other weekend I made a pot of this delicious Chicken Mulligatawny Soup .... it was easy to make and the smell of the lovely fragrant spices kept us painting until late afternoon because we knew we could relax and enjoy a bowl of deliciousness after all our hard work!

 
Chicken Mulligatawny Soup

Ingredients
1 tbs vegetable oil
4 chicken thighs
2 red chillies, finely chopped
2 tbs garlic and ginger paste
1 brown onion, finely chopped
2 tsp ground turmeric
1 tsp ground cumin
1 tsp ground coriander
1/4 cup yellow split peas, rinsed
1 carrot, finely diced
1 granny smith apple, finely sliced (I grated mine, but sliced is better so you get more of a crunch!)
5 cups chicken stock
1 can coconut milk
Juice from 1/2 a lemon
Salt and Pepper
 
Toppings
Sprouts
Fresh coriander, chopped
Roasted peanuts, coarsely chopped

Method
1. Heat oil in a large saucepan. Season chicken with salt and pepper, add to pan and brown on all sides. Remove from pan.
 
2. Turn down the heat and add the onion, chili, garlic and ginger to the pan. Cook until soft, stirring occasionally.
 
3. Stir in the spices, split peas and carrot and return the chicken to the pan. Add the stock and season with salt.
 
4. Bring to the boil, cover and simmer for 45 minutes until the split peas are tender and chicken is cooked. Give the soup a stir to make sure split peas aren't sticking.
 
5. Remove chicken and transfer to a board and shred the meat with a fork.

6. Return the chicken to the soup, add the coconut milk and bring to the boil.
 
7. Season to taste with lemon juice and salt and add the apple.


8. Ladle soup into a bowl and top with coriander, sprouts and peanuts.
 
9. Serve with a side bowl of steamed rice.

This soup is packed with tasty chicken and vegetables and all the Indian spices to make it one of my latest favourite soups ..... and you all know how much I love my soups!


 photo F0F68C01A59FABD46732FC15E1D8816D_zpsc6047f2f.png

For exclusive extras and daily updates ... follow Jarrah Jungle on Facebook and Instagram


[All images my own]

Pin It Now!

Tuesday, May 20, 2014

Kitchen Renovation - Featured On The Life Creative

Chris Carroll is a stylist and writer behind The Life Creative blog which takes a light hearted look at interior design and decor.
Chris loves homes filled with personality and likes to showcase real homes of local readers which is why I'm so excited that my kitchen renovation was featured last week ..... on my Birthday in fact what an awesome Birthday gift!
  
You can see our kitchen featured over here and in the words of Chris .... They took this busy space from hum drum to hot tamale!
Kitchen Renovation After

You can find more Real Rooms over on the The Life Creative here

See more of my 1960s retro kitchen before here and the shiny modern after here
For all of my home renovations ugly befores and glorious afters check out my House Tour here

I hope your day is full of smiles and surprises!
 photo F0F68C01A59FABD46732FC15E1D8816D_zpsc6047f2f.png

For exclusive extras and daily updates ... follow Jarrah Jungle on Facebook and Instagram


[All images my own]

Pin It Now!

Friday, February 21, 2014

Gallery Wall Art - Additions

My gallery wall of art and clocks in the dining room is probably my favourite thing in our house. I think it's an unexpected pop of colour when you're in the kitchen and it's become a real talking point whenever friends come over and I love that I created it from all the things that are special to me!
 
But it's an evolving gallery wall, nothing needs to be set in stone and permanent so I've added a few new treasures to it lately ...
 
 
Firstly, my rhino hook needed something to hang from it and for this I came across this gold LOVE ornament from Typo for $1. It's probably meant for the Christmas Tree but with that kind of bling why not have it hanging all year round I say!
 
 
The other art additions I picked up from my trip to Sydney last week. This ferris wheel photo block art I bought from The Rocks Markets by local artist Jackie Cooper. It is a perfect memento from our Sydney trip!


I also found this free art postcard when out having dinner in The Rocks which is promoting the upcoming movie The Wolf Of Wall Street. I grabbed it because the saying caught my eye and it's yellow and black the colours of my gallery wall!
 
 
I framed the post card over the top of the patterned page that I tore from a magazine, I thought that was freebie art and now with the post card I like it much better.
 
 
Putting the frame back on the wall and it looks like it was made to fit the space ... Party like a rockstar live like a king!


So with my recent additions, this is how the wall looks now. If I had to pick a favourite, I'd say it's the DIY rockstar postcard, you can't complain about a freebie!
 
 
What do you think of my new wall art additions?

 
[All images my own]
 
Pin It Now!

Tuesday, September 24, 2013

Before + After: Dining Area Reveal

I have envisage how I want our small dining area to look for so long that once the art and mirror was finally hung on the wall and the new furniture put in place and I took a look at it all it was so familiar to me because I've dreamt about the design for so long!

I absolutely love how it has turned out ... come take a look at the scary befores and pretty afters of the Dining Room reveal.
Before - Dining Area and Window
After - Dining Area with French Doors
Before - Dining Area was a blank canvass
After - Dining Area with art and mirror
 
On Saturday morning Mr P and I were up early and fuelled on McMuffins waiting for the shops to open on a mission to find dining chairs to go with the dining table we bought a few weeks ago.

Although we dreamed of having indoor bench seats for the dining area seating we managed to find a table that would fit the space and just needed 4 dining chairs to fit around it.
Our recent purchases - Ikea glass dining table and yellow Replica stools
I had in mind black leather seats with silver legs to match the dining table but all the chairs we saw were quite plain, not very comfortable or well made, or the legs were round instead of square (which wouldn't match the dining table legs).

The dining chairs ranged from $80 at the cheaper shops up to $300 at the more expensive shops.

One of the contenders from Harvey Norman but the $299 price tag was not appealing

As we were nearing midday we had to head home and decided to make a last minute stop at Lifestyle Furniture which has a great mix of modern and retro furniture.

Mr P spotted these fabric chairs first and then I stopped in my tracks and stared at them like it was love at first sight.
The silver fabric was a brave choice but they will match the painted grey walls, the legs were square and shiny exactly like the table legs, the dark edged pattern is a grey/brown colour and will go beautifully with the jarrah floorboards and there is flecks of a green/yellow and yellow is the accent colour in the kitchen and dining.

They were perfect ... I had to have them!

Then the bartering began, they would only sell the chairs in a set of 8 as they were the last ones they had and we only needed 4 chairs but decided we could fit 6 at the dining table and put 1 in the study and 1 in the guest bedroom.

We also haggled for a discount and instead of $129 paid $110 per chair. We managed to fit all 8 chairs in the ute and on the back seat and took them home there and then.
Then on Sunday we finished off the rest of the room.

Once we knew where the dining furniture would sit centred on the wall, we could hang up the mirror which I got from Freedom a few months back and thought it would be perfect for above the dining table.

I think mirrors in dining areas are a fantastic way to create a zone, especially in an open plan style like my kitchen/dining area. They also help to bounce light around which helps make the space look bigger.
Freedom's Karla mirror
I managed to get it reduced even further to $154 ... but there was a 1 month wait to order it in

The mirror at 20kg was to heavy to lift to see where to hang it, so we just measured to centre it on the wall
Removing the packaging and praying that it was not damaged !
Drilling holes for the brackets
  
Attaching the brackets to the wall

Then the mirror was hung straight on to the brackets
We checked that our heads weren't going to touch the mirror - it was hung at the perfect height

Once the mirror was hung on the wall I could set up the furniture and I was so damn excited by this stage I couldn't wait to see it come together! 

I borrowed the silver rug that was in the Guest Bedroom as I want to protect the jarrah floorboards we spent hours sanding, sealing and restoring. Until we work out what type of rug to put here I think this silver shag rug looks really good except the size is a little small. 

Once the rug was down the dining table and chairs went onto it .... it looks like a proper dining area now!

A rug not only protects the floorboards but also anchors the dining area

The dining setting fits perfectly in this corner against the wall and out of the way
The pops of yellow from the stools compliment the fabric chairs
I know where that saying the cat that got the cream comes from now ... I am just happy that I followed my heart and took a risk with the design and colours in this room I think it has really come together well. 

Looking back to the first rooms we renovated and decorated I really played it safe with colours and design but now I feel I'm a lot more confident and taking a risk really pays off.

I also want to say a big thanks to my gorgeous Mr P who has always encouraged my inner interior designer and given me full reins to design and decorate however my heart desires. 

What do you think of the new dining area?


Sharing with Link Party:
It's Overflowing - Share your creativity
The Dedicated House - Make it pretty Monday


 photo F0F68C01A59FABD46732FC15E1D8816D_zpsc6047f2f.png
For exclusive extras and daily updates ... follow Jarrah Jungle on Facebook, Instagram and Twitter

[All images my own]
Pin It Now!