Related Posts Plugin for WordPress, Blogger...
Showing posts with label wallpaper. Show all posts

Friday, March 24, 2017

My Top 5 Slow Cooker Recipes

It's no secret that I absolutely love my slow cooker it is hands down my favourite and most used kitchen appliance.

So today I thought I'd share with you my top 5 tried and tested slow cooker recipes for easy, tasty, slow cooked dinners.

Be sure to check out my Instagram and Facebook pages as I share a lot of recipes on there as well and have included links to more of my slow cooker recipes at the bottom of this post .... happy slow cooking!

Slow Cooked Chicken + Vegetable Curry

I have a Sunbeam Sear and Slow Cooker which means I can brown in it and then slow cook in it as well which is great as it means just one pot to wash up after dinner, it retains all those lovely flavours in the one pot and it makes it quicker and easier to prepare.

For these recipes if you have a normal slow cooker you can just brown in a pan and then add it to your slow cooker.

My Top 5 Slow Cooker Recipes

1.  An Old Favourite .... Slow Cooked Apricot Chicken

Apricot Chicken is a favourite dish from my childhood that I have adjusted with some added spices. Remember to always heat up spices before using them as this releases the flavour and brings them to life. 

RECIPE: Brown chicken thighs and chopped onion, celery and carrot. Add the spices - coriander, cumin and garam masala and heat until fragrant. Stir in a packet of french onion soup mix and a tin of apricots in juice and season with salt and pepper. Put the lid on and cook on low for 5-6 hours. Remove lid and cook on low until sauce thickens. I throw in some extra vegetables at the end like green beans and peas as these don't take long to cook. So tasty served over rice or couscous. 

Apricot Chicken

2.  When You're Feeling Fancy .... Slow Cooked Chicken Cacciatore

Chicken Cacciatore was the first dish I ever cooked for friends I think I was about 20 years old and they were over to watch a Big Brother finale on TV as I recall! I thought it was a very grown up dish as I got to cook with wine!!

RECIPE: Heat oil and brown chicken (thighs or drumsticks) and remove. Cook a chopped onion, celery, carrots and crushed garlic. Add the chicken back in with a jar of tomato passata, 1 cup of red wine, 1/2 a cup of chicken stock, mixed herbs, bay leaf and season with salt and pepper. Stir well, put the lid on and cook on low for 8 hours. Add mushrooms and olives in last 30 minutes of cooking. Serve over creamy mashed potatoes and pour the remaining red wine into a glass and enjoy!

Chicken Cacciatore

3.  Easy As Slow Cooker Pulled Beef or Pork

I never knew how easy it was to do pulled beef or pork in the slow cooker and now that I do there's no stopping me! I make this dish quite often and serve with either hard tacos with salad, cheese, sour cream and salsa or with soft tortillas and a coleslaw.

RECIPE: Coat the beef or pork roast in a dry rub made from chilli powder, mixed herbs, salt and pepper (do this the night before if you can for extra flavour). Heat oil and brown the meat all over and then put in the slow cooker, lid on and cook on low for 6 hours. Just before serving remove the meat and shred with forks and then return shredded meat to slow cooker so it can soak up any juice in the pot and be delicious and tender. You can find my detailed recipe for Pulled Pork here.

Pulled beef tacos

Pulled pork tortillas

4.  Not Just A Sunday Roast ... Slow Cooker Turkey or Beef

Roasts are no longer just a Sunday treat we are now enjoying a roast and vegetables midweek because it's so easy to prepare. I am a fan of the chicken and turkey rolled roasts (like this turkey roast) as they're stuffed it keeps the meat tender. You must brown the meat well before slow cooking so it holds its shape - if you don't brown the meat it will fall apart and be more like shredded meat.

RECIPE: These roasts turkey (first photo) and beef (second photo) I cooked with the same method. Heated oil and browned it well all over and sat it on top of roughly chopped carrots, potatoes and onions. Put the lid on the slow cooker and cook on low for 7 hours. I use some of the lovely cooking juices to make gravy and keep the rest of the juices to use as stock (it's a delicious stock to add to soup).

Rolled turkey roast with vegetables

Beef roast with vegetables

5.  Best Ever Pasta Sauce ... In the Slow Cooker

I can whip up a pretty quick pasta sauce on the stovetop but a pasta sauce slow cooked all day tastes amazing as it makes all the difference letting the tomatoes cook out for hours. 

RECIPE: Heat oil and cook crushed garlic, chopped chilli, finely chopped onion, carrot and celery. Add chopped chirozo or bacon for extra flavour and some Italian style sausages (skins removed and cut into bite size pieces) and brown. Add a cup of red wine, tin of tomatoes, jar of tomato pissata, mixed herbs and fennel seeds. Put the lid on and cook on low for 6 hours. Add a handful of olives in the last 30 minutes. Cook pasta, drain and mix into your delicious tomato sauce and serve topped with cheese.

Sausage, Tomato + Olive Pasta

I have not given exact measurements for these recipes feel free to add a bit of this and a bit of that you can't really go wrong with one pot dinners like these. If you have any questions or want to know quantities please leave me a comment :)

What is your favourite slow cooker recipe?


Check out my other slow cooker recipes:
Best Ever Bolognese Sauce in Slow Cooker
Slow Cooker Sausage Stroganoff
Slow Cooked Old Fashioned Curried Sausages
Slow Cooked Chinese Chicken Hot Pot
Slow Cooked Beef in Orange and Soy Sauce
Sear and Slow Cooker Recipes


Sharing with link parties:
Curly Crafty Mom - The Creative Corner
The Dedicated House - Make It Pretty Monday
Savvy Southern Style - Wow Us Wednesdays


 photo F0F68C01A59FABD46732FC15E1D8816D_zpsc6047f2f.png

For exclusive extras and daily updates ... follow Jarrah Jungle on Facebook, Instagram and Twitter


[All images my own]


Pin It Now!

Tuesday, February 3, 2015

2014 Projects + To Do List - In Review

It's about that time in the new year when I look back at our project list for 2014 to see how we did ticking off the projects, what we accomplished, and what's still on the list.

So how did we go with our ridiculously ambitious to do list last year? Pretty good actually we have accomplished most things that we wanted to ..... this was our 2014 to do list.

1. Laundry/Powder Room Renovation - DONE

Yippee yiy yay those ugly yellow mosaic tiles are just a distant memory now. Not to mention I have a laundry bench to sort clothes and work from and more storage than I know what to do with.

There's a basin inside the toilet so you can wash your hands and check yourself out in the mirror without having to traipse through the house to the bathroom. Oh and a toilet that actually flushes ..... three cheers for that!


2. Finish the inside of the house - ALMOST DONE

We replaced most of the internal doors and a new front door. We just need to hang 2 more and we are done. We also need to paint all the doors and install new handles. I will be doing a How To blog post on this very very very soon!

We have finished painting the entire house and have wallpapered a feature wall and door. I have another wallpaper project in mind once we decide if we'll wallpaper the living room or man cave .... decisions decisions!


3. Front of the house - Landscaping the courtyard - NOT DONE!

We will start work on the courtyard in the next few months.

We have some awesome gardening tools to try out which will hopefully turn my black thumb green and help us get this courtyard landscaped so we can actually use it and enjoy the space.

Not to mention the wood Vs metal courtyard slats debate continues ..... can you believe we still don't know what we want. We have priced up timber and it will work out not that much cheaper once you take into consideration you will need to stain the slats and continue to maintain and stain it each year. Our goal is to order more metal samples and fingers crossed we find a colour we like to match the garage door and can then get the courtyard finished.


4. Backyard - Remove Granny Flat and Patio - IN PROGRESS

5. Build a deck - IN PROGRESS

These two items are on hold until we have our subdivision approval which we should get in the next month or two (the Department of Planning has 3 months to approve/reject our request).

We have organised for someone to remove our Granny Flat for free, they will crane it over the house which is both terrifying and exciting! We have started to clear out the Granny Flat so we are ready for this.

The patio will be removed at that same time, I can't believe the rusty ole thing has lasted so long! We've had some fantastic dinner parties, BBQs, and hosted our first Christmas under here, it has served us so well over the last 5 years!


6. Render back of house  DONE

The back and sides of the house were rendered just before Christmas and it looks absolutely amazing like a different house with all the old 1960s bricks covered with render.

We painted the whole exterior of the house too - the rendered walls, facia and eaves and window frames. It was a huge job but so worth it for the impact it makes.


7. Start subdivision process - Done

We had our land surveyed and the paperwork sent off to planning to see if we can subdivide the property. Now we are waiting to get the go ahead, and once that happens we will tackle 4 and 5 above.

We will also pop a bottle of champagne to celebrate this massive achievement as first time renovators to have our property dreams come to fruition with a lot of hard work and determination!


It's reassuring to look back at all the work we did over the year and see the progress made. 

We still have a list of jobs to finish off, but sometimes it's easy to lose sight and instead of taking a moment to acknowledge what HAS been done, we worry about what HASN'T been done!

I'm reminding myself to do that often this year, not just for the wedding preparations, but life in general. To look at what we've achieved and celebrate the small things because the small things are the big things in life!

How did you go with last year's To Do List?


Sharing with link parties:
Curly Crafty Mom - Motivational Monday
The Dedicated House - Make It Pretty Monday


 photo F0F68C01A59FABD46732FC15E1D8816D_zpsc6047f2f.png

For exclusive extras and daily updates ... follow Jarrah Jungle on Facebook and Instagram


[All images my own]

Pin It Now!

Thursday, January 15, 2015

Laundry Renovation - How To Wallpaper A Door And Wall

After much debate on wallpapers for the laundry I finally picked out this wood wash wallpaper a few months ago after nabbing it for less than half price at Masters - if you keep an eye on the catalogue sales they do have them on promotion from time to time.

We wanted to wallpaper the wall and the door that leads from the laundry into the garage, the shoppers entry if you like.

The door was old, knocked, marked, battered and had seen better days and while replacing all the doors within the house is on the to do list, this door was going to be too expensive due to it's custom size, so we decided to wallpaper it instead. 


We cleaned the door and the wall with sugar soap and filled any bumps and dents with filler as best we could. It's important to have clean and well prepped surface before you start wallpapering as marks may show through depending on the type of wallpaper you get.

This wallpaper was textured and quite thick and hid a magnitude of sins as you will see from the before/after photo above!

We removed the door handle, light cover, etc so that it was a clear surface to work from and made it easier to cut the wallpaper around it. We need to fit a new door handle but for the moment we're using the dead bolt to lock and unlock the door oh the joys of renovating!


We measured each strip of wallpaper from the ceiling to the ground and using a level drew a straight line on the walls.

Walls are never truly square so don't rely on measurements or you'll end up with crooked wallpaper - always use a level to get a straight line.

We cut each strip of wallpaper to size allowing a bit of an overhang for cutting and set them aside until we were ready. 


We mixed up the wallpaper paste and water in a bucket and then poured it into a paint tray so we could use both a roller and a paint brush to apply the paste to the wall.

We have used both the paste the paper and paste the wall now and I think paste the wall is a lot easier  to use, mainly because with the pasting the paper it tends to get tacky and get stuck together, but then maybe that's just me!


Paste ready and wallpaper cut, we started in the top corner and worked our way across.

The beauty of this wallpaper is the pattern doesn't have to match up so you can hang it in any order which made it much easier to just cut and hang without matching patterns. You don't waste any paper this way either which is another bonus.


Leave an overlap on the top and the bottom so you can cut the paper using a sharp knife, we just used a cheap blade knife and changed the blades to make sure it was sharp and cutting well.

Mr P did such a great job cutting around the door frame I was so impressed!

It's really important to take your time when wallpapering and don't rush, smooth out any bumps and air bubbles as you work your way from the top to the bottom. Do one sheet at a time, it took us about 1 hour per sheet so about 3 hours for this project.


I really like how the wood look wallpaper ties in with the wooden bench top we made and the jarrah floorboards that run throughout the house.

My only disappointment is I meant to hang it horizontally so it was more of a paneled wall, but I forgot about this until we were onto the last sheet!

I do like how hanging it vertically makes the wall appear larger and the ceiling taller and it also follows the line of the door frame which is good.


If you're wondering how well a wallpapered door will wear, our wallpapered hallway cupboard doors which we did about 5 years ago have worn really well so it's worth considering if you have an old door you want to change and cover up. 

It cost us about $40 to wallpaper whereas replacing the whole door would have cost about $200.

This laundry renovation is really coming along now, the last thing for us to do is storage - we need to find and install shelving in the built in cupboard and then we can unpack everything in here and also in our flat pack cabinets

Now I have the wallpapering bug again ...... what can I wallpaper next!

Other than a wall, what have you wallpapered?


 photo F0F68C01A59FABD46732FC15E1D8816D_zpsc6047f2f.png

For exclusive extras and daily updates ... follow Jarrah Jungle on Facebook and Instagram


[All images my own]


Pin It Now!

Wednesday, July 23, 2014

For The Laundry - Blue Wash Wood Wallpaper

Since my wallpaper admiring spree a few months ago I actually made a decision and picked out this Blue Wash Wood wallpaper.

Being a Bargain Queen of course I didn't pay full price either, I managed to get it on sale for $37 (it RRPs for $69.95 at Masters).
 

Now that the new toilet is in and vanity and glass sink installed, I think with the mosaic splash back tiles I've chosen I'd like them to be the feature of the powder room and hanging wallpaper in here as well may take away from that.
 
So I'm going to use the wallpaper on one of the walls in the laundry, going with my original idea of wallpapering both the wall and the door that goes into the garage - the shoppers entry. We are hanging all new doors throughout the house, except for this door because it will be a custom order and too expensive, so a great way to disguise it's age and knocks and marks is with wallpaper.
 
Here are some of my favourite wallpapered walls and doors for inspiration ...


I like how these doors blend into the walls with the use of wallpaper and create a bit of a secret entrance!
 
What do you think of using wallpaper on both the walls and doors?


 photo F0F68C01A59FABD46732FC15E1D8816D_zpsc6047f2f.png

For exclusive extras and daily updates ... follow Jarrah Jungle on Facebook and Instagram


[1st Image my own, Other images via Pinterest 2, 3, 4, 5, 6, 7]

Pin It Now!

Wednesday, May 7, 2014

Wallpaper - Which One Do You Like?

I am a massive fan of wallpaper .... especially using a small amount on just one wall as a feature.
 
We wallpapered the Jarrah Jungle hallway cupboard doors with wallpaper we picked up for a crazy $5 Euros on a trip to Amsterdam a few years ago. I bought 3 rolls and managed to ram them into my suitcase and fly them all the way back to Australia with me.

I've only used 1.5 rolls and it's such a subtle pretty pattern that I'm sure I'll be able to use it to decorate my future homes as well. Listen to me already thinking about the next house to decorate!
 
 
For the laundry and toilet renovation I am thinking of a feature wall behind the door in the soon to be powder room - wallpaper can create such a big impact in a small room and is fun and unexpected, especially in the toilet!

I'm also contemplating wallpapering the wall and door in the laundry that has the shoppers entry door into the garage, because we are replacing all the internal doors throughout the house but we aren't replacing this door because it's a custom size and thus very expensive. It can be a cheaper option of hiding the imperfections on the door by wallpapering it.

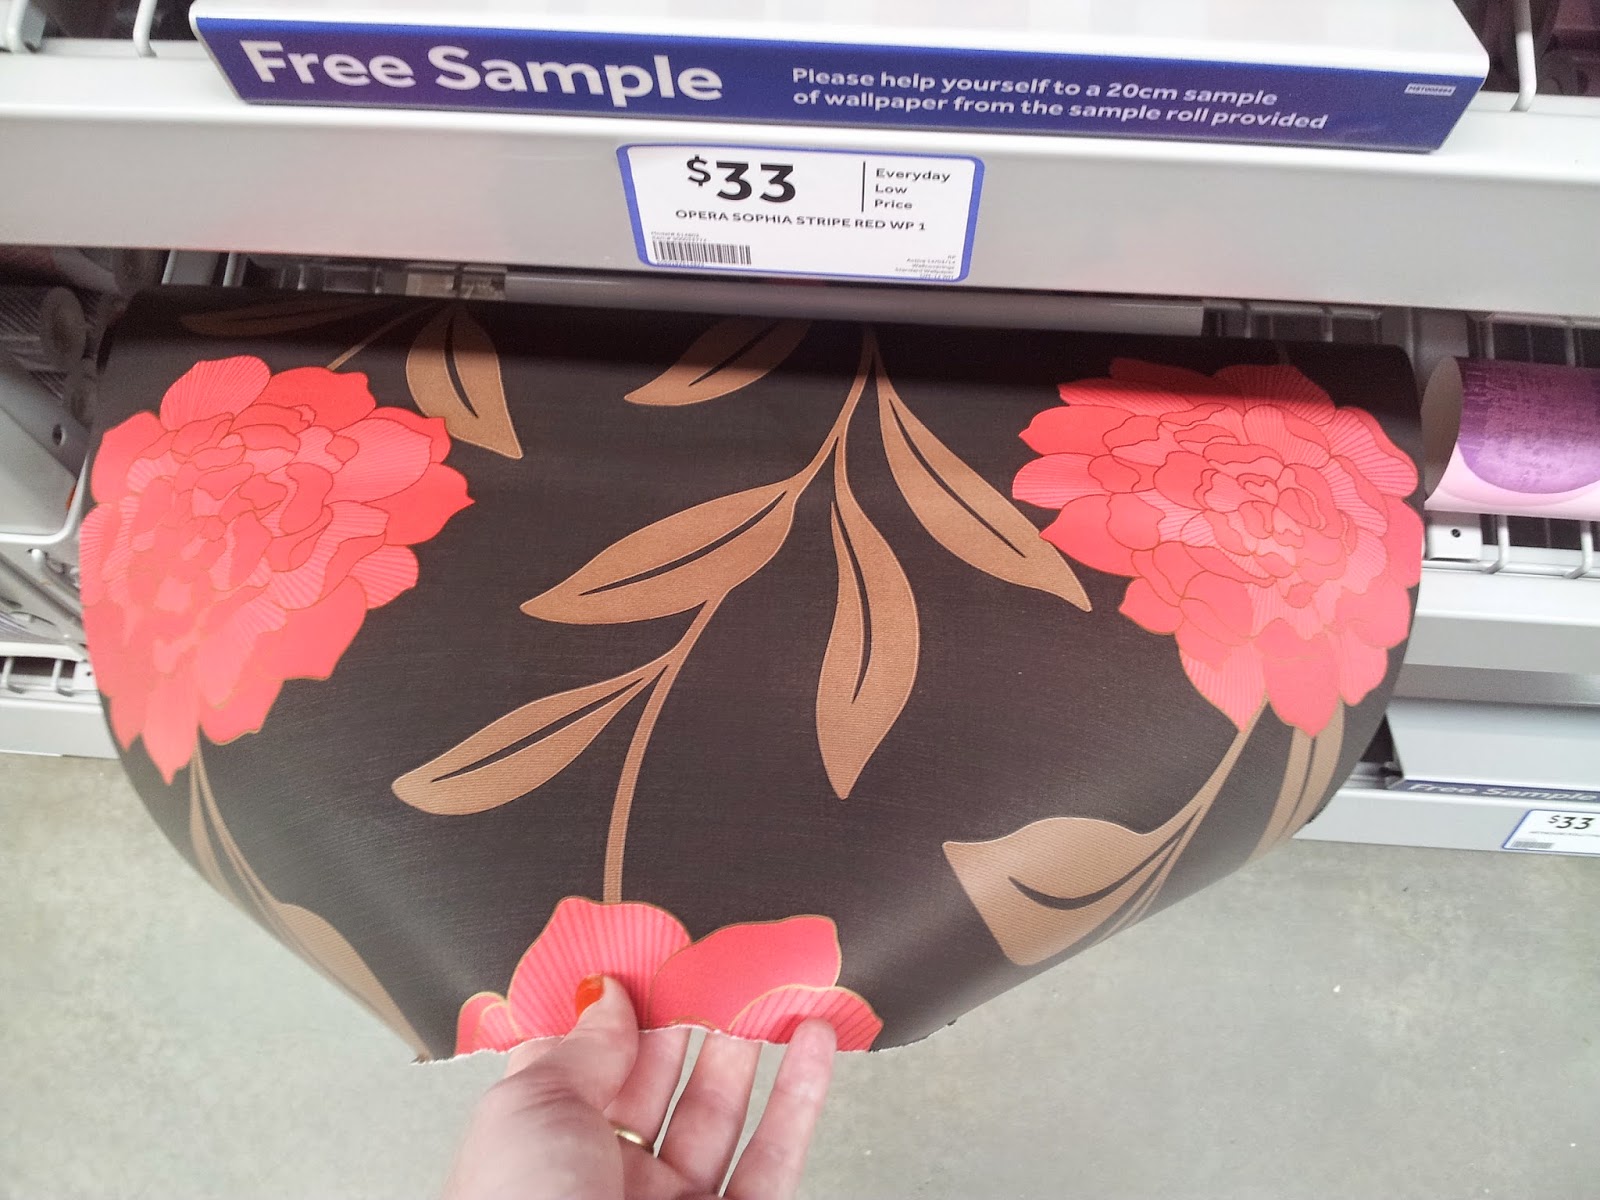
So I visited Perth's newest Masters home improvement store on the weekend and came home with more than a few wallpaper samples, hey they were free I couldn't help myself!
 
 
I narrowed it down to 4 favourites and took the samples home to see how they'd look on the wall - from left to right there is: Laura Ashley Red and Gold, Red and Grey Stripe, Blue Wash Wood and Retro Leaf Silver/Orange
 
 
I really like the Retro Leaf  and think the colours will go nicely with the grey and white tiles planned for the laundry and toilet.
 
The retro pattern is fun for our 1960s house and isn't trying to be too modern or something that it's not. The orange adds a hit of colour without being overpowering and can be the feature colour in this room, all I need to do is find some artworks with a similar colour palette to bring it all together.
 

My other favourite is the wood panel look wallpaper Blue Wash Wood. These realistic looking wallpapers have been pretty popular over the last few years and it will bring texture and a heap of character to the room.


Once home I stuck the samples up on the wall ...... The Retro Leaf is a really cool pattern and print whereas the Blue Wash Wood seems to have more depth and interest.
 
The other thing swaying me towards the wood look is  the wooden bench top for the laundry and this wallpaper will be a nod to the wood in the room and the Jarrah floorboards throughout the house.
 

This is the door and wall I'm thinking of wallpapering, so it blends in as one and is a feature wall. As you can see this wall and door took a bit of a beating when we turned our carport into a garage because the old concrete floor and steps into the laundry had to be cut out to make way for the shiny new garage.

 
Of course the other factor to consider is the price - being a bargain queen it's hard to resist the Retro Leaf at $32 a roll whereas the Blue Wash Wood is more than double the price at $70.

Although both rolls are pretty cheap, because I've seen the designer rolls of the wood look wallpaper at $200+ a roll.

So now it's decision time - A colourful retro vibe Vs The trendy rustic look
 
Which wallpaper do you like?

 photo F0F68C01A59FABD46732FC15E1D8816D_zpsc6047f2f.png

For exclusive extras and daily updates ... follow Jarrah Jungle on Facebook and Instagram


[All images my own]

Pin It Now!