This weekend we had some DIY jobs to do to finish off
the French Doors we installed a few weeks ago.
Where
we cut the window into a door way the floorboards were left open and uneven so
the first job was to patch where the floorboards meet the new door way.
The second job was to install skirting and quarter round on both corners of the door way to finish it off.
So this is how it looked in it's former life as a window in the dining area.
Mr P used a circular saw to cut across the floorboards to make them all even and to make space for the jarrah beam to be slotted in. The jarrah beam was lined up and used as an edge for the saw to line up with.
Notice
Lexi the site manager looking on ... she gets really excited whenever we use
power tools and jumps around and goes a little berserk!
Yes that's my ugg boots standing on the jarrah beam to make sure it didn't move while Mr P was cutting.
The flooboards were cut straight and ready for the jarrah beam to be slotted in ... nice cutting babe even Lexi approves :)
We chipped away some of the brick and fitted some supports made from blocks of jarrah to support the jarrah beam that will go on top.
Then we slotted the jarrah board in and put a few nails in through the beam and into the supports underneath.
The jarrah board isn't sitting perfectly flat probably because the floor boards aren't perfectly flat either but that can be fixed with a bit of sanding.
We did try to use the planer to shave off some wood to make it sit flat but it cut in too deep and was leaving grooves in the wood so we used the electric hand sander which worked a lot better.
Didn't take long to make it smooth between the floorboards and the beam so it's one flat level. We'll also use some filler to fill the gaps before we seal the floorboards with Tung Oil - sealing the floorboards is the very last job as it can scratch easily in the first few days it's something we'll do when we can get away for a night.
Now for the second job the corner skirting needed to be made for both sides of the door way and installed. The skirting we made from left over skirting board that was under the window before. It was cut and then nailed together.
I even had a go and got to use the drill for the very first time ... I was a little bit scared and a little bit excited! It was the smallest drill bit in the world so I managed ok - 3 holes and then nailed in 3 little nails attaching the 2 pieces of skirting together and it was done.
Once the new skirting was made it was fitted into place and then nailed into place.
The quarter round is then fitted to the base of the skirting with a few nails. Once it gets a coat of paint you won't even know it was a patch job, it'll look like brand new.
The other side of the door way was done the same and the quarter round was nailed in to secure it.
So there you go - the skirting and quarter round is fitted and the floorboards are patched where they meet the door way.
We just need to use filler on the gaps and nail holes in the floorboards and jarrah beam and no nails around the edge of the beam where it meets the metal step. Once the floorboards are sanded back and sealed with a coat of Tung Oil they should all flow and look like the doorway was always there.
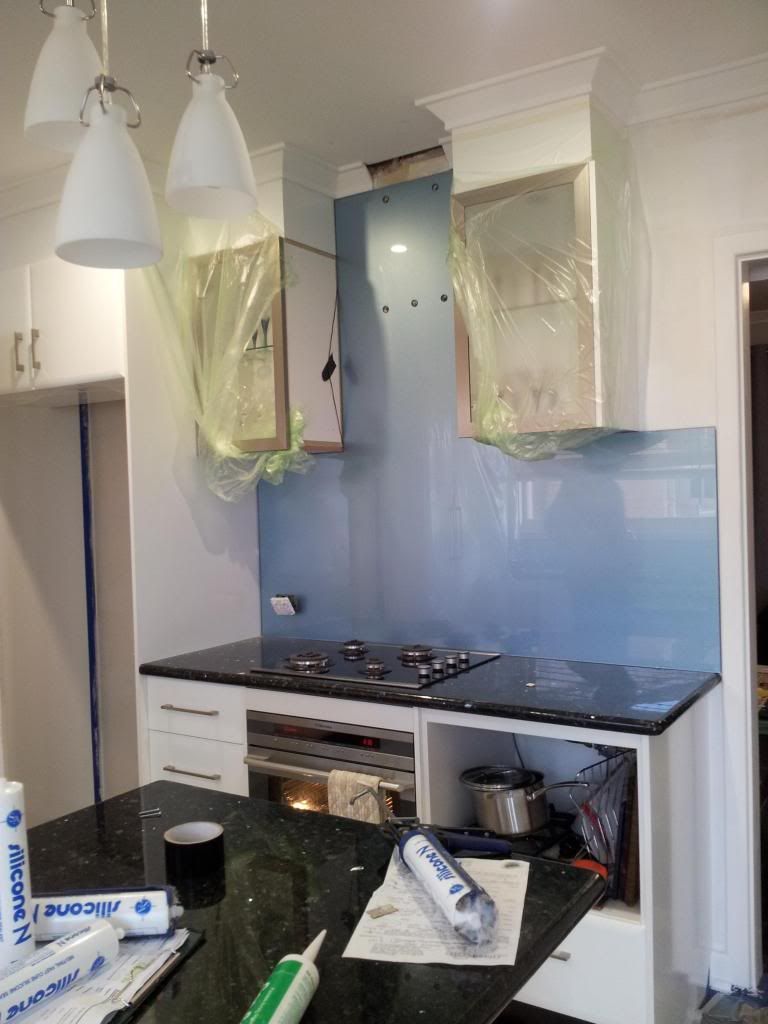
Another successful DIY weekend in the Jarrah Jungle household and another week closer to finishing the kitchen renovation!
[All images my own]
Pin It Now!




.jpg)


.jpg)