You have seen our before and after on having the exterior of the house rendered recently and while we have hired a scaffold for the project, we decided to paint the exterior of the house as well while the scaffold was up, much easier and safer than balancing on ladders and crates!
I have been lucky enough to work with Dulux to review their paints recently and for this project they provided their exterior paints Dulux 1 step Acrylic Primer, Sealer and Undercoat and Dulux Weathershield Low Sheen Acrylic - both of which we had tinted to Colorbond, Classic Cream.
We also used the Dulux Aquanamel Gloss tinted in Colorbond, Monument which we had leftover from when we painted the window frames at the front of the house.
We also used the Dulux Aquanamel Gloss tinted in Colorbond, Monument which we had leftover from when we painted the window frames at the front of the house.

Ok so let's get painting, this is the order that we painted the exterior .......
Working a few hours here and there over the Christmas break on our holiday at home
First of all, the scotia which we removed for the renderer to render all the way to the top of the eaves, had to be re-fitted. The scotia is the wooden moulding that attaches to the eaves to give it a nice neat edge.
To save time we bought a cheap nail gun for about $40 and used it to nail the scotia in all around the house. We went through hundreds of nails so well worth the money, can you imagine doing that by hand? No thanks!
My job was to hold the scotia in place while Mr P came around and nailed it in, being a shortie I used a broom to hold it up high above my head which worked a treat. I wasn't a fan of standing close to the gun and flinched every time it went off but lucky for me (and lucky for him!) Mr P is a good shot and didn't miss!
My job was to hold the scotia in place while Mr P came around and nailed it in, being a shortie I used a broom to hold it up high above my head which worked a treat. I wasn't a fan of standing close to the gun and flinched every time it went off but lucky for me (and lucky for him!) Mr P is a good shot and didn't miss!


Once the scotia was nailed in and we had filled all the nail holes with filler, we were ready to paint them and the eaves which are a concrete colour. We used a standard Ceiling White paint and painted 2 coats onto the scotia and eaves. The white paint instantly lifts the exterior, while we were tempted to use the classic cream paint I'm glad we went for the fresh bright white.
Mr P cut in while I followed with the roller on an extension stick, I tell you this was really hard going having my neck back and arms up walking backwards on the scaffold for hours. I felt very much the DIY Queen doing this paint job and was very proud of myself when we finished!


Once the scotia and eaves were painted we moved onto the window frames. The window and doors frames use to be painted white all around the house but we made the bold move to paint them in Colorbond Monument and have not looked back since, the colour looks great.
We had to prep the frames by sanding back all the old flaking paint down to the jarrah wood, filling any cracks with filler, and sanding the surface smooth. We borrowed a heat gun which helped to remove the paint but there's nothing like a bit of elbow grease to get it all off!
We had to prep the frames by sanding back all the old flaking paint down to the jarrah wood, filling any cracks with filler, and sanding the surface smooth. We borrowed a heat gun which helped to remove the paint but there's nothing like a bit of elbow grease to get it all off!


Once the frames were ready we did a prepcoat in Dulux 1 step Acrylic Primer, Sealer and Undercoat tinted in Colorbond, Classic Cream. As this is the same colour that we'll paint the walls it means we didn't have to be too careful cutting in, so the prepcoat didn't take too long to paint on.
A great tip if you are undercoating is to have the paint tinted in the same colour as your wall paint.
A great tip if you are undercoating is to have the paint tinted in the same colour as your wall paint.


Once the prepcoat had dried Mr P did 2 top coats on the window frames in Dulux Aquanamel Gloss tinted in Colorbond, Monument. This is the same paint we used to do the window frames at the front of the house and ties in nicely with our exterior colour combination.
Using an angled brush on the window frames to cut in makes painting a lot easier, it is worth investing in a few different sizes and shapes of brushes for the different painting projects you do.
There are 6 window frames and a door frame to paint which Mr P smashed out in about 10 hours, what a champion with the paint brush he is!
There are 6 window frames and a door frame to paint which Mr P smashed out in about 10 hours, what a champion with the paint brush he is!


Painting in hot weather is never recommended, but as we were paying for the weekly hire of the scaffold we had to push on and get the work done so we could return it. So we were up painting at the crack of dawn in the heat and even on the shady side of the house the paint was drying out too fast and crusting over which was leaving lumps on the walls.
There are some things you can do to beat the heat - firstly, we hosed down the walls with water to cool them down and stop the paint drying so fast and this definitely helped.
Secondly, we thinned the paint down - we tried using water but found that wasn't working too well so we went and bought some proper paint thinner.

We picked up a few cans of the Dulux Hot Weather Thinner which worked brilliantly by slowing down the paint from drying too fast. The thinned out paint is also easier to apply to the walls and makes the paint go further too.
Anytime we paint with exterior paint from now on we will use a paint thinner, it was a bit of a life saver really because it allowed us to get on with painting even on a 38 degree day! We used a 1 litre can of thinner to 10 litres of paint, poured it straight into the paint can and gave it a really good mix and then it was good to go.


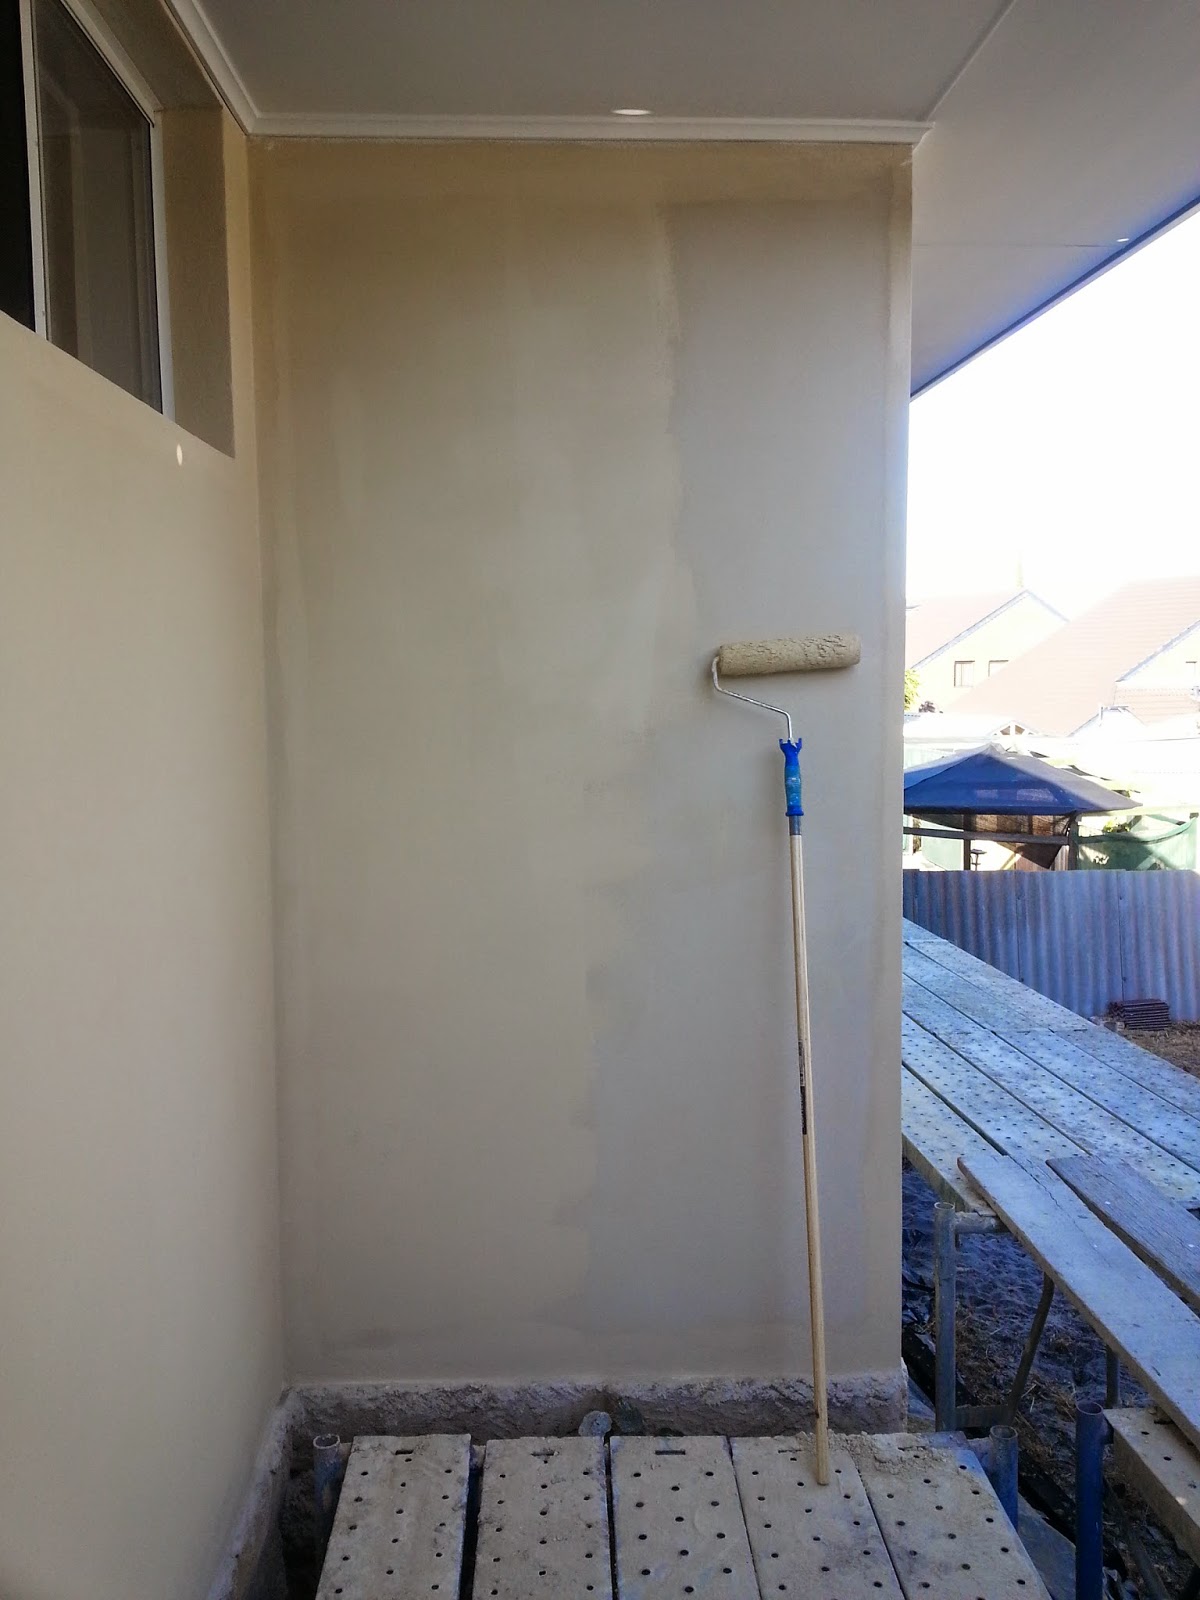
Once the window and door frames were painted we moved onto the walls and for this we used the same prepcoat as we used on the window and door frames Dulux 1 step Acrylic Primer, Sealer and Undercoat tinted to our wall colour Colorbond, Classic Cream.
Once again Mr P was the cutter-iner and I was the roller girl. I tell you painting the outside is a lot different to inside - the walls are not flat and smooth like inside the house and the concrete walls are porous which means it takes twice as long and you use a lot more paint too.
.jpg)
.jpg)

Once the prepcoat was on the walls we could apply the top coat which was Dulux Weathershield Low Sheen Acrylic tinted with Colorbond, Classic Cream. The first top coat went on a lot easier and the second even easier again thanks to the prepcoat.
Mr P cut in all around the edges while I came along with the roller. Our lovely neighbor who is a retired painter and could no doubt hear my squeals every time I got too close to the edge of the scaffold, came over and helped us finish off the very last coat of paint, for which I was extremely grateful.


As the sun was fading we cleaned up the brushes and rollers, sat out on the patio with a bottle of wine and looked back at the mammoth job we had of painting the house exterior - scotia, eaves, window and door frames and rendered walls.


What a difference a fresh coat of paint makes to everything! Just a reminder of how it looked a few weeks ago ....


And how it looks now all rendered, painted, scaffold removed .... like a brand new home!


It was hard work painting the exterior especially when we were working in the heat of summer. Setting the alarm on our days off over the Christmas break to get up early to paint when everyone else was on holidays having a good time.
But look what we've achieved and saved ourselves thousands of $$$ doing it ourselves too.
Now the front and back of the house has been rendered and painted it looks so good, I'm just so happy with it ...... Never underestimate the power of paint!
Now the front and back of the house has been rendered and painted it looks so good, I'm just so happy with it ...... Never underestimate the power of paint!
Sharing with link parties:
Disclosure: Thanks to Dulux for providing me with this paint and painting products for review. I have not received any payment or compensation. As always, all opinions are my own.

[All images my own]
Pin It Now!
Wow! What a difference!! I really like the color you used, too, it really lightens it up and looks great on your house.
ReplyDeleteThanks Carrie, the creams and charcoals go really nicely together :)
DeleteY'all are doing such an awesome job. I love the colors. It makes the house look totally different. Thanks for sharing at Motivational Monday Link Party! Hope to see you again next week.
ReplyDeleteBethany from The Southern Couture
Thanks so much for stopping by Bethany :)
Delete