Related Posts Plugin for WordPress, Blogger...

Friday, August 30, 2013

A Rundown On Our Kitchen Appliances

I recently shared my 5 tips for buying appliances which came about from the many shopping trips, research and reading reviews that I did before deciding on the kitchen appliances.

Now I want to show you the shiny new appliances we picked out and have been happily using for the last few weeks. The model and price details are at the bottom of this post.

Oven - I fell in love with this Electrolux electric oven with it's light up display it looks really modern and has catalytic liners which means the racks slide out really smooth and easily. We purchased the oven with 12 pre cooking functions for pizza, roast, baking etc which makes cooking a no brainer really you just select what you're cooking and it adjusts the temperature automatically.

They have a self cleaning model but that was a bit more expensive, in hindsight we probably should have spent the extra and got that model but at the time we had already spent so much we thought it was a little extravagant to do. Either way this oven is awesome, I love it.
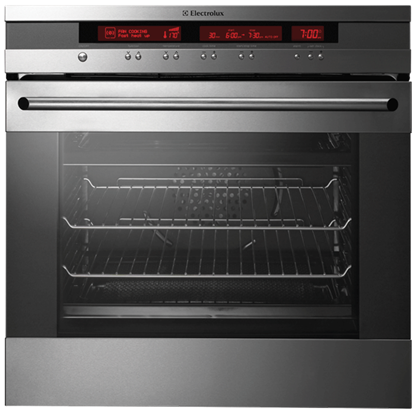
Our Electrolux Oven 
Cook top - I was eyeing off the matching induction cook tops I love the sleek look of the induction as it is just a pane of glass there are no knobs to clean around and it has electric push button controls. Very flash!

Except that I found 2 issues with the induction cook tops -

1. It will only work on certain pots as the way induction works is that it senses the pot and heats up the pot base. The way to test your pots to see if they will work on induction is to stick a magnet to the bottom of the pot. .... so I went home and got out my favourite Scanpan pot I cook with almost every day and the magnet didn't stick, nor did it stick to my smaller gravy pots and saucepans or my casserole dishes. So that means we would need to buy a whole new pot set and unless they are going to throw one in as a freebie (which some of these Induction cook tops did offer) - this is an expensive option.

2. The cook top can scratch easily if you like to shake the pot around on top of the cook top which I do a lot of, it's going to scratch and not look very new and shiny for long. Also if you drop the pot it can crack it because it's glass and you need to replace the whole thing - that's an expensive accident to happen!
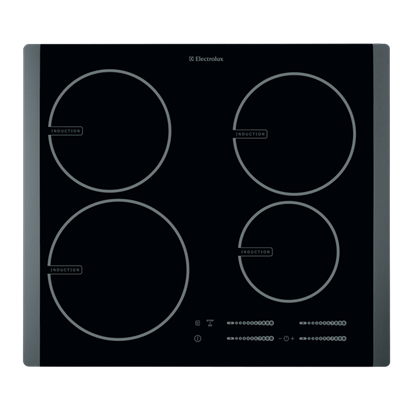
The sleek looking Electrolux induction cook top
So going for practicality we looked into gas cookers, which meant we had to install gas in the kitchen as we were using electric before. Installing gas was the best decision we made - cooking with gas is so much better than electric. You can really control the heat with gas, it gets hotter a lot quicker and hopefully will be a bit cheaper to run.

Gas cook top - We purchased the matching Electrolux gas 4 burner cook top. It has knobs on the sides which are out of the way and the best thing is you can use pots side by side without them getting in the way of each other - that's something to keep in mind to check out the size of the hot plates to make sure you can use a few at a time ... if you can't cook a pot of pasta sauce and boil a pot of water for the pasta at the same time you're in trouble!


Our Electrolux cook top
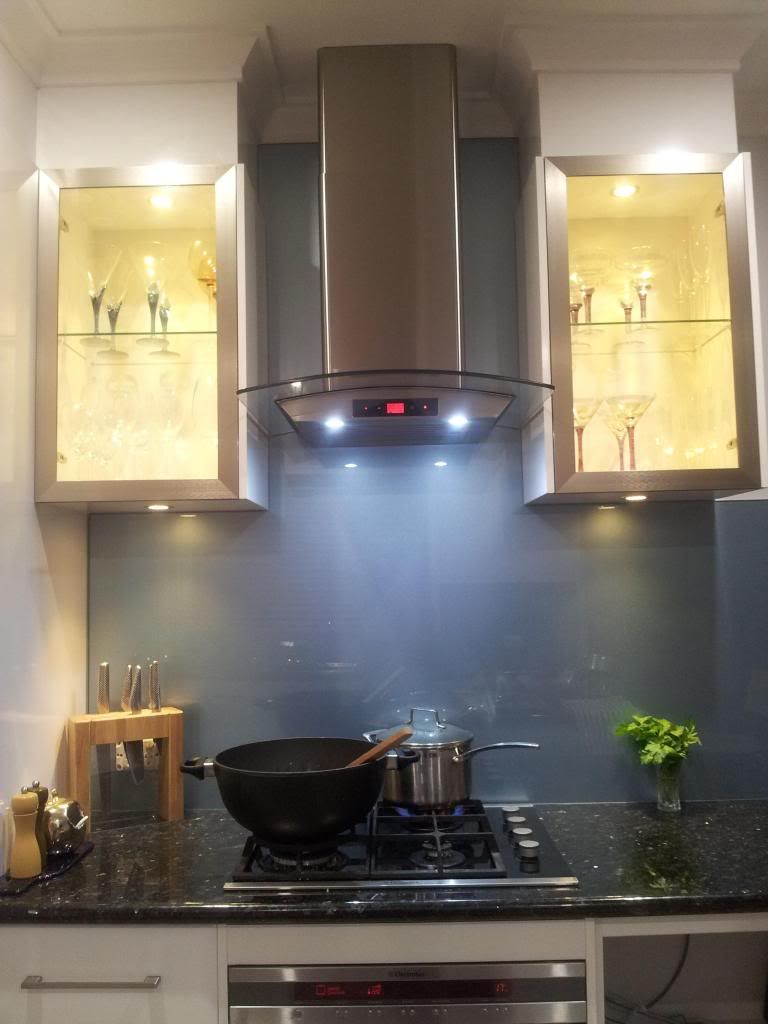
Make sure there is space between hot plates for your pots
so your spaghetti sauce and pasta can cooking away together!

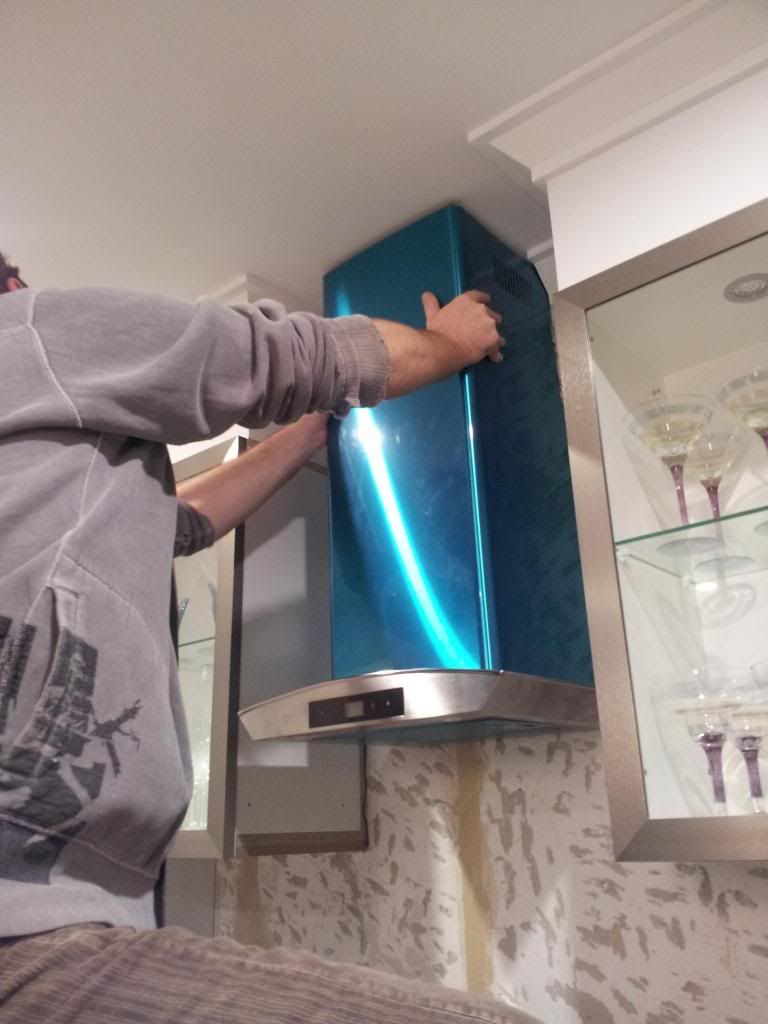
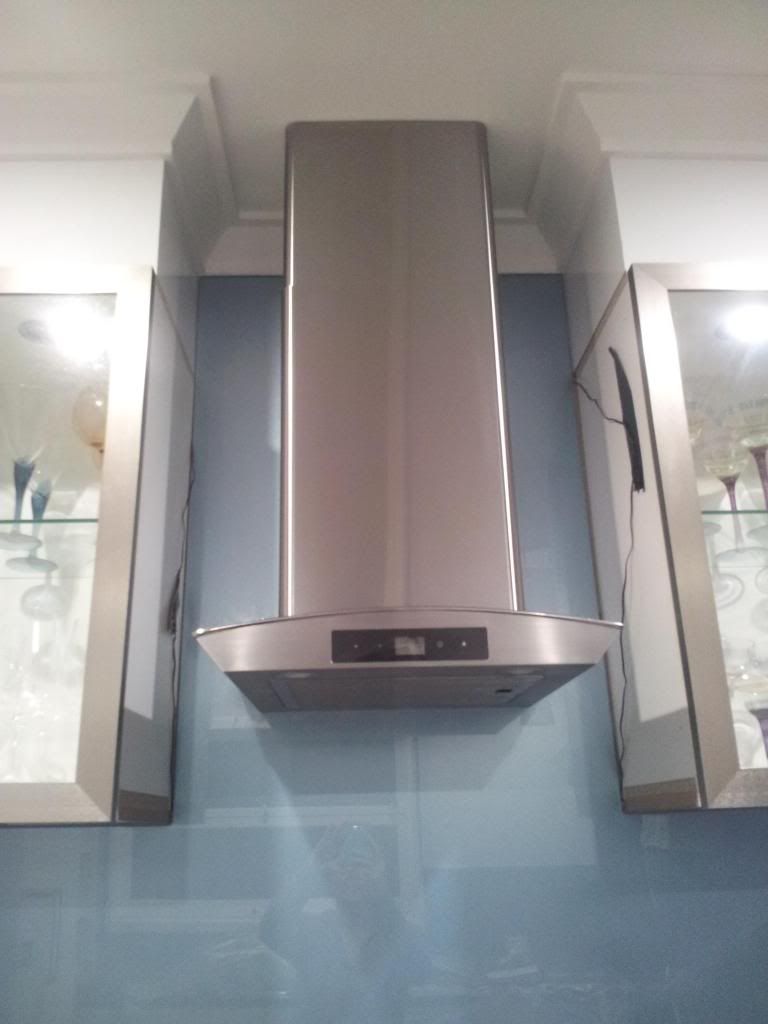
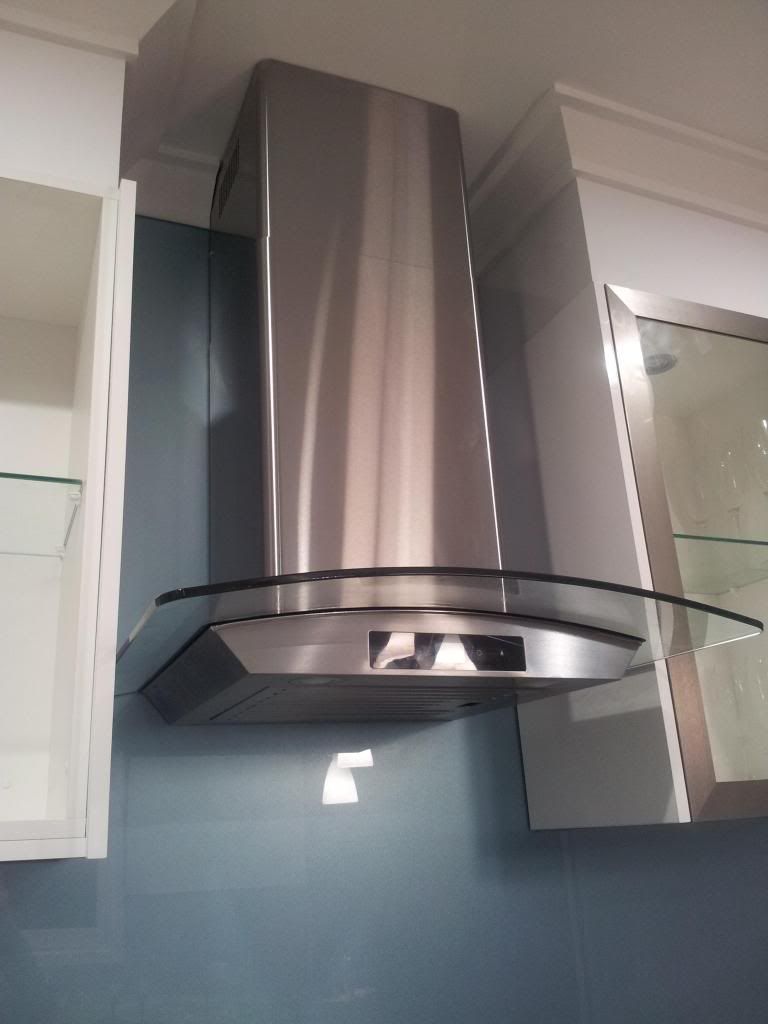
Range Hood - This took us the longest time to decide on - we liked the look of the metal and glass canopy's because it will sit in the middle of the glass cabinets. We were a bit worried about grime and grease showing on the glass but I guess it would show on a metal one anyway.

There were so many styles but nothing really grabbed us until we laid eyes on the Euromaid which had a black strip to go with the ceramic cook top and LED touch rather than push buttons.

Unfortunately, when we unpacked it we discovered it was damaged and had been unwrapped before so looks like someone had returned it and we'd been given someone's faulty return. So we had to drive back to the store and swap it over for another one, no biggie it was easy to exchange but it was still a pain in the butt to have to do it!

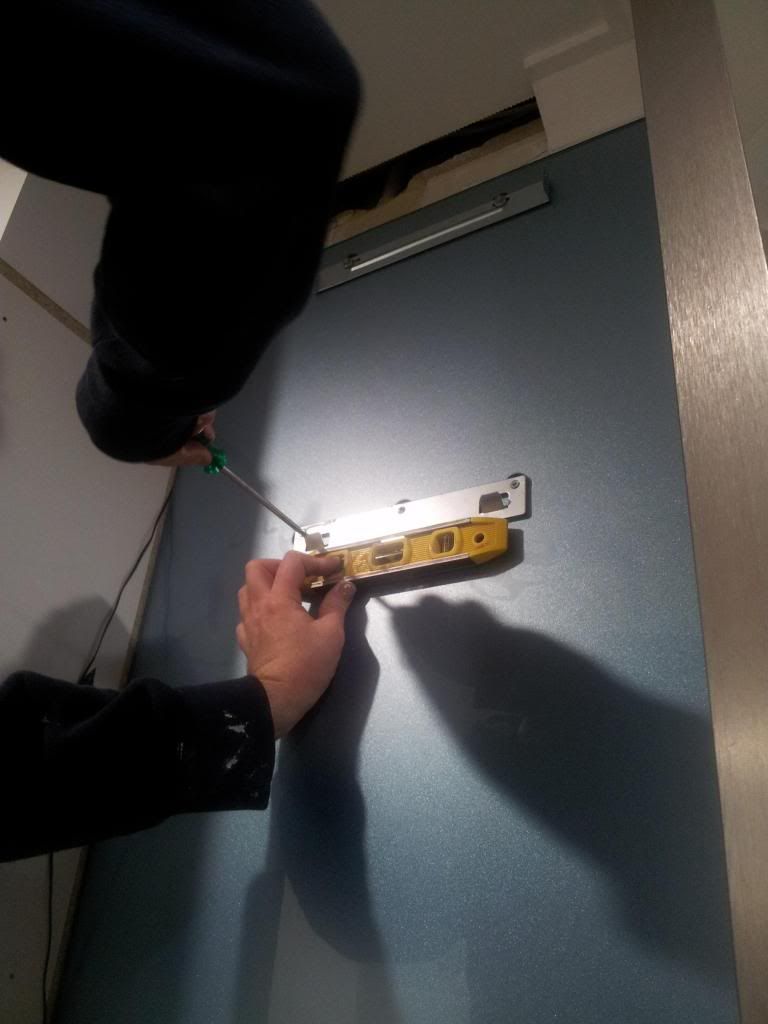
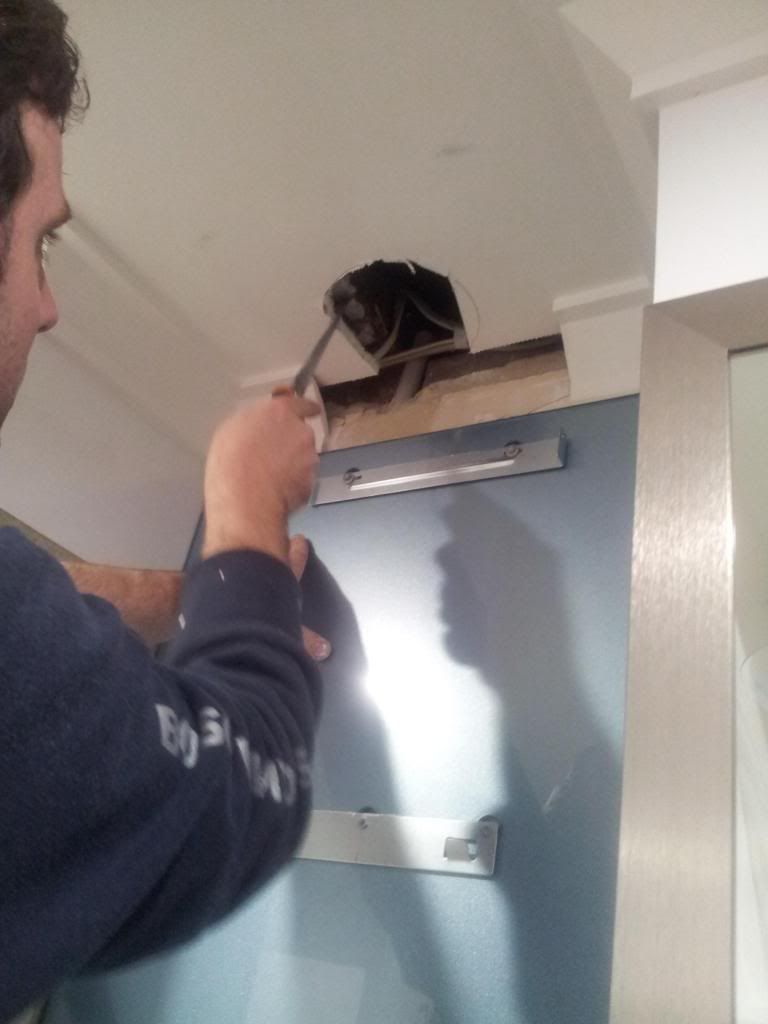
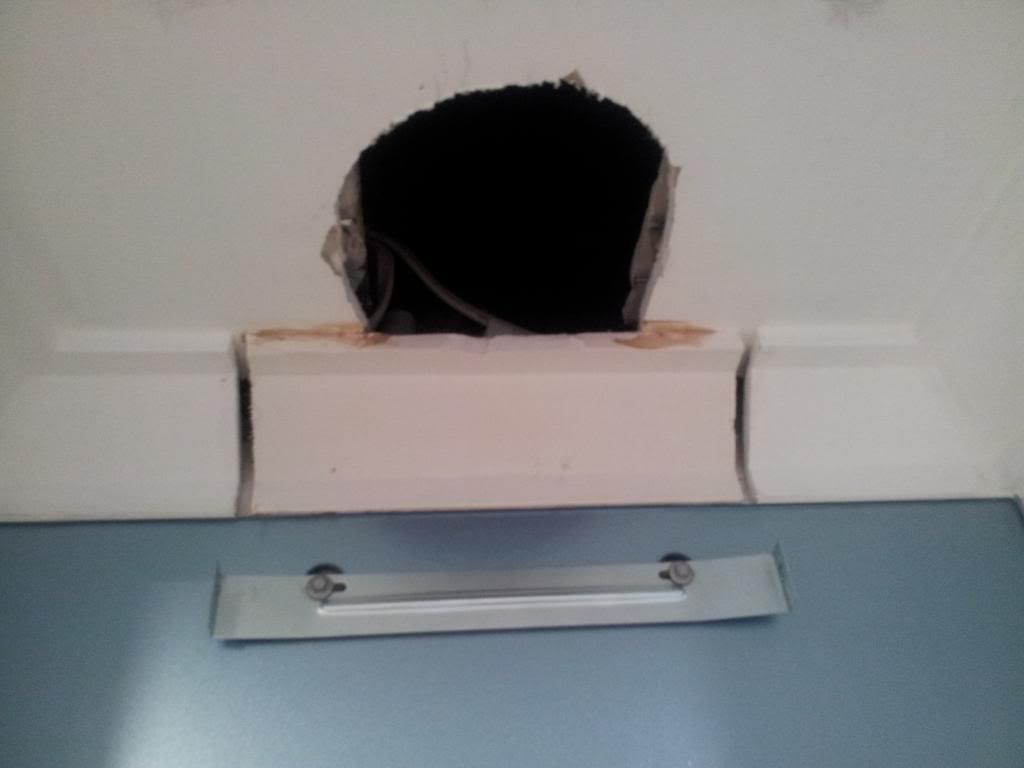
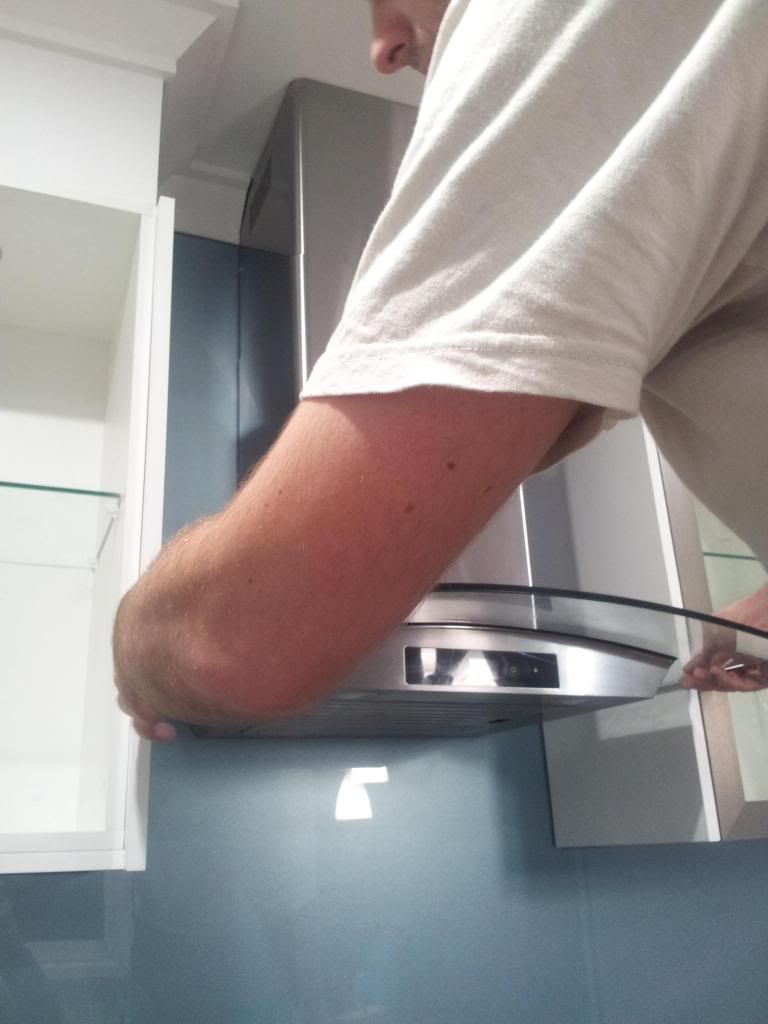
We installed it ourselves which was an adventure in itself, the first attempt we had pretty much finished after 4 hours of installing it and the metal duct split as we were finishing it off. So we had to start all over again and second time around it went in without a hitch.

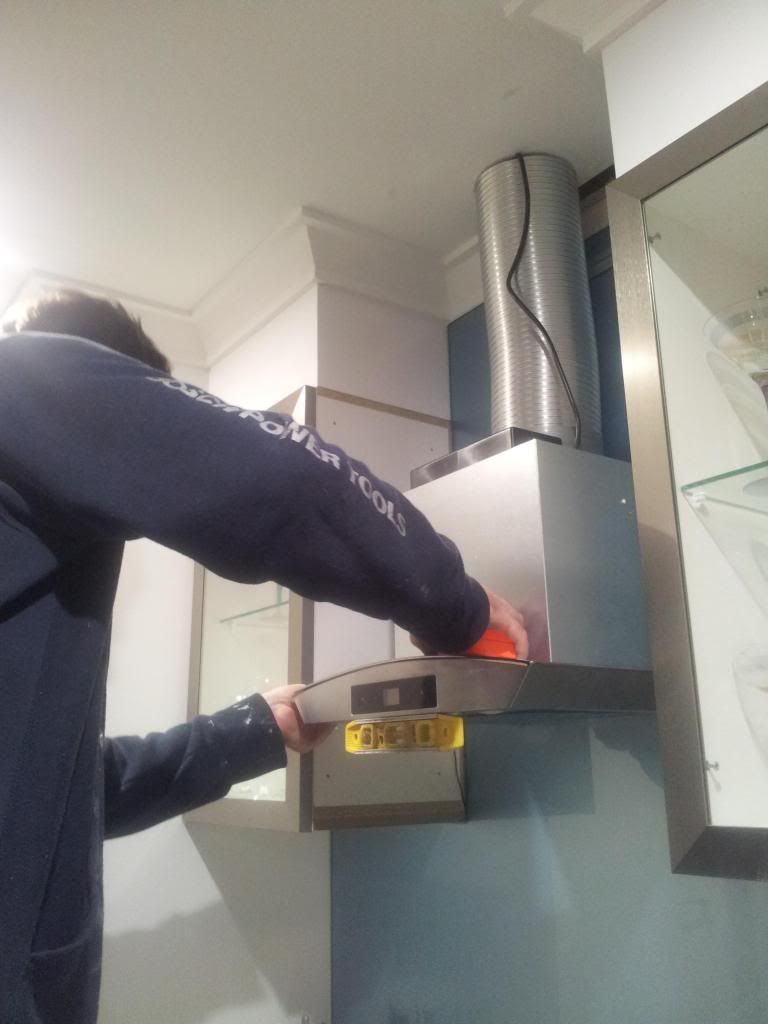
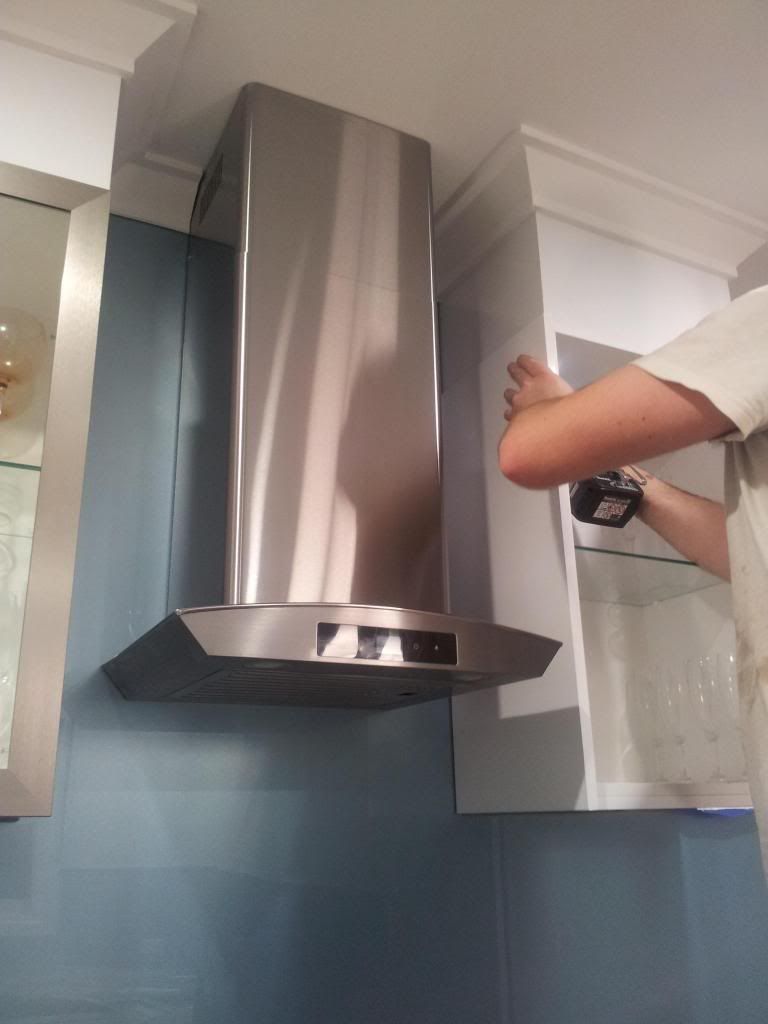
It has been working great although it's a little louder than we had hoped but it looks good and the LED lights at the front are nice and bright too.

Glass Vs Chrome range hoods
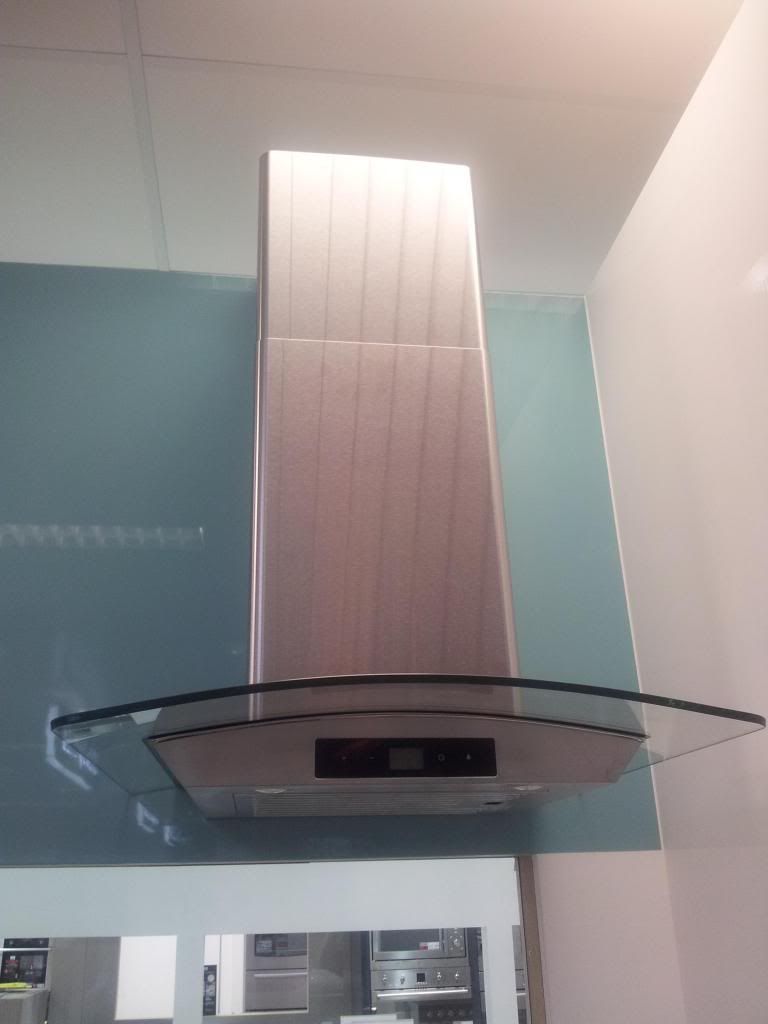
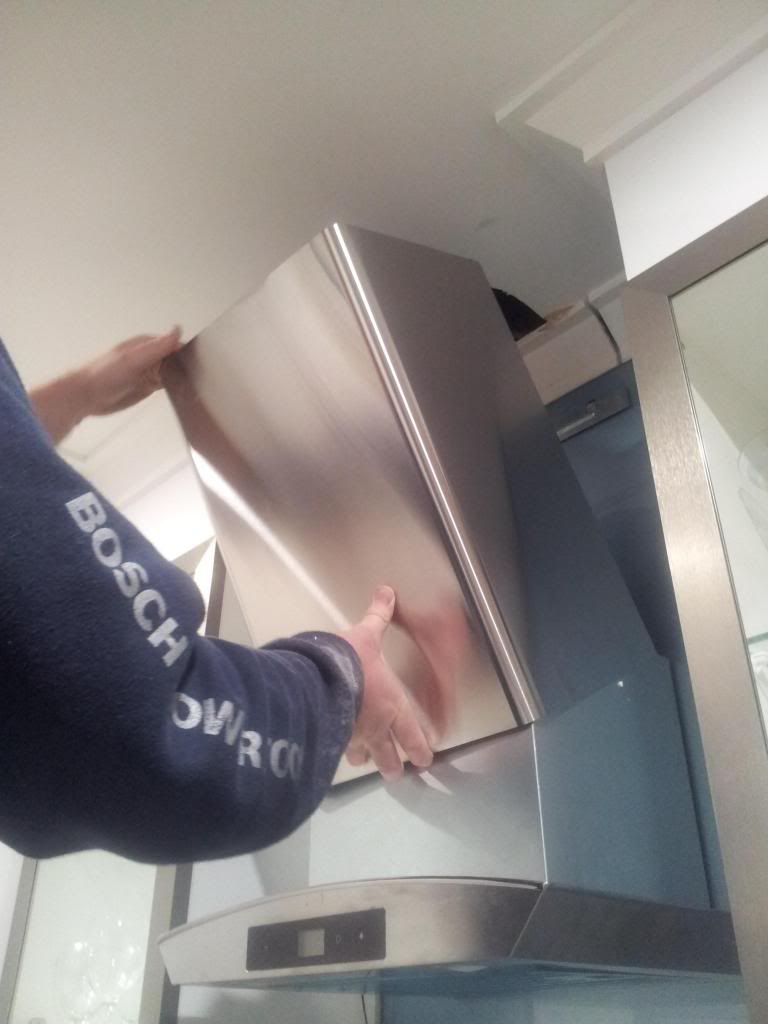
What we picked - glass and chrome
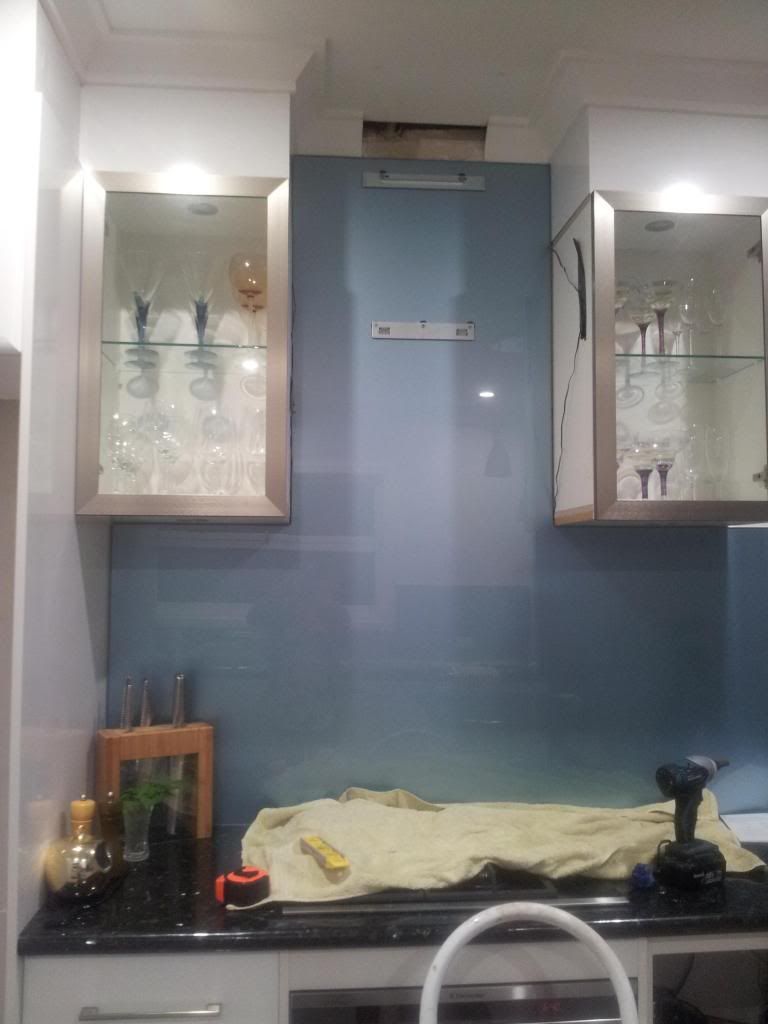
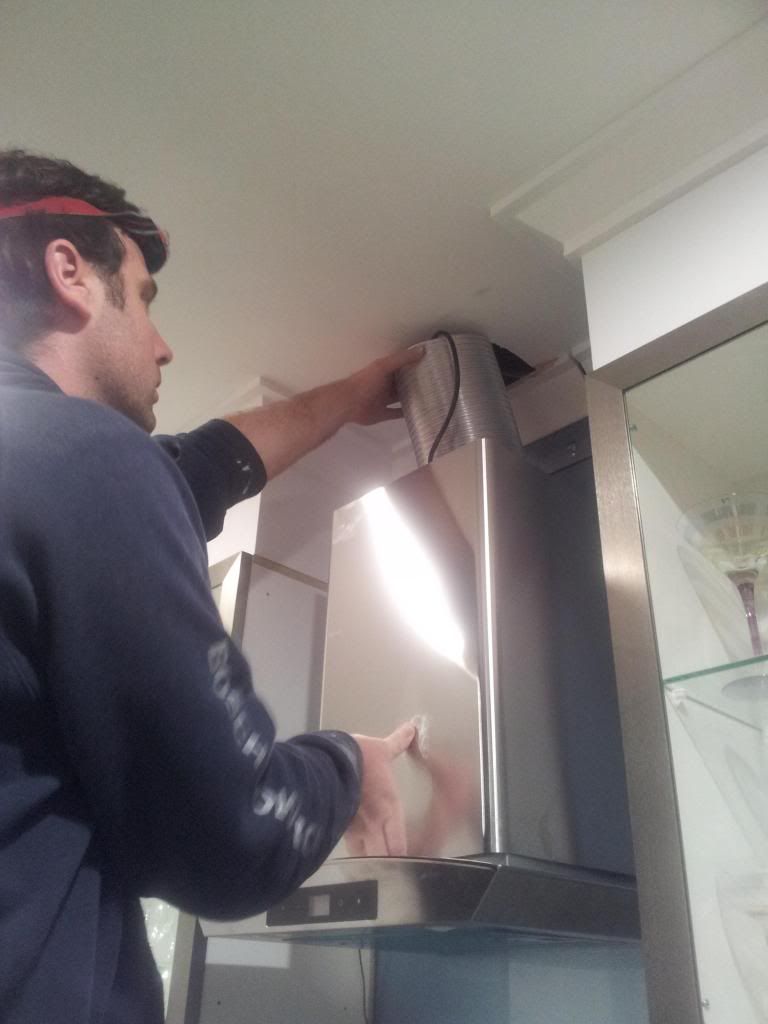
Range hood installed
  
Dishwasher - This will be my first house with a dishwasher what a treat!

I liked the idea of the double drawer dishwasher because you can run a drawer at a time if you don't have a full load and also it's easier to pull a drawer out than pulling open the dishwasher door and leaning around it to load. But on reading reviews I discovered that you could get a much better machine - quieter and runs more efficient for the same price.

So then we picked this LG 14 place setting dishwasher, it has a kick ass inverter direct motor drive with a 10 year warranty, it's so quiet you can hardly hear it's on and everything comes out so clean and shiny my wine glasses have never looked so good!

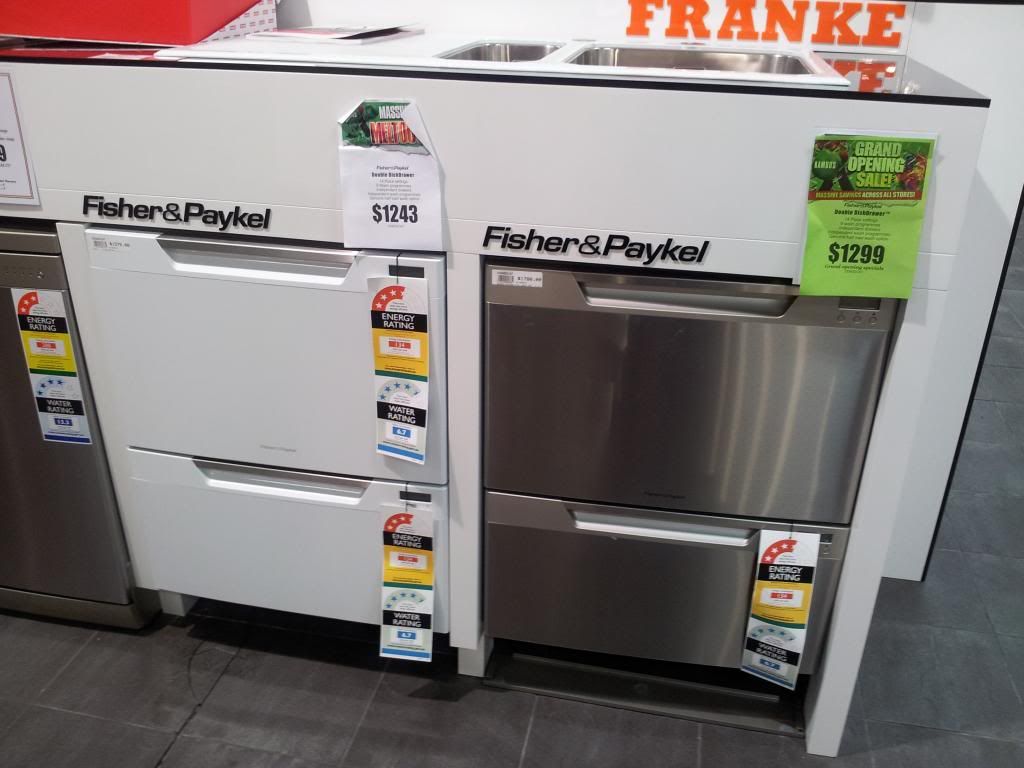
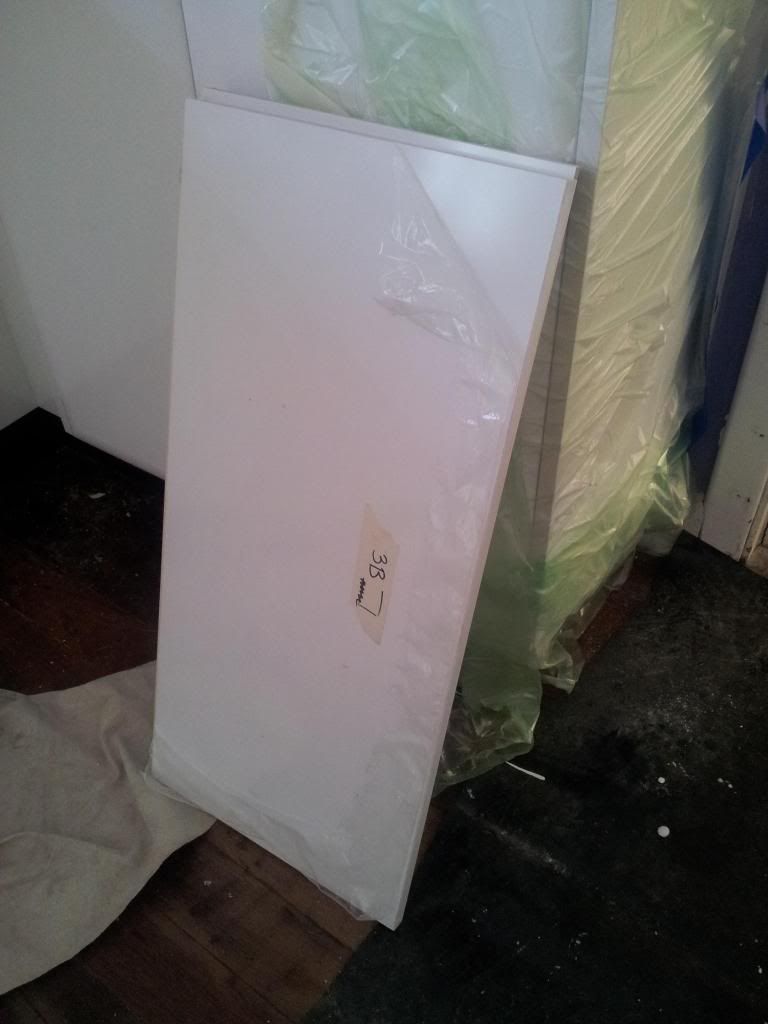
Contemplating on Silver Vs White and Drawer Vs Door

The best bit about buying the Electrolux appliances (the oven and cook top) was that we won a trip to Sydney! So that was an unexpected bonus and we have booked the weekend away and dinner at Quay Restaurant in February 2014 something to look forward to in the new year!

We mixed brands and bought from different stores depending on the stock they had and the price they could offer.

I'm really happy with what we have and I'm sure will get many years of cooking and washing from them.

So that is what we purchased: 

12 Function Oven, Electrolux EOEE63CS, Kambos $1527
4 Gas Burner Cook Top, Electrolux EHGC64AS, Kambos $1049
Rangehood glass canopy, Euromaid CG9BLS, Harvey Norman $399
14 place Dishwasher, LG LD1452WFEN2, The Good Guys $637

The smaller kitchen appliances like a microwave, kettle, toaster and maybe a new coffee machine are next on the list and I'm really keen to check out some of the fun coloured models that are out in shops now like Kenwoods Kmix collection.


 photo F0F68C01A59FABD46732FC15E1D8816D_zpsc6047f2f.png

For exclusive extras and daily updates ... follow Jarrah Jungle on Facebook, Instagram and Twitter

[Images via Electrolux Oven, and Stove top. All other images my own]

Pin It Now!

Wednesday, August 28, 2013

Book Club: The Light Between Oceans by M L Stedman

The August Book Club read was The Light Between Oceans by M L Stedman.
 
I was on the waiting list at the Library for this book and only got my hands on it 1 week before our Book Club meet up so I've been speed reading to get it finished in time, which thankfully wasn't hard to do because it turned out to be a great book.
 
 
This is the story of a couple who live on a remote island off the coast of Western Australia and look after the light house. The story is based around a baby being washed up ashore and then the decision to keep the baby and the consequences that follow. The story also covers the parents of the missing child, and their respective families, and the town folk in the small country town.

This was quite a sad book, with it being set after the war in the early 1900s and the tales of lives lost and how life changed for many in those days. I was really torn as to who I wanted the child to be with, if you read the book you will see why as it shares both sides of the story.

I enjoyed the writing style in the book and found it really engaging, easy to follow, and had me keep on turning the pages. Being from Perth and having travelled around most of Australia, I really liked the references to different parts of Australia and could imagine where the story was, the bush, the wildlife and the ocean.

I would recommend this book to Australians and those interested in the history of our beautiful country. Also to readers who love a good drama.
 
I give this book 4 stars
 
Jarrah Jungle's Star Rating:
 
1 Bad - I'd rather eat brussel sprouts topped with anchovies than read this again
2 Not Good - I'd rather watch re-runs of Neighbours than read this again
3 Ok - I'm sitting on the fence - its not great but not terrible either
4 Good - I'd pass up a pack of tim tams for this read
5 Great - I'd pass up a date with Johnny Depp for this read


Pin It Now!

Tuesday, August 27, 2013

2014 Ikea Catalogue Favourites

On the weekend between shopping at a dozen or so furniture shops I ended up at Ikea for the first time in months. Unfortunately the new 2014 Ikea catalogue hadn't arrived in my mail box yet so I didn't have the chance to flag all the things I wanted to check out. Plus I was at the end of a 5 hour furniture shopping stint with Mr P and was put on a strict no dawdling time limit !

Ironically, the Ikea catalogue was delivered a few days later and is now appropriately covered in flags and I know what I want to check out on my next visit. The Perth store is open late Thursday and Friday nights now too which is a bonus and hopefully will be less crazy than Saturday's venture!

 
While I'm not one to fill my entire house with Ikea furniture, in fact the only piece of Ikea furniture I had was the Expedit bookcase until this weekend when I found my dining table - I looked everywhere for a table with a frosted glass top and silver legs but had no luck and was stoked to see Ikea had the very design I was after, this Torsby 6 seater dining table at a new lower price of $199.
I get a lot of inspiration walking around the store (although with the Saturday crowd I felt like I was in a herd of cattle following the arrows around!). Going into the little zones they have set up I can imagine how everything would look at home. I really like their graphic print rugs and have always had a soft spot for this Stockholm black and white rug $299. 

My favourite thing to shop for are the decorating items, like these cool artworks and frames I'm tempted to bring home this BILD poster $12.95
The Trilling poster set $12.95 would look great on my art and clock wall with the pops of black and yellow - my particular favourite is the Lemoncello poster.
How adorable are these ceramic buttons in the Graddig wall art set $19.95
My rusty old patio (and the deck which hopefully will be built this year) are in need of some serious pimping with bright new pots, plants and outdoor decor. I'm going for ceramic pots now instead of plastic pots so that Lexi doesn't chew them to bits! Might need a few of these Cashewnot pot with green saucer $7.95
I really like all the bright colours and patterns in the new catalogue, there's no doubt that colour is here for another year! 
 
What's on your Ikea wish list?
 
Check out my previous Ikea love 2011 and 2012 
 
 
[Image 1 my own, 2, 3, 4, 5, 6, 78, 9]
 
Pin It Now!

Sunday, August 25, 2013

Recipe: Sweet and Sour Balti Chicken

While trying to cull my magazine stash I came across on old BBC Australian Good Food magazine which had a simple looking recipe for Sweet and Sour Balti Chicken.

There were so many different flavours in this chicken curry but somehow they really worked together from the hot spices to the sweet chutney and cooling yogurt. The best bit was how simple it was to make, I made the sauce ingredients a few hours ahead of time and then when I was ready to cook dinner simply heated it up, chopped and added the chicken, and dinner was ready in no time.


Sweet and Sour Balti Chicken
Australian Good Food Magazine, April 2011
Serves 4
 
Ingredients
340g (1/2 a jar) tomato passata
4 tbsp Greek Style Natural Yogurt (plus extra for serving)
2 tbsp mango chutney
2 cloves garlic, crushed
1 and 1/2 tsp garam masala
1 tsp chilli powder
1 tsp salt
1/2 tsp caster sugar
750g chicken breast, cut into cubes
1 tin chickpeas, drained and rinsed
Fresh coriander
3 cups (when cooked) jasmine rice to serve
 
 
Method
 
1. In a bowl combine tomato passata, 2 tbsp yogurt, mango chutney, garlic, garam masala, chilli powder, salt and sugar.
 
2. Chop the chicken and season with salt and pepper.

3. Heat oil in a pan on medium-low. Cook tomato mixture, stirring, for a few minutes until it thickens.

4. Add chicken and chickpeas and stir until well coated. Add 50ml water and simmer for 15 minutes until chicken is cooked through.

5. Stir in 2 tbsp yogurt and fresh coriander and cook for a few minutes.

6. Serve with rice, chicken mix, garnish with fresh coriander, extra yogurt and a few pappadums.


Note: I changed the original recipe to use tomato passata (instead of 1/4 cup tomato paste), swapped 2 tbsp sour cream with natural yogurt and added a tin of chickpeas to make it a bit more filling.


[All images my own]
  
Pin It Now!

Thursday, August 22, 2013

5 Must Pack Items For A Tropical Holiday

Now that the hard work on the kitchen renovation is pretty much finished I'm looking forward to my cruise holiday onboard Voyager of the Seas that I'm going on later this year. As I'm a self confessed lover of planning what to pack I've started my list of outfits I want to take with me and what I still need to buy.

As well as New Zealand, I'm visiting the island of New Caledonia and Fiji and these places require some tropical getaway outfits. Here are my 5 must pack items for a tropical holiday ...
 
1. A pair of shorts - These are great for being a bit more adventurous when you're out sightseeing and climbing across rocks and sand to get to the beach. Just avoid the itty bitty butt cheeks hanging out style, I'm sorry but nobody wants to see that!


2. A loose tank top or fitted singlet - That you can mix and match with your bottoms ... now's the time to pick a bright colour or pattern and get into the tropics vibe.


3. Day dress - My favourite go to outfit is a simple summer dress, I don't need to figure out a top and a bottom, just put a dress on and I'm good to go!


4. Swimwear - I always take 2 bikinis in case one is still wet from the pool to the beach, they are only small so take up no room at all. There are so many styles and patterns to choose from, I'm loving this pineapple print!


5. Footwear - I don't really wear flip flops/thongs when doing lots of walking as I don't find them secure or supportive enough. But I'm a big fan of flat sandals especially ones with an ankle strap so they can't come off. These Ipenama style sandals are seriously the most comfortable footwear ever
 
A hat, sunglasses, lip balm, sunscreen and a camera are must pack items too!

What are your must pack items for a tropical holiday?


[Images via 1, 2, 3, 4, 5, 6, 7, 8, 9, 10]
 
Pin It Now!

Wednesday, August 21, 2013

Installing A Kitchen Range Hood ... Twice!

Have you ever worked so long and hard on something only to have it break right at the end when you're almost finished and you have to start all over again? 

Well that happened when we were installing this range hood in the kitchen this weekend ...


Picture this it's Saturday night and Mr P and I have been painting all day and then spent 4 hours fiddling, leveling, installing and cleaning the new range hood so it shined like a freaking star and Mr P pulled the inside metal duct vent a little to hard connecting it to the roof vent .... the very last step ... and it split and came unravelled. Which means we had to pull it all apart, insert a new vent and start all over again.

You should've seen the look of deflation on poor Mr P's face. All I could do was hand him a bottle of wine (a glass of wine wasn't going to cut it!) and say shit happens babe! It was 11pm and we hadn't even stopped to eat dinner, or for a break, exhausted, hungry and frustrated to say the least.


So what can you do? 
Put some leftover pizza in the oven, grab another bottle of wine,
and say bugger it we'll fix it tomorrow!!

Regardless, I'll take you through the steps of how to install a kitchen range hood - including when not to pull it too hard! 

We thought we would have a go at installing it ourselves, after all how hard could it be? Famous last words hey!

First things first we had to work out the height and chose to install it slightly higher than the recommended height at 800mm instead of 750mm so Mr P who is quite tall doesn't bang his head on it whenever he's leaning over the stove ... I love my man's cooking so anything that was going to deter him from that was going to be sorted out!


Then we drilled in the holes for the brackets - this had to be done before the glass splash back could be measured so they knew where to cut the holes out of the glass.

We triple checked this was right as you can imagine we couldn't change our mind after the glass had been cut.


Once the glass splash back was installed we could install the range hood starting with the brackets being attached to the wall.

There was a top and bottom bracket that needed to be fitted to the wall and the screws tightened until it was attached securely.


The metal duct vent which we bought from Bunnings for $40 is like a big slinky which stretches and triples in size.

This was cut to size and attached to the inside of the range hood vent with duct tape - of all the uses for duct tape this is actually what it's intended to be used for - who would've thought!


The base of the range hood clipped onto the bottom bracket - we spent ages making sure it was level and secured the wall.

You can imagine when it's turned on it's going to vibrate or have some movement so you want to be certain it's attached safely and securely in place.


Now to cut a hole in the ceiling for the vent to go through the ceiling and into the roof space.

We drew a circle around the vent onto our brand new ceiling so we could cut a hole out.

Using a plaster saw to cut through the plaster board ... I actually got on the tools to do this bit standing on a step ladder cutting from the underside and Mr P was in the roof and finished the job cutting from the other side with an electric saw.


We also used some leftover cornice to fill the gap against the wall that will be behind the range hood to keep out any creepy crawlys from coming inside from the roof area.

Because our fussiness doesn't stop there we also got a paint brush and white ceiling paint out and painted over the scuff marks  the vent had made on the new ceiling.


We then gently so as not to damage it this time, pulled the metal vent through got into the roof space and attached it to the roof vent.

We had the roof vent installed by our plumber when he did the plumbing for the kitchen.

Range hoods need to be vented out into the atmosphere so all the yummy cooking smells make your neighbors hungry!


Now back inside Mr P connected the range hood covers - there are 2 and they slot inside one another so it can fit any ceiling height and the top one clips onto the top bracket.

Sounds easy enough, but it  took a while to get the covers to sit flush up against the ceiling, no gaps and totally straight.

Note: This is where we got to on the first night and then had to do it all again the next day ggrrrrrrr!


The side panels from the overhead glass cabinets which were taken off so the splash back could be fitted flush against the cupboards could then be put back on.

I had to take most of my wine glasses out to do this and those that I didn't take out got filled with sawdust that'll teach me!


Finally, the glass canopy was fitted to the top of the range hood with a few screws and it was done.

It was a very tight custom made design this kitchen right down to the millimetres left on either side of the range hood.

There's always that oh s**t moment when you hope that it's all going to fit .... Thankfully it did!


I got out the stainless steel spray again and wiped off all the millions of finger marks all over the pretty new range hood until it shined brighter than a star.


Then we turned it on and listened to it hum like a jet engine, yes it's a little loud but I have heard worse.

I love the 2 LED lights at the front and the touch buttons, it even has a timer which is pretty handy.

I really like the black panel at the front which matches the black ceramic stove top and I think the glass and silver play up nicely against the glass overhead cupboards.


So what have we learnt from this DIY take two project? That sometimes shit happens and you can't give up. See it all turned out ok in the end, it pretty much always does!

Doesn't it look pretty? All lit up and ready to go!


Sharing with link parties:
Savvy Southern Style - Wow us Wednesdays
It's Overflowing - Share Your Creativity

  photo F0F68C01A59FABD46732FC15E1D8816D_zpsc6047f2f.png

For exclusive extras and daily updates ... follow Jarrah Jungle on Facebook, Instagram and Twitter

[All images my own]
Pin It Now!