Related Posts Plugin for WordPress, Blogger...
Showing posts with label guest bedroom. Show all posts

Friday, February 10, 2017

Nursery Design - Working With What We Have

With Mr P and I expecting a new addition in the Jarrah Jungle home I've been busy planning our baby's room in my head for months and months and now we're ready to actually start setting up the nursery for our sweet little girl due in May.

I don't want to spend a fortune on the nursery and have given myself a $700 budget for all the furniture and decor. I'll mostly be using furniture we already have and need to get just a few other things and then make them all work together so everything looks like it was meant to be together and not the mix matched collection of furniture that it is!


Working With What We Have 

I have an Ikea cube bookcase in dark wood which needs to stay in the nursery (which use to be my study/craft room) as there's nowhere else to put it in the house and I also need to keep my books on the shelves.

But I'll clear some shelves and make it more baby friendly by adding cute ornaments and baby books. Just recently I had a big clear out and donated a heap of books to charity but I'll be doing another purge to make room for some baby books as I'd love for our little one to be as addicted to books as I am.

Excuse this old photo but it's the only neat and tidy one I have as I've accumulated so many books in the last 5 years since purchasing this bookcase it's overflowing!


When I found out we're having a girl I knew a wardrobe was a must to hang all her pretty dresses and coats - already our little one has a better wardrobe of outfits than me!

I have an Ikea wardrobe which was in the Guest Bedroom and was storing our winter coats and travelling gear which I have managed to squash into our Master Bedroom wardrobe so I can move this wardrobe into the nursery.

I plan to add a few shelves in the wardrobe to store baskets and boxes so I can organise all the baby's things like linen and nappies and anything else baby related I can fit in here!


We have been given a beautiful timber cot which has been in Mr P's family for many years and I love the sentimental thought that it's been passed down through the family.

Unfortunately the timber doesn't match the other white and dark wood furniture so Mr P is going to paint the cot white so it matches in with the other furniture in the room.


Our only purchase so far is the Ikea Hemnes chest of drawers which I've had my heart set on for ages and managed to buy on Gumtree brand new and still in it's original packaging for a bargain $320 (its RRP is $449).

I did my research and read a lot of reviews before settling on these drawers which will double as drawers for the baby's clothes and also as a change table by placing a change mat on top. I don't have space for a separate change table and don't want to spend money on something I may only use for a short time so felt the drawers were a better long term investment.

These drawers are the perfect height for Mr P and I and I can put the change mat on one side so I can stand on the end of the drawers to change the baby (as changing side on may be difficult), and it's long enough to have the changing supplies and nappies on top at hands reach.


My other purchase will be a nursing chair but I'm still undecided whether to get a proper nursing chair like a glider (a chair and footstool that moves back and forth), or a rocking chair, or if a really comfortable big armchair with a high back would be better as it could be moved to another room when it's not needed in the nursery anymore.

What type of chair would you have in a nursery?


I'm trying to be practical in my choices and get pieces that can be used later for other purposes rather than for just a short time in the nursery.

I'm also shopping from home for items we already have that will look good in this room like the rug, light fitting, art and wall decor.

I'm slowing chipping away doing a little project here and there and hope to have the room ready in the next few weeks so I can really start 'nesting' as they call it!

What are your must haves for a Nursery?


 photo F0F68C01A59FABD46732FC15E1D8816D_zpsc6047f2f.png

For exclusive extras and daily updates ... follow Jarrah Jungle on Facebook, Instagram and Twitter


[First 3 images my own - Last 2 images via my Pinterest 1, 2 & 3]

Pin It Now!

Friday, January 17, 2014

Photo A Day: January Days 1 - 16

Back in October last year I joined in with Fat Mum Slim for the first time and took a photo every day of the month following the daily word prompts. Well I've decided to play along again, this time with FMS January Photo A Day challenge and have been sharing my photos each day on my Facebook and Instagram ... and I'm doing a round up of them here.
 
Speaking of Instagram I don't know why I didn't join sooner it's so much fun to edit and use the filters on photos. Not to mention the inspiration I get from looking at everyone's photos, there's so many talented people out there and Instagram is a great way to find them!
 
 
Here are my first 16 photos from the January word prompts above ...
 
1. My favourite lazy weekend lunch at home eggs benedict
2. A trip to the Ikea sales
3. Driving through my home town
4. My word to live by is LIVE
 
5. Found the hooks to hang my bird cage
6. Happens everyday my man brings me coffee in bed

 
7. Upside Down baby you turn me Inside Out (magazine!)
8. My lucky number is 16 the day after my Birthday
 
9. The natural beauty of the botanic gardens in Wellington, New Zealand
10. The man made limestone and brick walls of our newly built courtyard
11. Looking down at my freshly painted toe nails and new sandals
12. My Sunday afternoon chocolate fix looks rather colourful
 
13. My lovable fur baby Lexi can always make me smile
14. 3 Things that are motivating me to walk to/from work each day
15. Black + White my new Ikea star lamp
16. This DIY canvass I made for the bedroom with it's sweet quote
"the sun couldn't rise without you, darling"
 
You can read all about how to play Photo A Day on FMS blog here.
 
Is anyone else playing along with FMS January Photo A Day?
 
Let me know so I can follow along with you!
 
 
[1st image FMS, All other images my own]
 
Pin It Now!

Wednesday, January 8, 2014

Guest Bedroom - Art and Updates

My Guest Bedroom had a mini makeover on the weekend inspired by some teal and orange bedding and new wall art.
 
The teal bed spread was a nice find when I finished the kitchen renovation late last year and finally got to unpacked all my kitchenware, some of which had been wrapped in my linen for about 4 years! I loved the colour so much it's set the tone for some new artworks I bought at the sales recently and also shopped some accessories and art from home. Every time I change the bedding I change up the accessories .... I just can't help myself!
 
Please excuse the lighting in these photos the retro light pendant in this room which although I love, doesn't allow for the brightest and sharpest of photos! 
 
Before - A cosy winter domain
 
Now - A bright Summer retreat
 
I initially bought this teal abstract canvass for the Living Room but I think it looks much better in the Guest Bedroom and one of my shiny ceramic stools is put to good use as a lamp table.


This bild poster I found at Ikea last week for a crazy $3 and framed in this ribba frame also reduced to $20 - all up this art should have cost $40 but I paid only $23.


My bird cage obsession continues with this sweet mirrored candle holder cage which was $29 and marked down to $10 at Target many months ago but I hadn't found the right decorative hook to hang it ... until now.


I really love the colour combination in this room ... it's bright and fun for Summer.
 
Do you change your decor and accessories to match your bedding?


[All images my own]

Pin It Now!

Tuesday, September 24, 2013

Before + After: Dining Area Reveal

I have envisage how I want our small dining area to look for so long that once the art and mirror was finally hung on the wall and the new furniture put in place and I took a look at it all it was so familiar to me because I've dreamt about the design for so long!

I absolutely love how it has turned out ... come take a look at the scary befores and pretty afters of the Dining Room reveal.
Before - Dining Area and Window
After - Dining Area with French Doors
Before - Dining Area was a blank canvass
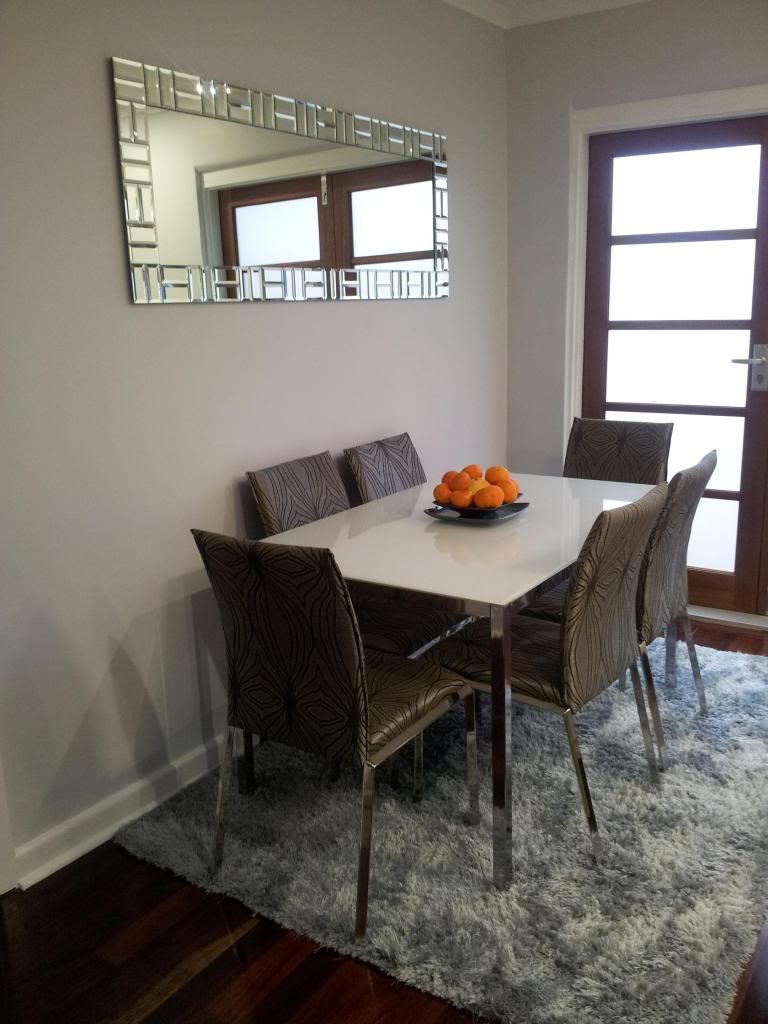
After - Dining Area with art and mirror
 
On Saturday morning Mr P and I were up early and fuelled on McMuffins waiting for the shops to open on a mission to find dining chairs to go with the dining table we bought a few weeks ago.

Although we dreamed of having indoor bench seats for the dining area seating we managed to find a table that would fit the space and just needed 4 dining chairs to fit around it.
Our recent purchases - Ikea glass dining table and yellow Replica stools
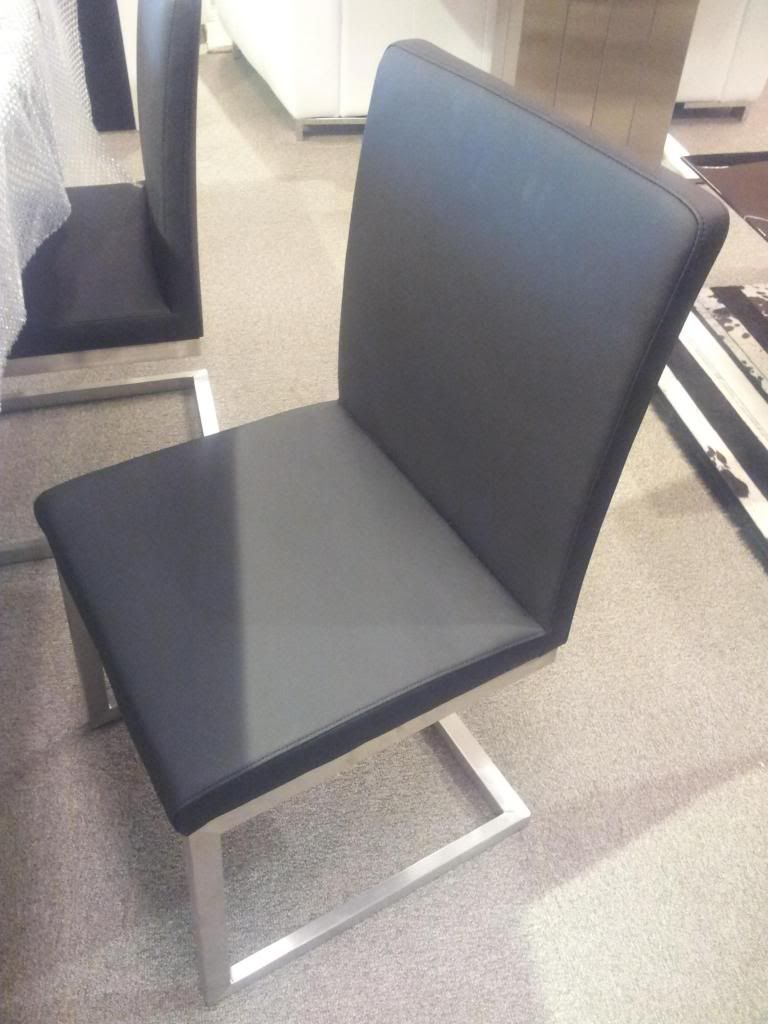
I had in mind black leather seats with silver legs to match the dining table but all the chairs we saw were quite plain, not very comfortable or well made, or the legs were round instead of square (which wouldn't match the dining table legs).

The dining chairs ranged from $80 at the cheaper shops up to $300 at the more expensive shops.

One of the contenders from Harvey Norman but the $299 price tag was not appealing

As we were nearing midday we had to head home and decided to make a last minute stop at Lifestyle Furniture which has a great mix of modern and retro furniture.

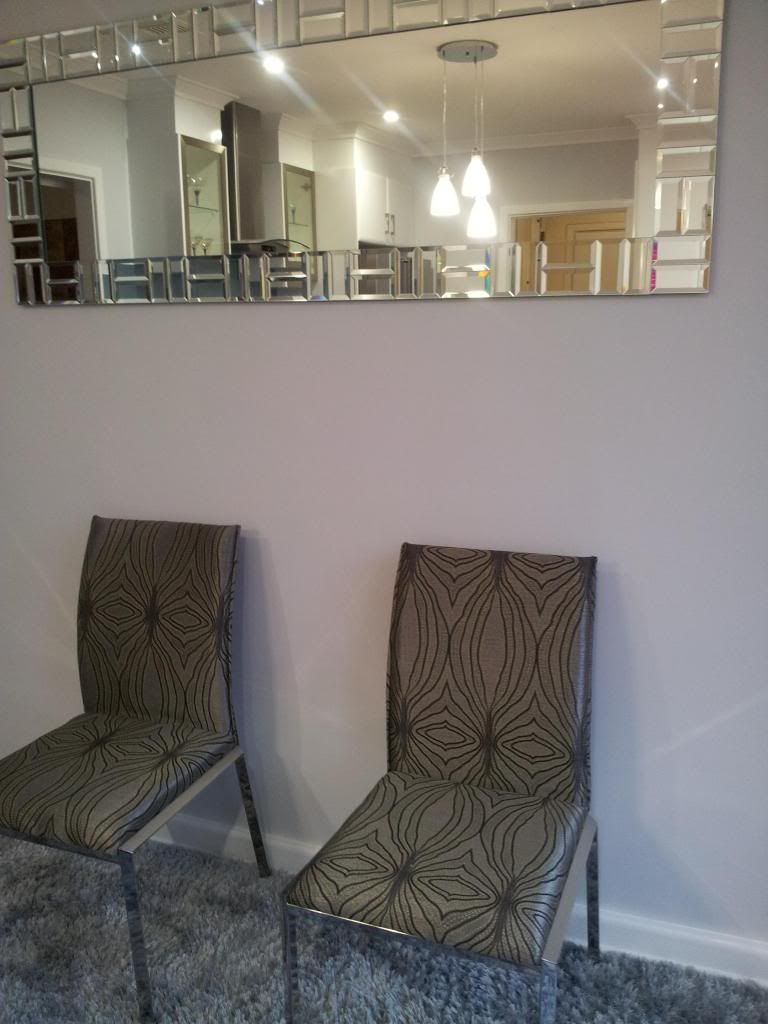
Mr P spotted these fabric chairs first and then I stopped in my tracks and stared at them like it was love at first sight.
The silver fabric was a brave choice but they will match the painted grey walls, the legs were square and shiny exactly like the table legs, the dark edged pattern is a grey/brown colour and will go beautifully with the jarrah floorboards and there is flecks of a green/yellow and yellow is the accent colour in the kitchen and dining.

They were perfect ... I had to have them!

Then the bartering began, they would only sell the chairs in a set of 8 as they were the last ones they had and we only needed 4 chairs but decided we could fit 6 at the dining table and put 1 in the study and 1 in the guest bedroom.

We also haggled for a discount and instead of $129 paid $110 per chair. We managed to fit all 8 chairs in the ute and on the back seat and took them home there and then.
Then on Sunday we finished off the rest of the room.

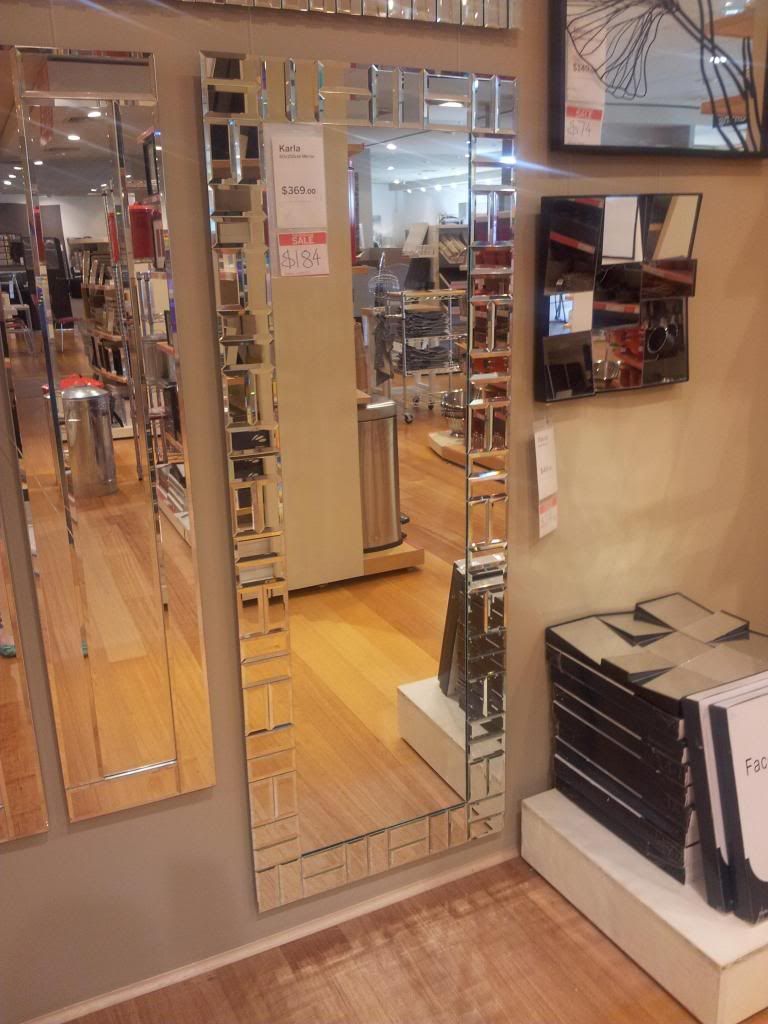
Once we knew where the dining furniture would sit centred on the wall, we could hang up the mirror which I got from Freedom a few months back and thought it would be perfect for above the dining table.

I think mirrors in dining areas are a fantastic way to create a zone, especially in an open plan style like my kitchen/dining area. They also help to bounce light around which helps make the space look bigger.
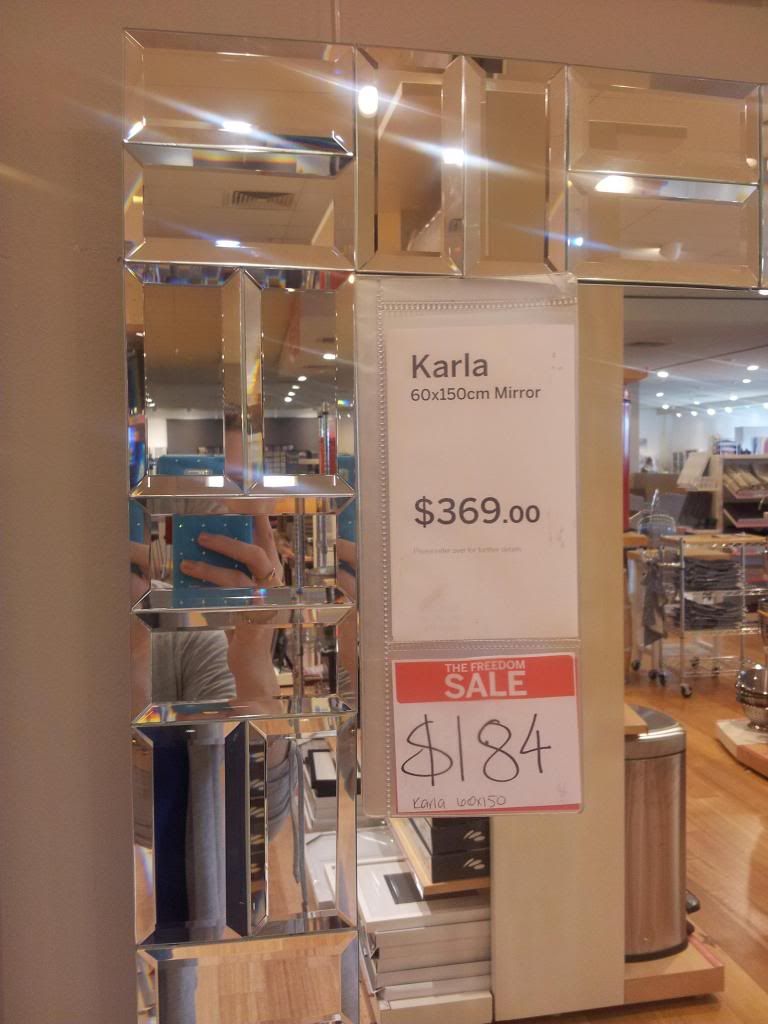
Freedom's Karla mirror
I managed to get it reduced even further to $154 ... but there was a 1 month wait to order it in

The mirror at 20kg was to heavy to lift to see where to hang it, so we just measured to centre it on the wall
Removing the packaging and praying that it was not damaged !
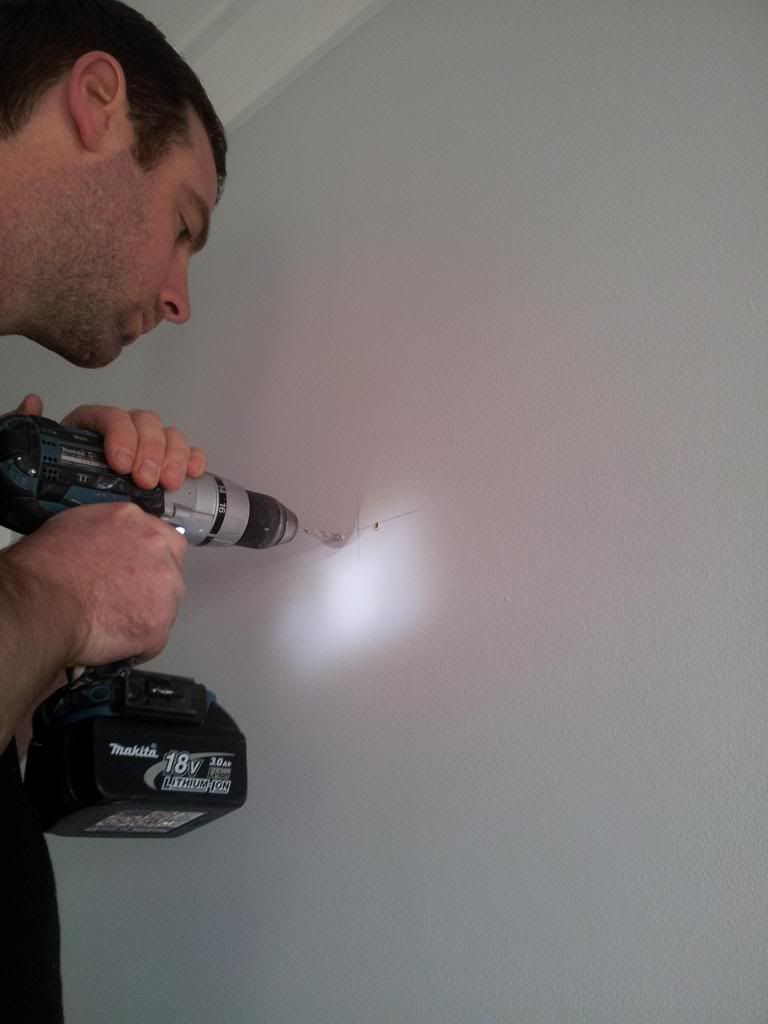
Drilling holes for the brackets
  
Attaching the brackets to the wall

Then the mirror was hung straight on to the brackets
We checked that our heads weren't going to touch the mirror - it was hung at the perfect height

Once the mirror was hung on the wall I could set up the furniture and I was so damn excited by this stage I couldn't wait to see it come together! 

I borrowed the silver rug that was in the Guest Bedroom as I want to protect the jarrah floorboards we spent hours sanding, sealing and restoring. Until we work out what type of rug to put here I think this silver shag rug looks really good except the size is a little small. 

Once the rug was down the dining table and chairs went onto it .... it looks like a proper dining area now!

A rug not only protects the floorboards but also anchors the dining area

The dining setting fits perfectly in this corner against the wall and out of the way
The pops of yellow from the stools compliment the fabric chairs
I know where that saying the cat that got the cream comes from now ... I am just happy that I followed my heart and took a risk with the design and colours in this room I think it has really come together well. 

Looking back to the first rooms we renovated and decorated I really played it safe with colours and design but now I feel I'm a lot more confident and taking a risk really pays off.

I also want to say a big thanks to my gorgeous Mr P who has always encouraged my inner interior designer and given me full reins to design and decorate however my heart desires. 

What do you think of the new dining area?


Sharing with Link Party:
It's Overflowing - Share your creativity
The Dedicated House - Make it pretty Monday


 photo F0F68C01A59FABD46732FC15E1D8816D_zpsc6047f2f.png
For exclusive extras and daily updates ... follow Jarrah Jungle on Facebook, Instagram and Twitter

[All images my own]
Pin It Now!

Wednesday, July 17, 2013

The Making Of My Art And Clock Wall

Since my clock and wall art inspiration post I've slowly been sourcing frames and art for the small wall between the Living Room and Kitchen/Dining Room. I want it to be playful and interesting so I've used a mixture of coloured frames and art in different shapes and sizes,  DIYed some quote prints and narrowed down my selection of clocks so the ticking doesn't drive anyone crazy!

This is what I have come up with so far ....
 
This modern silver clock Mr P and I bought from Target when we first moved in together as a new time in our life ... owwww corny I know!

This funky yellow clock I got from Sportsgirl on sale for only $10.
 
 
I made my favourite line from Dirty Dancing Nobody puts baby in a corner print by typing it in a cool font and printing it onto some plain white paper. It will go into a box yellow frame with a striped backing which was also from Sportsgirl on sale for $5.

 
I printed this Be Yourself picture out on my colour printer from my Pinterest and found the teal frame for $5 at The Reject Shop.


This postcard of girls having a food fight was a freebie from a theatre event and I love the cheekiness of it ... literally their buttocks are on show! The gold and white ombre frame was on sale for $7 from Typo.
 
The 2 silver frames were a Birthday gift from a friend and I framed one of the inspiration quotes Laughter is wine for the soul from the kikki.K set that didn't make it onto the banner in the laundry. I think it's a pretty fitting quote for the kitchen.


The other silver frame I will use as an empty frame around the ceramic head hook I got from Typo for $15. It was a tough decision between the black rhino and white deer head so I put the vote to Mr P who liked the rhino better ... I'm branching out into the animal kingdom!


The other animal in the collection is the stag head wall art by Lucius Art which has been hanging up in the laundry but think it needs to be a part of this mix with it's greens and wooden frame.

 
From the posters book I picked the Moby print because the colours blend with the yellows and teals and the tea cup goes with the kitchen theme. I'm still trying to find the right frame for this one I'm not sure if I should go for a wood or black frame .... what do you think?
 
 
I have laid everything out on the bed in the Guest Bedroom so I can play around with the layout until I'm happy with it ... truth is I keep changing my mind and moving things around so we'll see what makes the final cut for the wall.

My plan is to have it all ready to go so that as soon as the paint is dry on the walls I can get these babies hung up so I can admire how it's all come together.

What do you think of my art wall so far?
 
 
Pin It Now!