
Something that isn't often used in Australian homes but is a great idea is a Rain Chain.
It's an alternative to a down pipe and is basically a chain that hangs down the gutter to direct rain so that the gutters don't fill up and overflow with rain water.

It's an alternative to a down pipe and is basically a chain that hangs down the gutter to direct rain so that the gutters don't fill up and overflow with rain water.

We installed all new gutters, facias and down pipes when we did our roof restoration but the problem we have at the front of the house is because of the large windows there isn't room for a down pipe - so instead we had to drill a hole in our lovely new gutter to let the rain come out.
But then when it rained water poured from the hole down to the ground meters below and it was so loud .... It sounded like a herd of elephants going to the toilet in front of my bedroom window - not quite the ambiance I want to hear from my bedroom sanctuary!
So to ease the water down the hole in a more delicate fashion we made a Rain Chain so the water follows the chains down like a waterfall into a feature pot which is connected to our drains. It's not only quiet as a mouse but practical too and it's made a really nice feature in the garden.

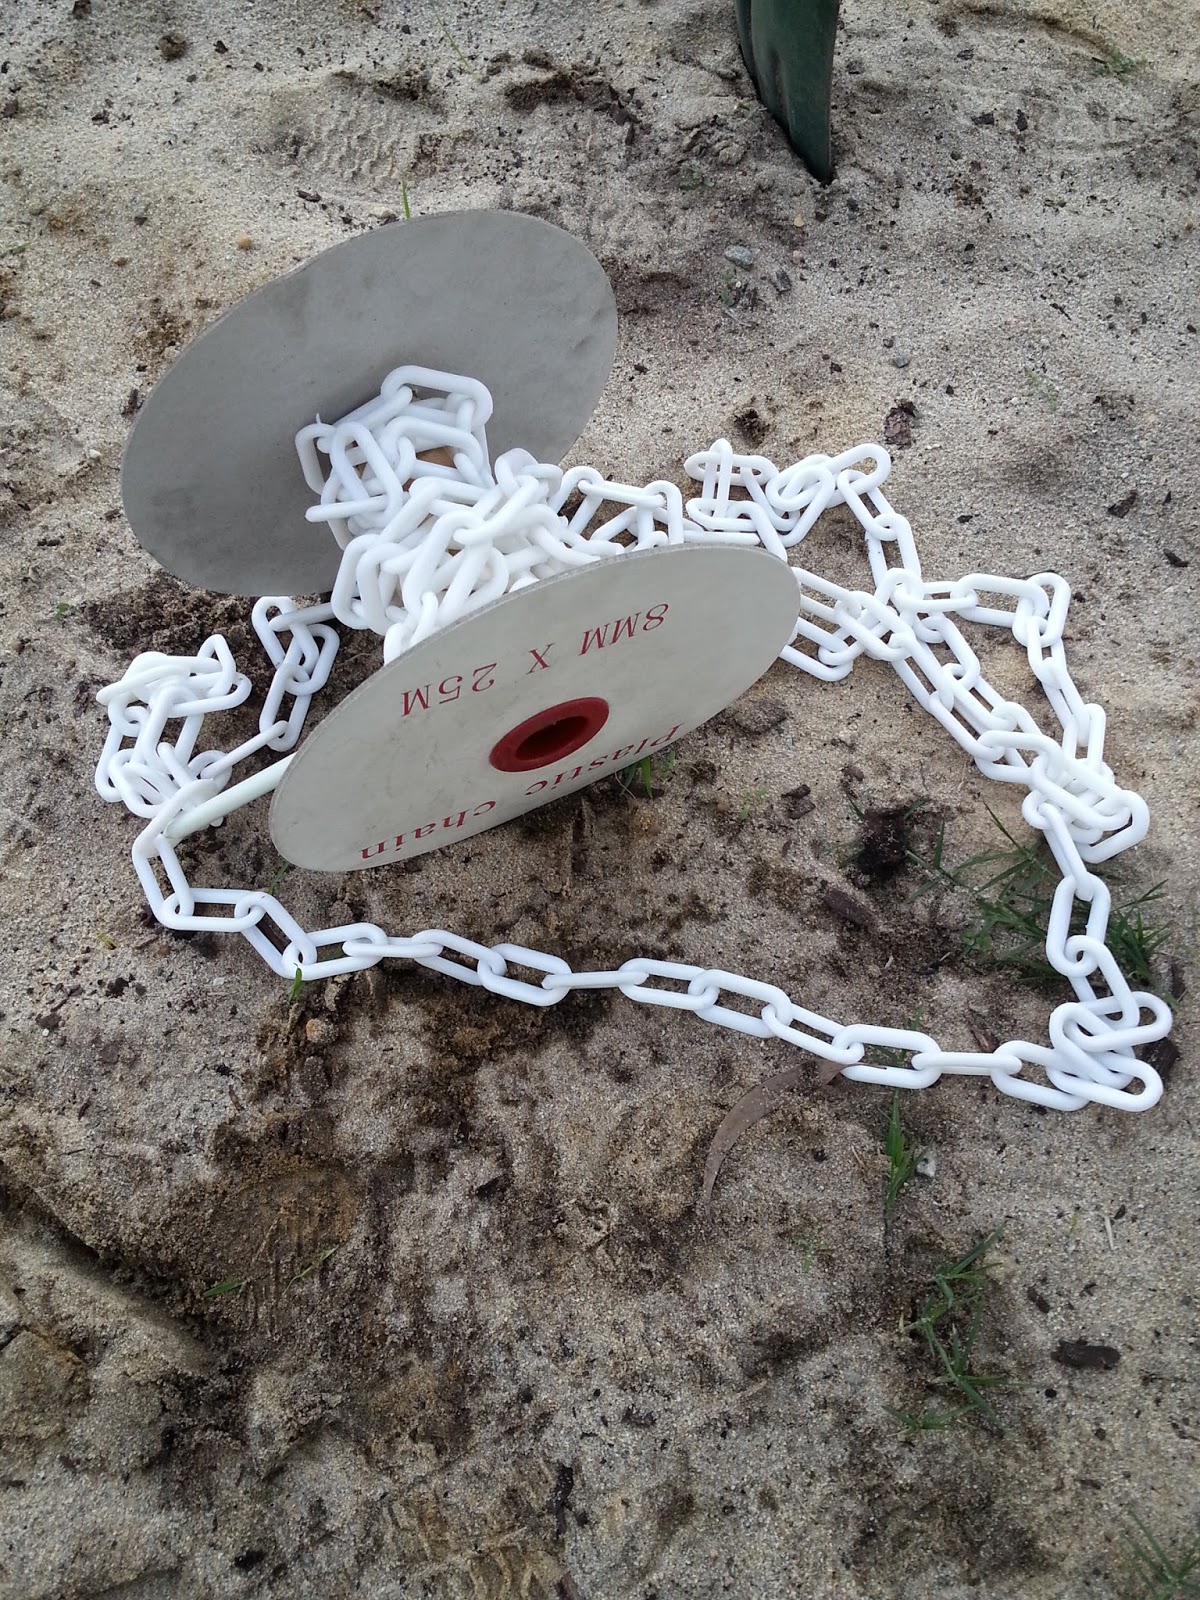
Prepping The Chain
For the chain I wanted to use a shiny metal chain but it was going to be too heavy and put too much weight on the gutters possibly causing them to bend or damage them.
But then when it rained water poured from the hole down to the ground meters below and it was so loud .... It sounded like a herd of elephants going to the toilet in front of my bedroom window - not quite the ambiance I want to hear from my bedroom sanctuary!
So to ease the water down the hole in a more delicate fashion we made a Rain Chain so the water follows the chains down like a waterfall into a feature pot which is connected to our drains. It's not only quiet as a mouse but practical too and it's made a really nice feature in the garden.
I'll take you through the steps of how we made a Rain Chain ......

Prepping The Chain
So instead we used plastic chain which was nice and light but it looked a bit cheap and nasty so this was fixed with some spray paint - first I painted the chain with some Dulux plastic primer spray paint I had leftover (it is so important to use primer to help the paint stick, especially when it's something for outside as it needs to hold up to the elements). Then I added a few top coats of colour in a galvanised spray paint in bright silver.


Making Adjustments + Adding Extra Chains
Fast forward a year of using the Rain Chain and we found the chain sitting in the hole on it's own didn't work very well in heavy rain as the rain couldn't follow the chain properly. So we decided we needed to add a few extra chains.
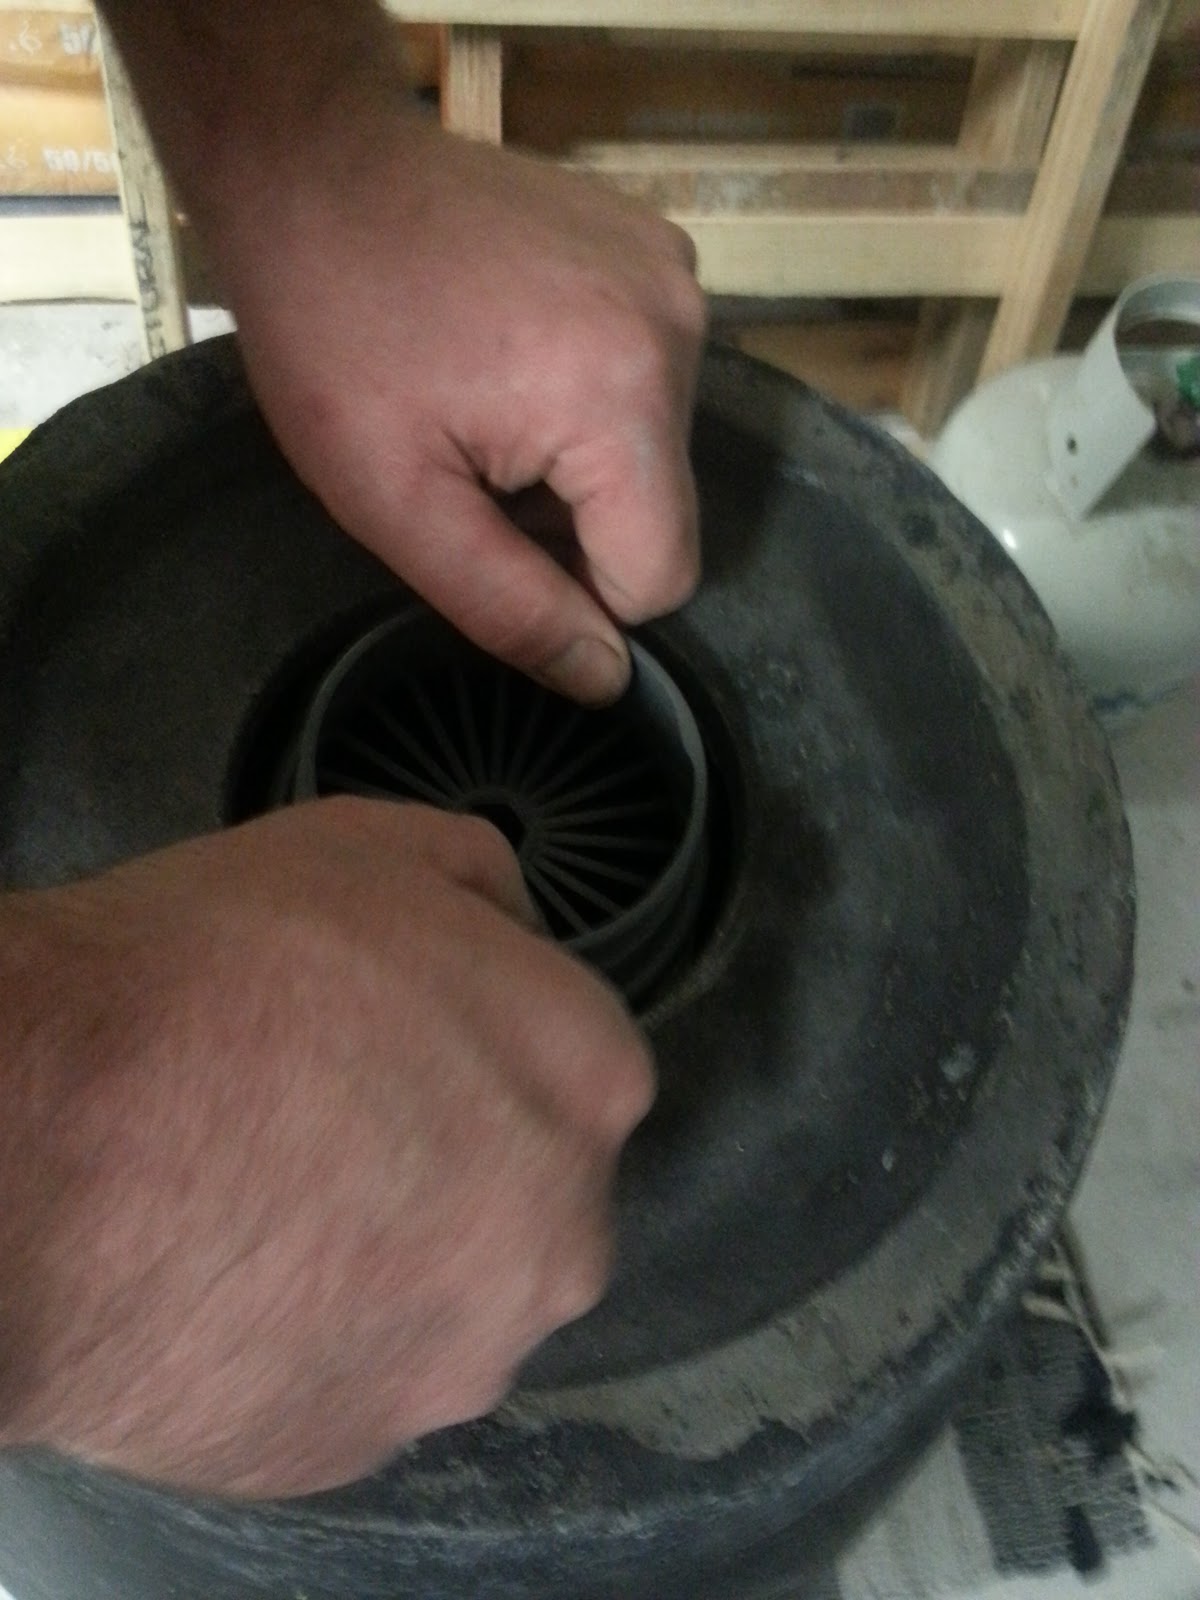
We also fitted a 50mm round pop to go in the gutter and then attached a 50mm pvc socket to it and glued it using silicone - this way the chain sits inside the socket and it's much better at keeping it in place. I spray painted the PVC socket with the plastic primer and then in Colorbond Ironstone (which is the colour of our gutter) so it blends in with the gutter. The round pop was metal and you can't see it as it sits inside the gutter so that didn't need painting.


We also decided to hang some extra chains and got some more plastic chain and as above, I spray painted it with a plastic primer followed by a galvanised spray paint in bright silver.
You can see how the orange plastic chain looks before paint and next to it after being painted with silver - it looks like metal right!


You can see how the orange plastic chain looks before paint and next to it after being painted with silver - it looks like metal right!


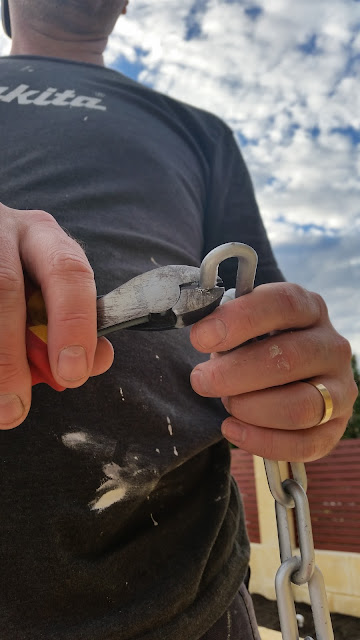
Hanging The Chains
We hung one length of chain to a dowel inside the hole in the pop in the gutter.
Then used pliers to open a link on the other chains and clip them to the center chain.
Then used pliers to open a link on the other chains and clip them to the center chain.
To hold all the chains together we secured them with a plastic zip tie at the bottom and then covered the ends with stones in the bottom of the pot so that it will stay in place.


Drainage for the Rain Chain
You can just let the Rain Chain overflow and the water drain off where ever it's positioned but because it's so close to the house foundations we don't want the water to run back towards the house so we went that one step further and connected drainage to the Rain Chain for it to drain directly into the soak wells.
It was easy enough for us to do this because we were putting in the soak wells and drains anyway in our new courtyard so it was just another pipe to run from the Rain Chain and connect it to the drains going into the soak well.
It was easy enough for us to do this because we were putting in the soak wells and drains anyway in our new courtyard so it was just another pipe to run from the Rain Chain and connect it to the drains going into the soak well.


To be extra cautious and to stop any water leaking around or under the house we also waterproofed the limestone retaining walls of the house to protect it. We painted on 2 coats of waterproof paint (the same one we used to seal the courtyard garden beds) and left it to dry for a few days before filling it in with sand.
We also removed the old garden tap that was there and covered the hole in with cement. The plumber disconnected the pipe but hadn't removed the tap fitting so this was easy enough for us to do.


Feature Pot for the Rain Chain
Once the pipes and plumbing were done we were ready to secure the Rain Chain to a large feature pot so the chain doesn't move around in the wind and rain and it will be the feature of our Rain Chain garden.
I went on a shopping expedition for the perfect pot that had a wide opening to catch all the water sprays off the chain and also a solid flat base so that it would be stable on the ground and not topple over. Once we had the right pot, we drilled a hole in the bottom of the pot and fitted a plastic drain to attach to the pipe.


Now the pot had drainage it was ready for the Rain Chain garden.
We leveled the ground and laid some old pavers around the pipe for the pot to sit on to give it a solid firm base.
We cut the pipe so that it would sit inside the drain in the pot nice and neatly.


Once the pot was sitting perfectly flat and level on the pavers and over the pipe, we half filled the pot with stones.
We used stones as they'll allow the pot to drain when the water goes in whereas if we filled it with sand or soil it wouldn't drain.


Now the pot is secured in place and the extra chains are much better for the rain to follow the chains down into the pot and create a water feature while saving our gutters from overflowing!
Landscaping the Rain Chain garden bed is next on our courtyard project list - we're going to fill the bed with pebbles, pots and hardy plants like succulents or natives. I'll come back and add some after photos once it's looking all nice and pretty!
It cost about $150 to make the Rain Chain feature, below is the breakdown:
$15 plastic chain
$10 spray paint
$0 pavers (we already had)
$30 pop, PVC socket, dowel, drain and pipe
$70 feature pot
$25 gravel
So ..... what do you think of our Rain Chain feature?
Sharing with link parties:
Curly Crafty Mom - The Creative CornerThe Dedicated House - Make It Pretty Monday
Savvy Southern Style - Wow Us Wednesdays
The Plumbette - Home Improvement Thursday

[All images my own]
Pin It Now!
This looks fantastic! I love your step by step guide to putting it all together. Thanks for linking up with #HIT
ReplyDeleteThanks Nicole, I hope someone will find it useful! Thanks for hosting :)
DeleteVery clever. I've never seen this - although I have seen people not have a down pipe and just let the overflow drop into a plant pot or garden. Thanks for linking up with #HIT xx
ReplyDeleteI haven't seen it anywhere either Rebecca so I thought doing a how to would be useful for anyone else wanting one. We don't want the overflow to run towards our house as it's built on limestone blocks which the water loves to soak into so this is a much better option for our style of home :)
Delete