Have you ever worked so long and hard on something only to have it break right at the end when you're almost finished and you have to start all over again?
Well that happened when we were installing this range hood in the kitchen this weekend ...
You should've seen the look of deflation on poor Mr P's face. All I could do was hand him a bottle of wine (a glass of wine wasn't going to cut it!) and say shit happens babe! It was 11pm and we hadn't even stopped to eat dinner, or for a break, exhausted, hungry and frustrated to say the least.
So what can you do?
Put some leftover pizza in the oven, grab another bottle of wine,
and say bugger it we'll fix it tomorrow!!
and say bugger it we'll fix it tomorrow!!
We thought we would have a go at installing it ourselves, after all how hard could it be? Famous last words hey!
First things first we had to work out the height and chose to install it slightly higher than the recommended height at 800mm instead of 750mm so Mr P who is quite tall doesn't bang his head on it whenever he's leaning over the stove ... I love my man's cooking so anything that was going to deter him from that was going to be sorted out!
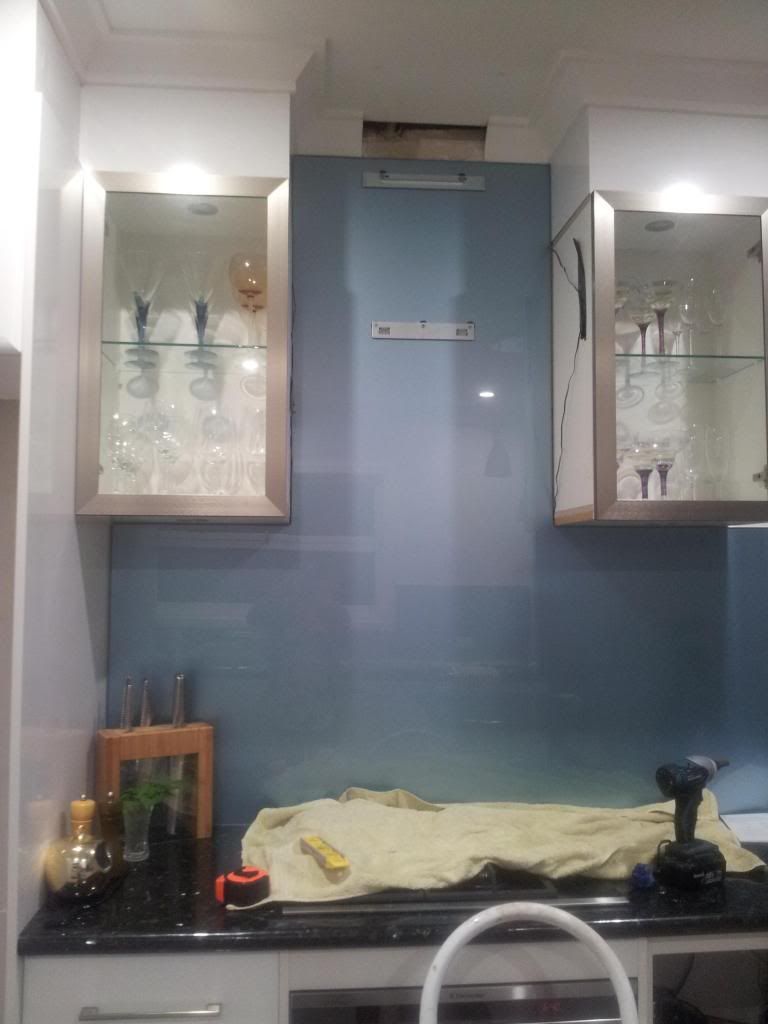
Then we drilled in the holes for the brackets - this had to be done before the glass splash back could be measured so they knew where to cut the holes out of the glass.
We triple checked this was right as you can imagine we couldn't change our mind after the glass had been cut.

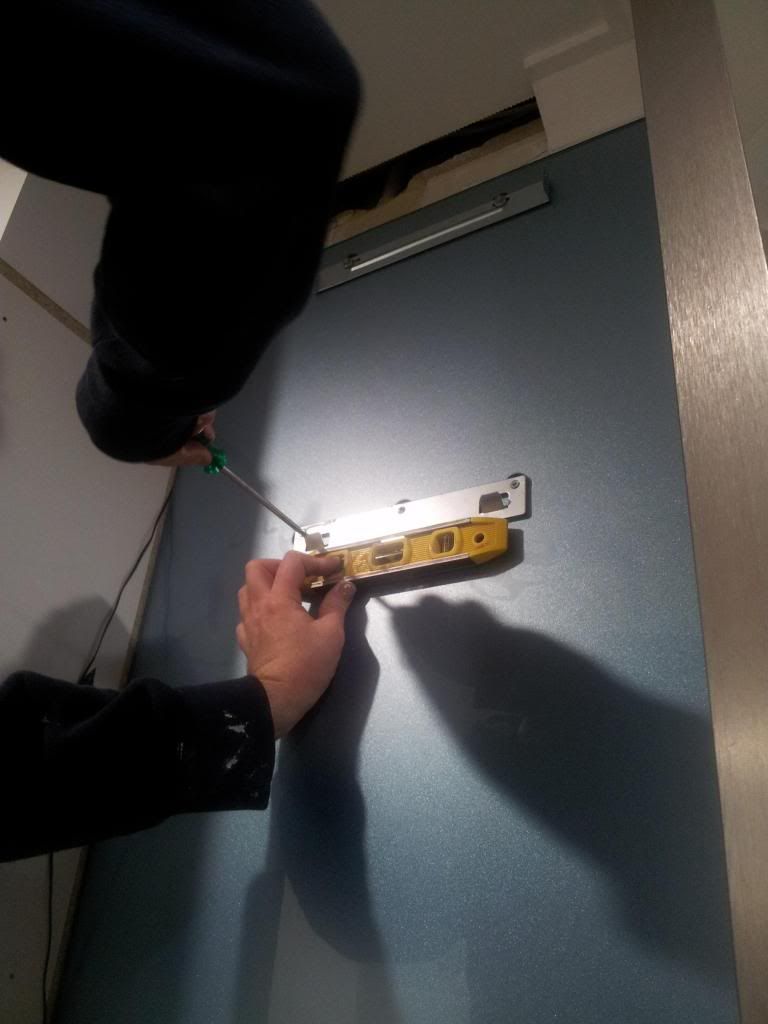
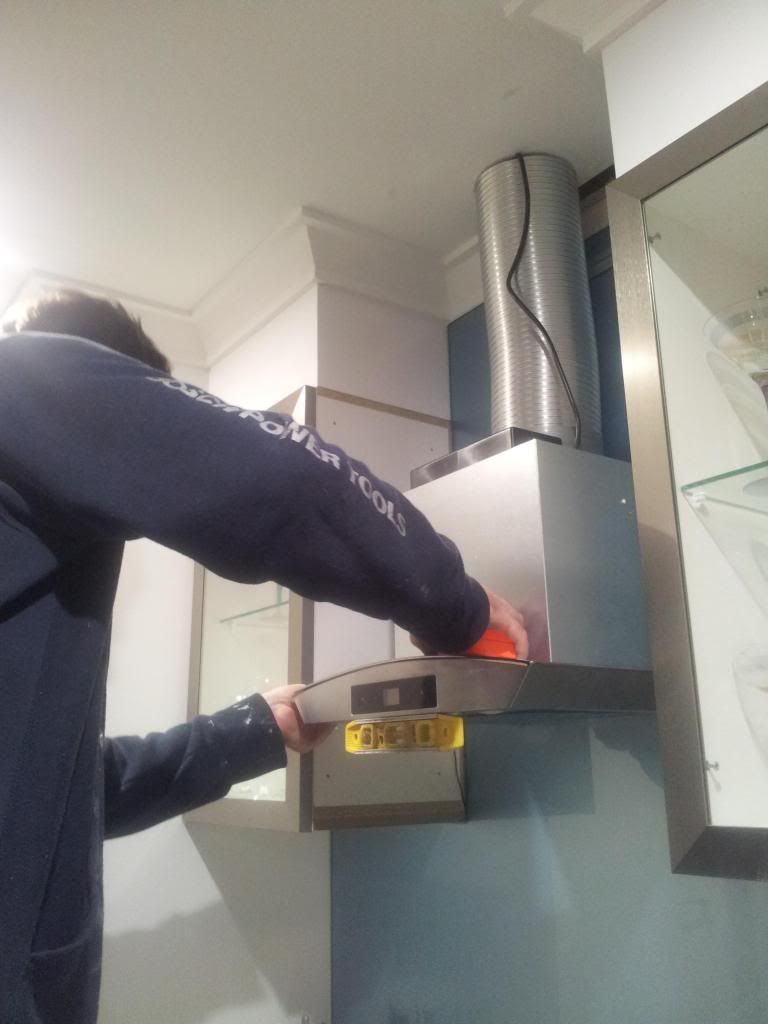
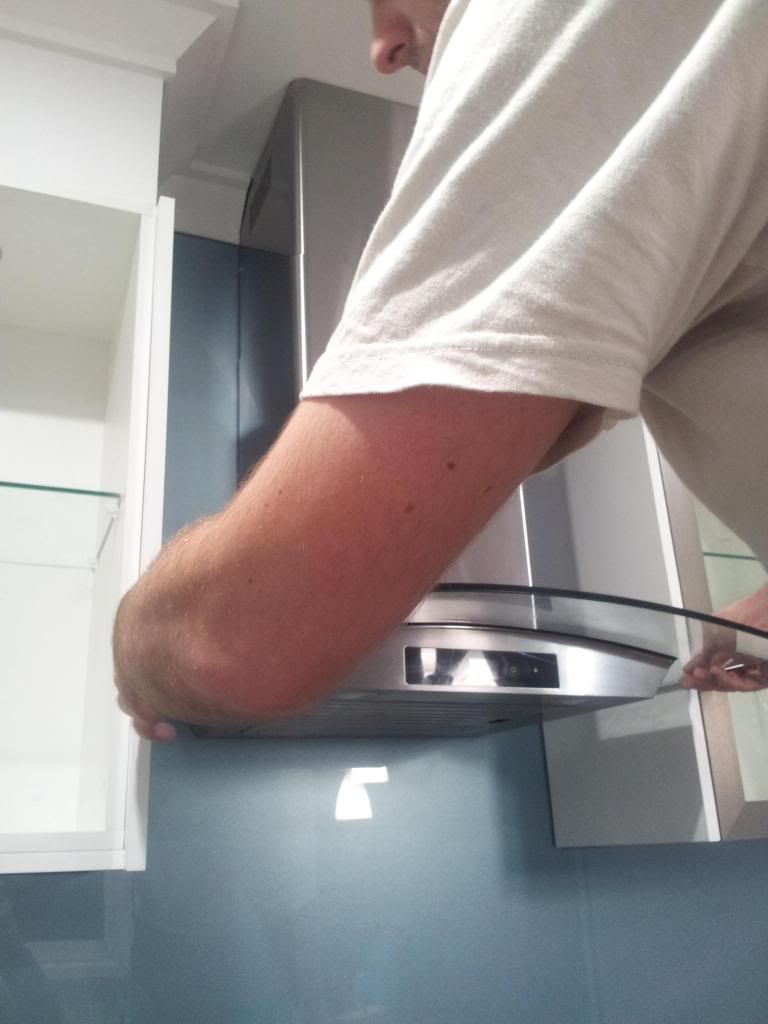
Once the glass splash back was installed we could install the range hood starting with the brackets being attached to the wall.
There was a top and bottom bracket that needed to be fitted to the wall and the screws tightened until it was attached securely.
The metal duct vent which we bought from Bunnings for $40 is like a big slinky which stretches and triples in size.
This was cut to size and attached to the inside of the range hood vent with duct tape - of all the uses for duct tape this is actually what it's intended to be used for - who would've thought!


The base of the range hood clipped onto the bottom bracket - we spent ages making sure it was level and secured the wall.
You can imagine when it's turned on it's going to vibrate or have some movement so you want to be certain it's attached safely and securely in place.
You can imagine when it's turned on it's going to vibrate or have some movement so you want to be certain it's attached safely and securely in place.
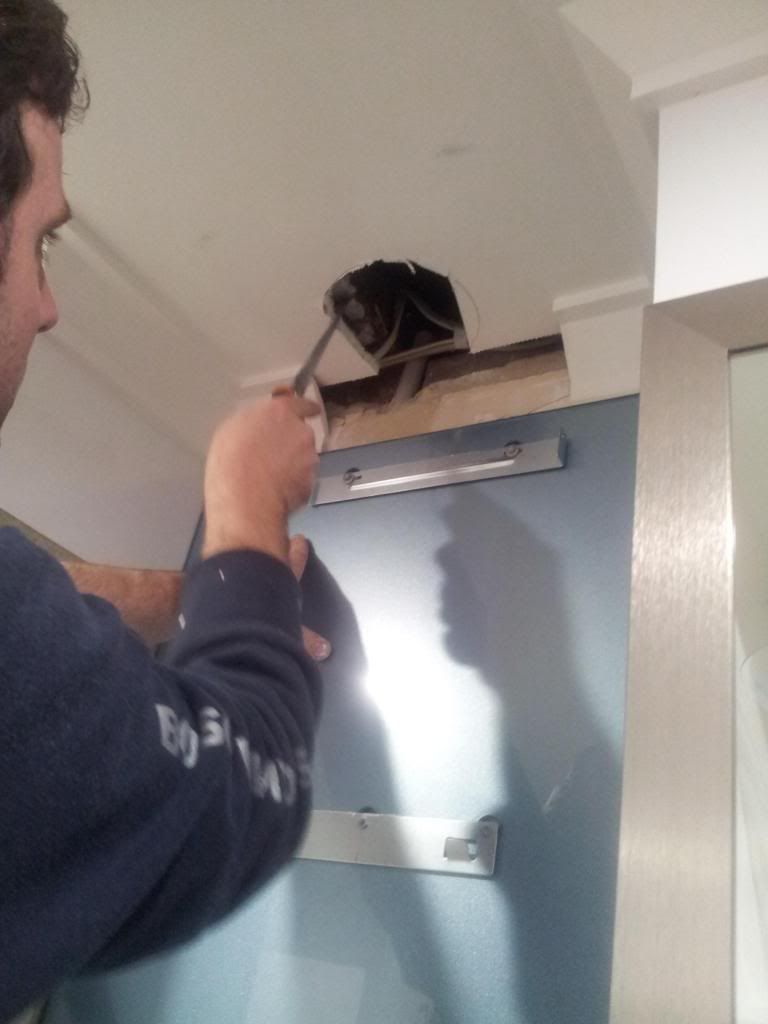
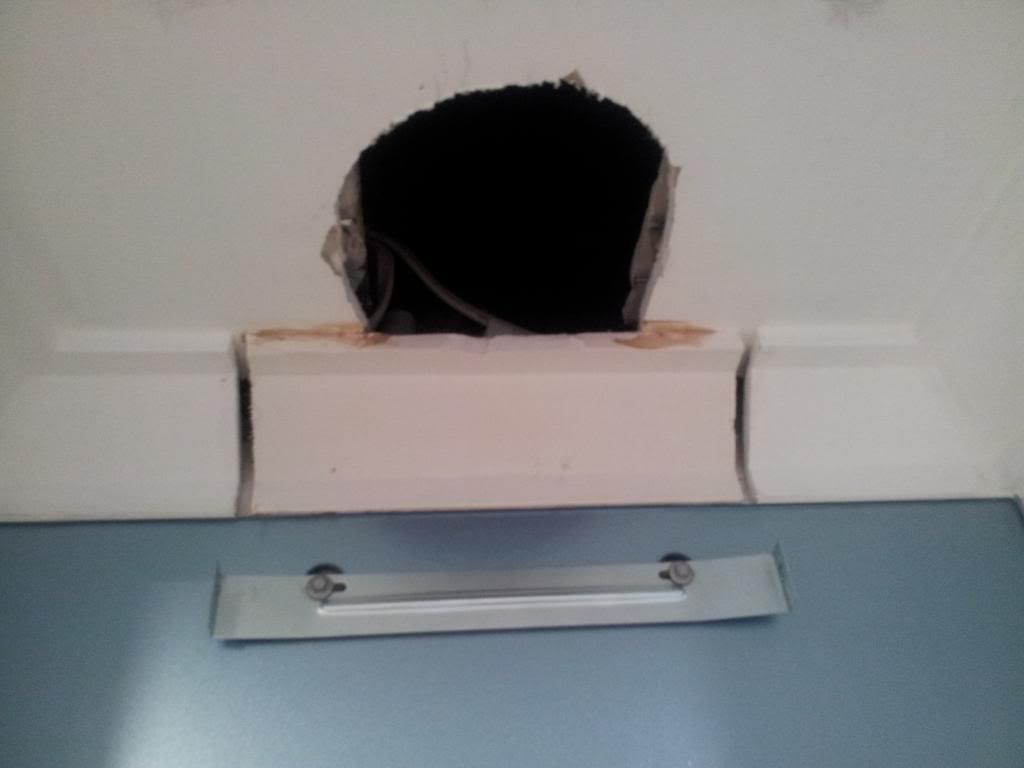
Now to cut a hole in the ceiling for the vent to go through the ceiling and into the roof space.
We drew a circle around the vent onto our brand new ceiling so we could cut a hole out.
Using a plaster saw to cut through the plaster board ... I actually got on the tools to do this bit standing on a step ladder cutting from the underside and Mr P was in the roof and finished the job cutting from the other side with an electric saw.

We also used some leftover cornice to fill the gap against the wall that will be behind the range hood to keep out any creepy crawlys from coming inside from the roof area.
Because our fussiness doesn't stop there we also got a paint brush and white ceiling paint out and painted over the scuff marks the vent had made on the new ceiling.
We then gently so as not to damage it this time, pulled the metal vent through got into the roof space and attached it to the roof vent.
We had the roof vent installed by our plumber when he did the plumbing for the kitchen.
Range hoods need to be vented out into the atmosphere so all the yummy cooking smells make your neighbors hungry!
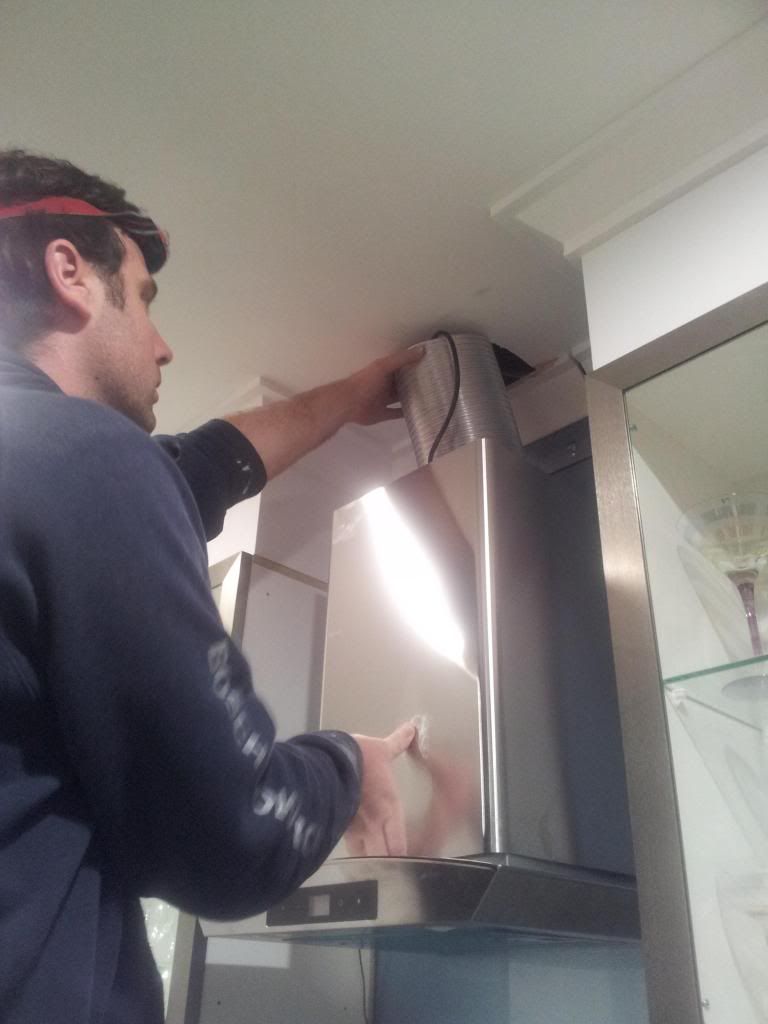
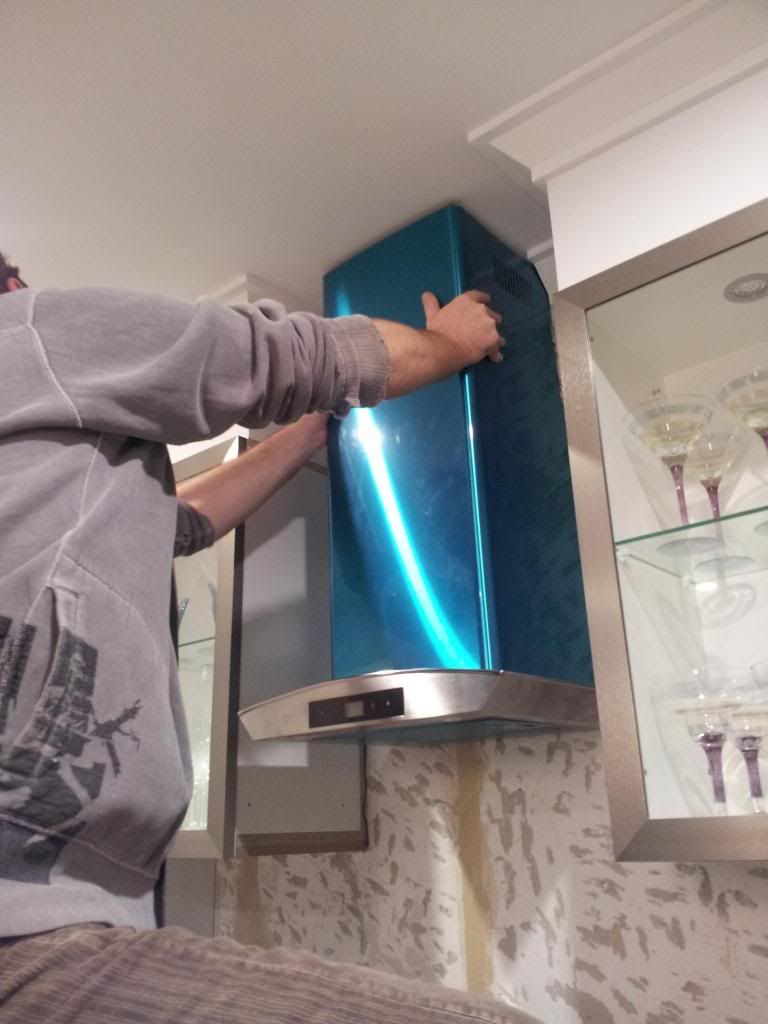
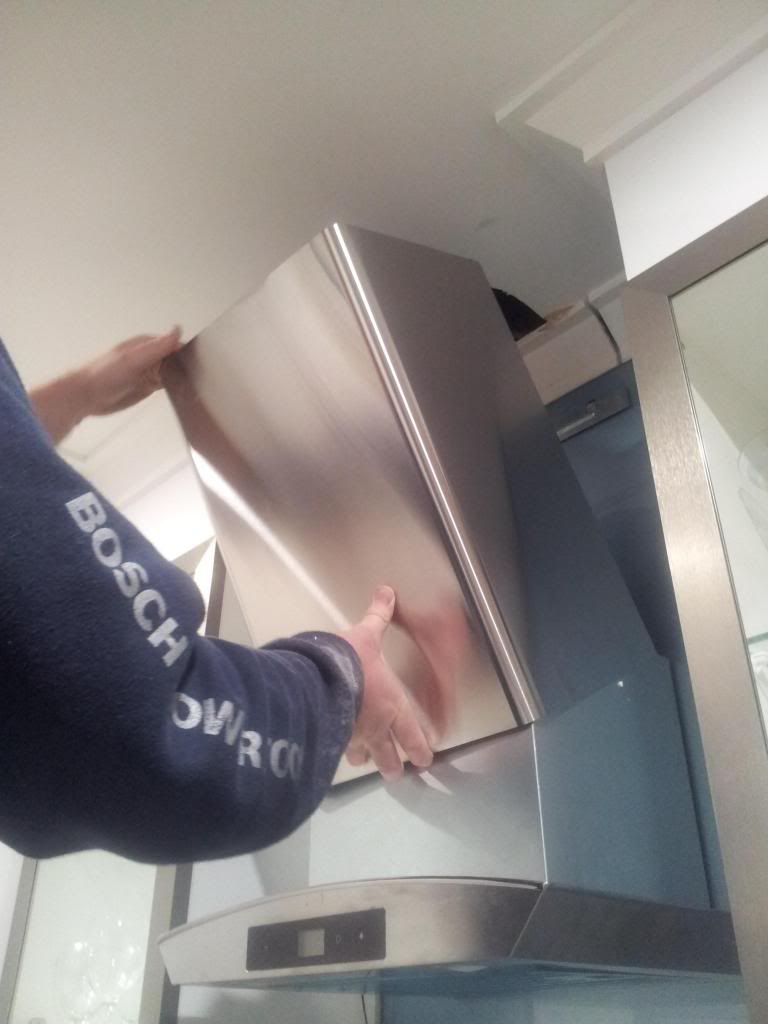
Now back inside Mr P connected the range hood covers - there are 2 and they slot inside one another so it can fit any ceiling height and the top one clips onto the top bracket.
Sounds easy enough, but it took a while to get the covers to sit flush up against the ceiling, no gaps and totally straight.
Note: This is where we got to on the first night and then had to do it all again the next day ggrrrrrrr!
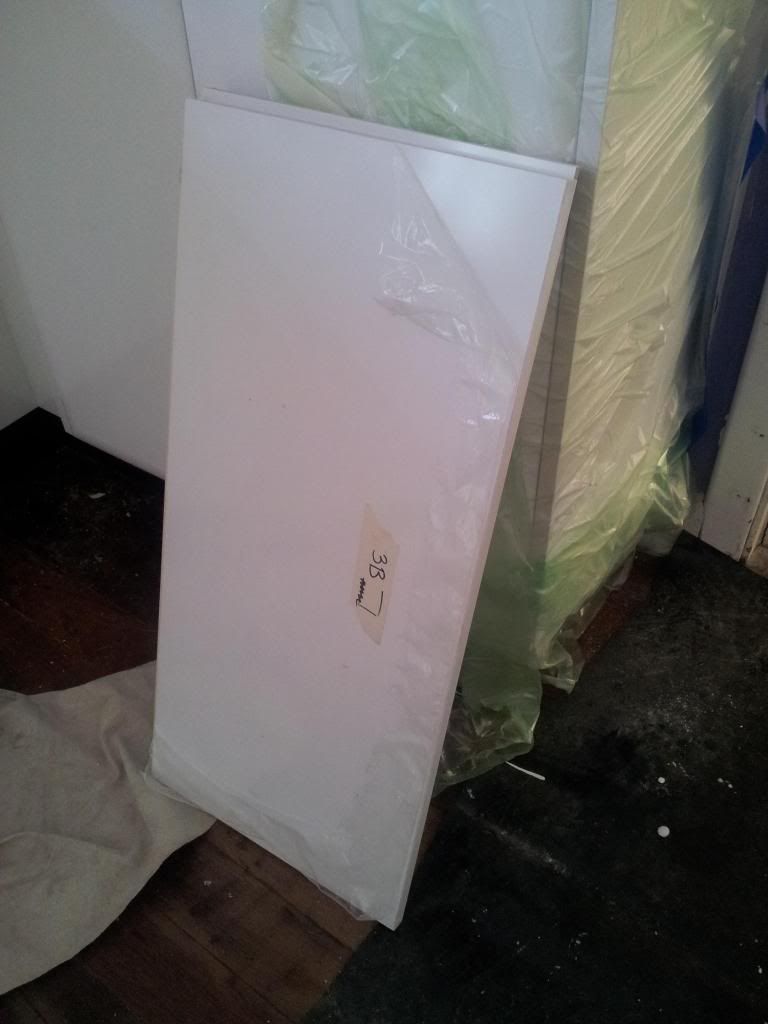
The side panels from the overhead glass cabinets which were taken off so the splash back could be fitted flush against the cupboards could then be put back on.
I had to take most of my wine glasses out to do this and those that I didn't take out got filled with sawdust that'll teach me!
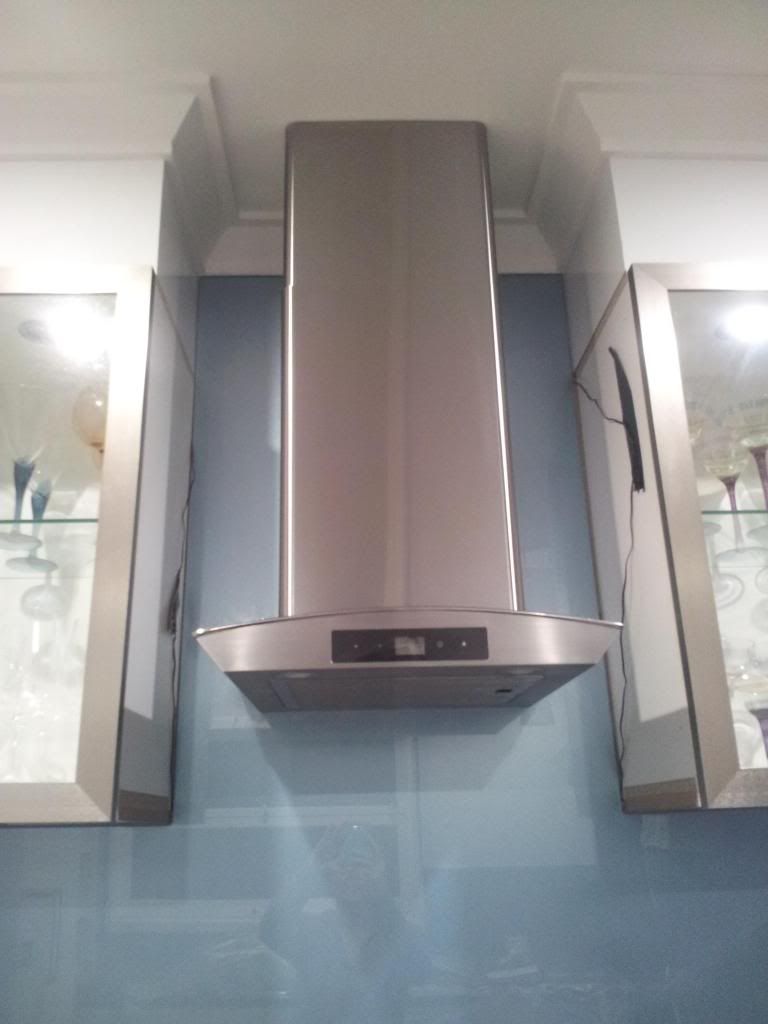
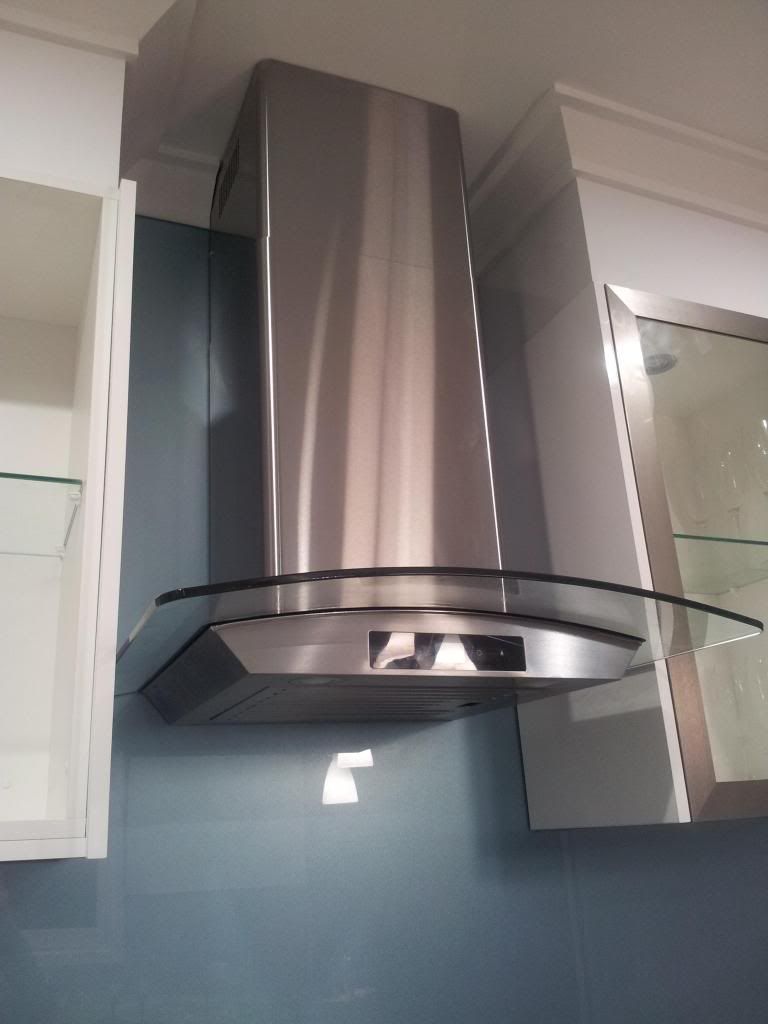
Finally, the glass canopy was fitted to the top of the range hood with a few screws and it was done.
It was a very tight custom made design this kitchen right down to the millimetres left on either side of the range hood.
There's always that oh s**t moment when you hope that it's all going to fit .... Thankfully it did!
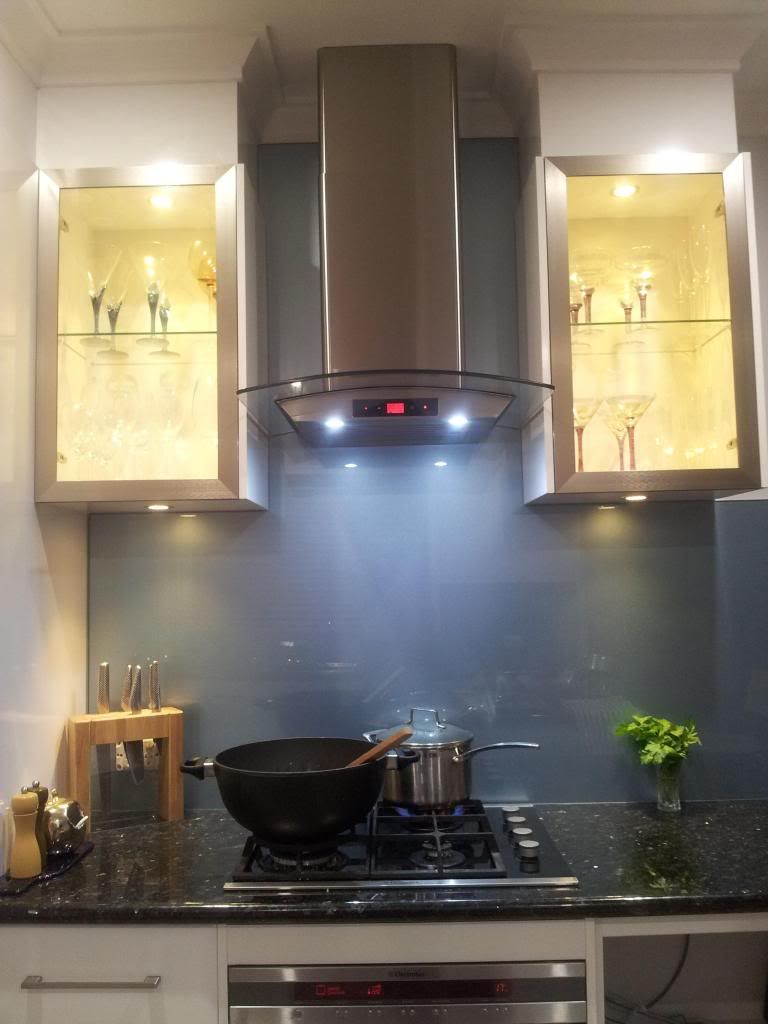
I got out the stainless steel spray again and wiped off all the millions of finger marks all over the pretty new range hood until it shined brighter than a star.
Then we turned it on and listened to it hum like a jet engine, yes it's a little loud but I have heard worse.
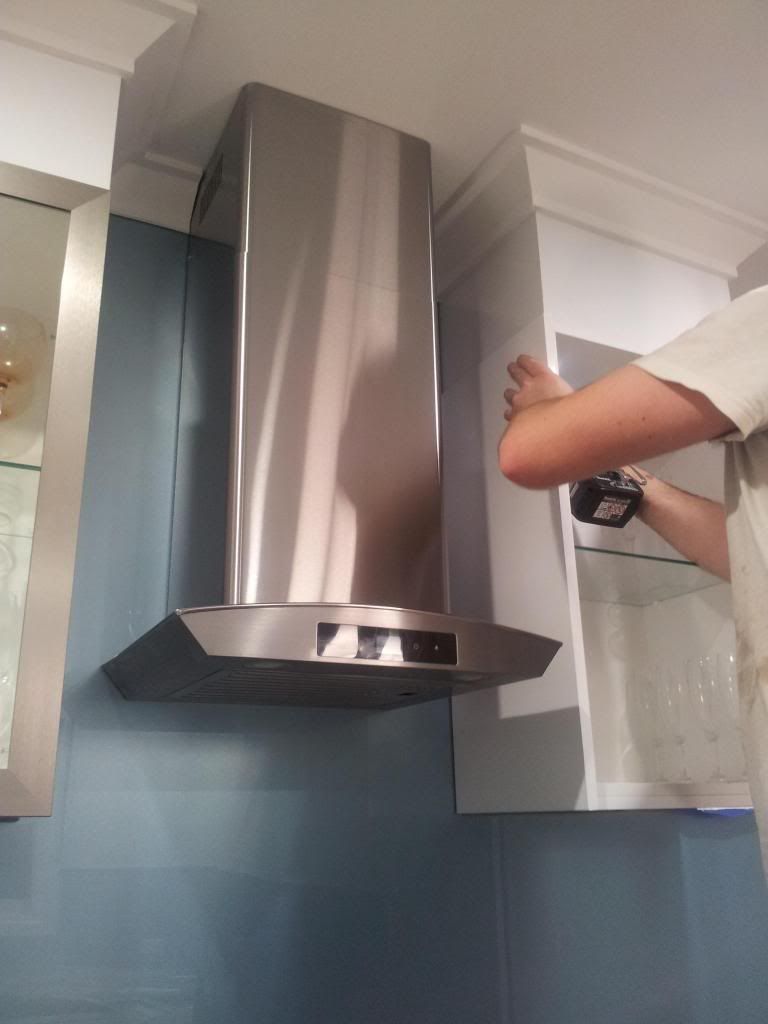
I love the 2 LED lights at the front and the touch buttons, it even has a timer which is pretty handy.
I really like the black panel at the front which matches the black ceramic stove top and I think the glass and silver play up nicely against the glass overhead cupboards.
So what have we learnt from this DIY take two project? That sometimes shit happens and you can't give up. See it all turned out ok in the end, it pretty much always does!
Doesn't it look pretty? All lit up and ready to go!
Sharing with link parties:
Savvy Southern Style - Wow us Wednesdays
It's Overflowing - Share Your Creativity

[All images my own]
At the end of the day at least it looks good! I want to put in a new hood in our kitchen but my husband does not. I guess he knows it will take longer than I think.
ReplyDeleteYes at least we got there in the end and it all works ok! For a couple hundred dollars you can probably pay someone else to do it and save yourself some time and frustration! Thanks for stopping by :)
DeleteLooks wonderful! We do have similar hoods Michelle! I think the glass canopy just makes it look more elegant don't you think?! Kudos to you guys for doing all the work yourselves!
ReplyDeleteYes I love the glass it was what won me over :) Thanks so much we are not afraid to have a go!
DeleteLooks amazing - so the perseverance paid off. You both are incredibly patient and your attention to detail is admirable! Wish my Mr K was as neat - he is more of a farming, fencing, build a big shed kinda guy :-)
ReplyDeleteMr P is a Virgo and definately has the perfectionist qualities, me on the other hand an impatient Taurean bull and not so much!
Deletemagic. xxx
ReplyDeleteMichelle, it looks amazing!! I can't believe what's involved in putting in a range hood! x
ReplyDeleteTell me about it, I couldn't believe it either until we did it ... twice!
DeleteWhat a nightmare re the breakage and after all the hard work it must of been shattering. She sure is looking fabulous now though. Have a great weekend.
ReplyDeleteCarolyn
It was pretty disheartening but I guess one of my annoying traits is the glass is always half full and you've just got to laugh about it and start all over again!
DeleteLook at that little kitchen space all finished and pretty! Well worth the effort I'm sure. Nothing worse than things not working right at that last moment but thankfully you got there in the end and can be so proud of the result!
ReplyDeleteThere is definately light at the end of the tunnel knowing it is 90% finished now! A real pain in the butt but we are getting there. Now for the fun parts - decorating and furniture :)
Delete